
As a seasoned gamer, I spend hours delving into the enchanting worlds of video games. From fantasy realms to post-apocalyptic wastelands, I’ve seen it all. And one thing that never fails to fascinate me is the concept of time within these digital
Ваш город может работать, как часы, но не всегда легко разобраться в его различных механизмах.

In this guide, we will talk about one of the most sought-after resources in My Time At Sandrock – Jute. If you’ve been struggling to find this precious material, fear not, for we’ve got all the tips and tricks you need to start gathering it like a pro.
Джут - растение, которое вам понадобится для определенных ремесленных проектов в My Time at Sandrock. Хотя вы можете ...

As an experienced gamer, you’ve probably already swung through the city as the friendly neighborhood Spider-Man. But now it’s time to put your superpowers to the test and find all those science trophies scattered across the city. Don’t worry, though,
Вот где нужно искать, если вы хотите получить PlayStation Trophy Just Let Go, который подразумевает поиск настоящего ...


- Насколько игра Forza Motorsport на ПК улучшает консольную версию?
- Персона 3 Reload Знакомое путешествие с новыми изюминками 😄🎮
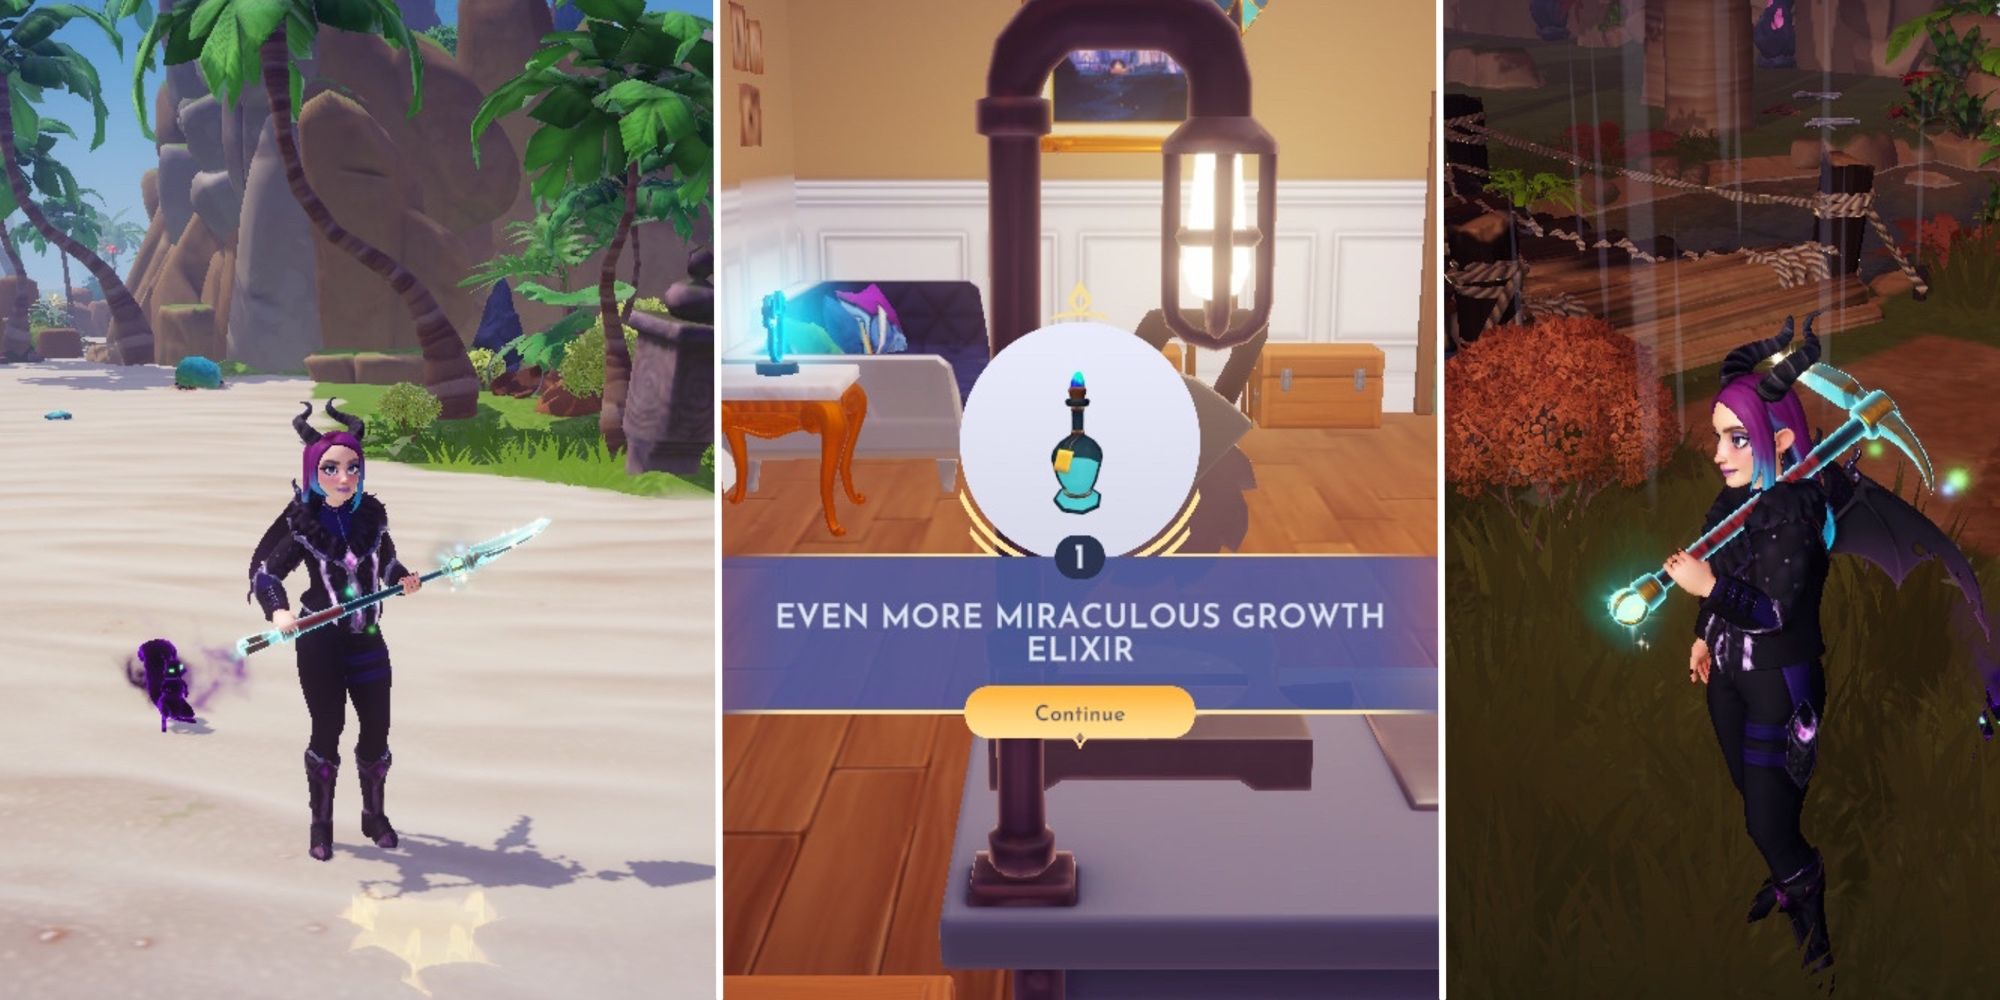
- In this guide, we will explore the treacherous Scorched Caverns in the magical world of Fae Farm. Get ready to embark on a thrilling adventure filled with dangerous creatures, stunning landscapes, and plenty of loot to collect! 1. Prepare for
- Обзор Exoprimal – GameTopic
- Лучшие аниме лета 2023 года, рейтинг
- Мой главный момент Nintendo Direct объединяет мою любимую битву королевской битвы с Smash Bros.
- RoboCop Rogue City снова отложена
- Последний патч игры Star Wars Jedi Survivor исправляет проблемы с анимацией
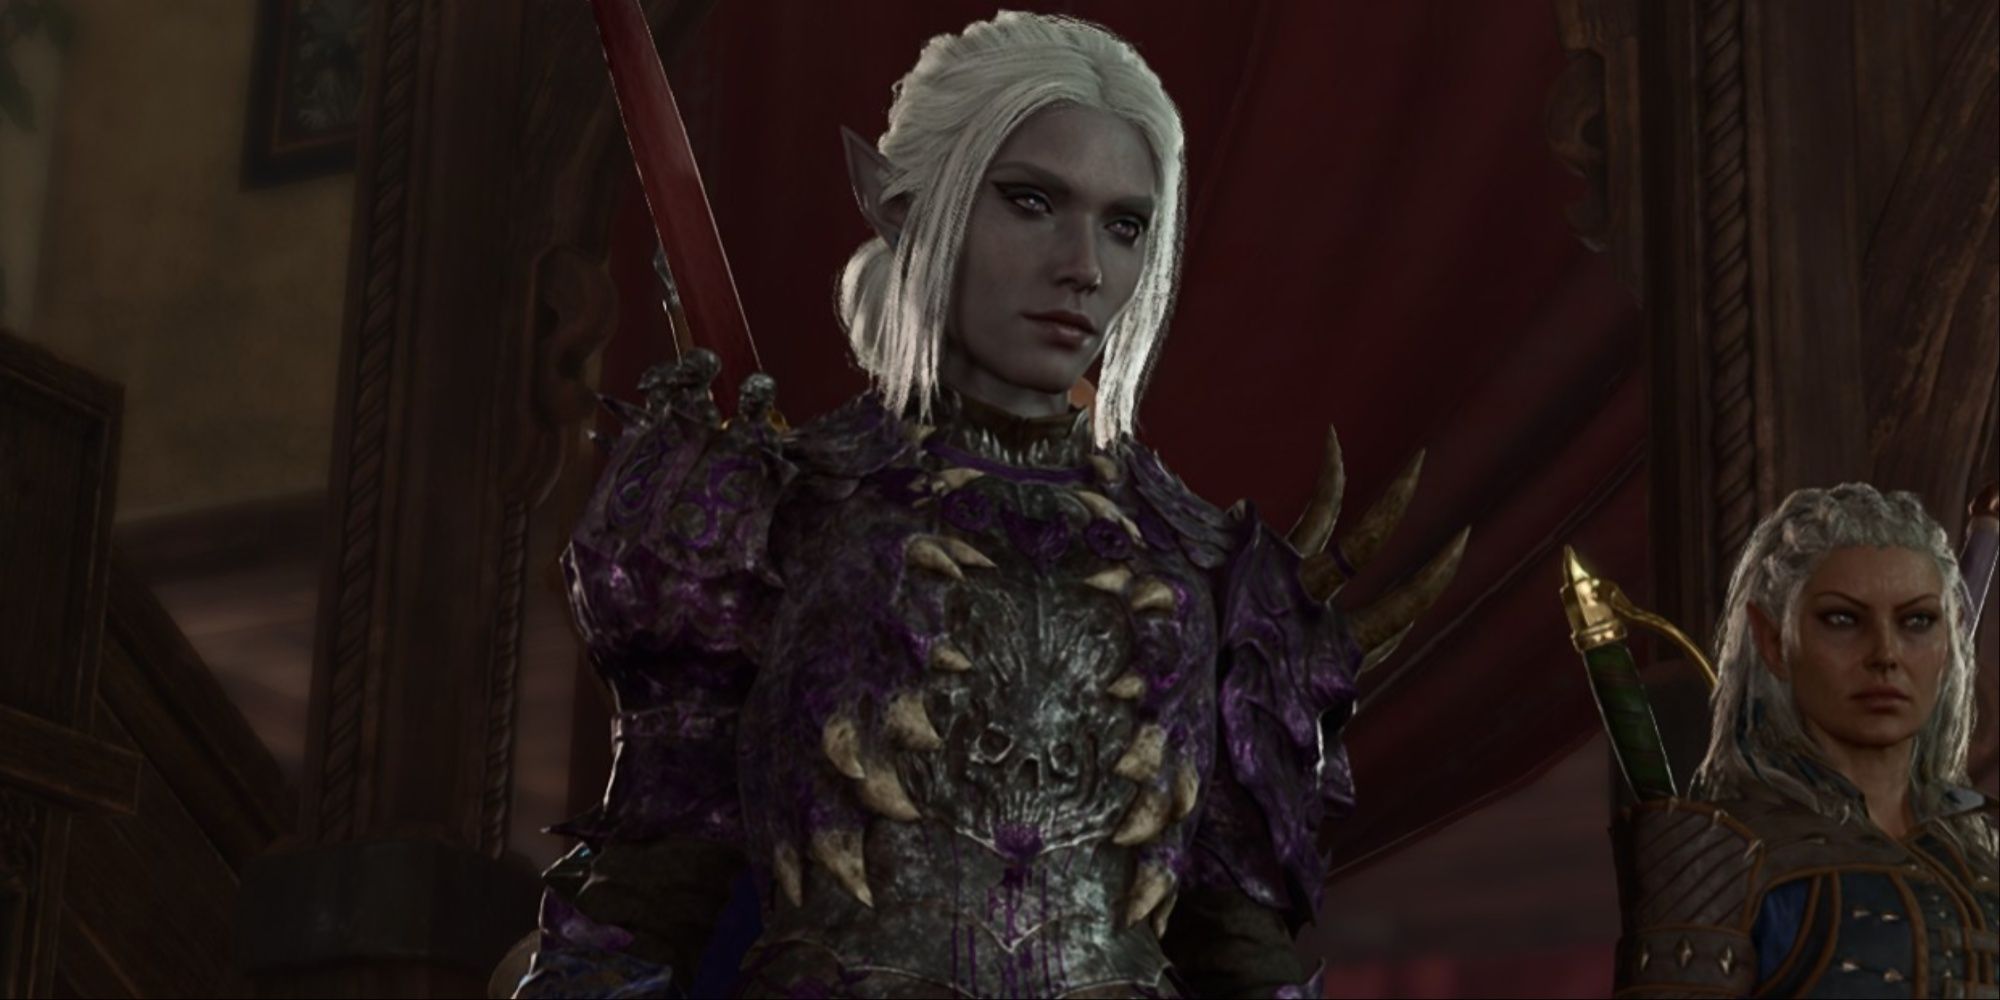
- Бальдурское врата 3 – Как завоевать Сяйвхарт
- Все, что вам нужно знать о Роблоксе Коды для вытаскивания меча 🗡️💥
- Мое одержимость ветрогенераторами наконец-то может сделать меня миллионером в Cities Skylines 2.
- Режим Чести в Baldur’s Gate 3 Как сделать уже сложную игру еще труднее
- Руководитель команды Bloober говорит о пересоздании Silent Hill 2 и освоении искусства ужаса
- Одношот ‘MONSTERS’ Эйитиро Оды получает адаптацию в аниме
- Тестирование PS5 основных новых функций для будущего обновления консоли