


- Call of Duty Modern Warfare 2 Возвращение гробниц может вызвать проблемы для MW3
- Avatar Frontiers Of Pandora будет запущен с эксклюзивными функциями для ПК
- Все на борт сновидения в золотой час головоломок-таймеров!
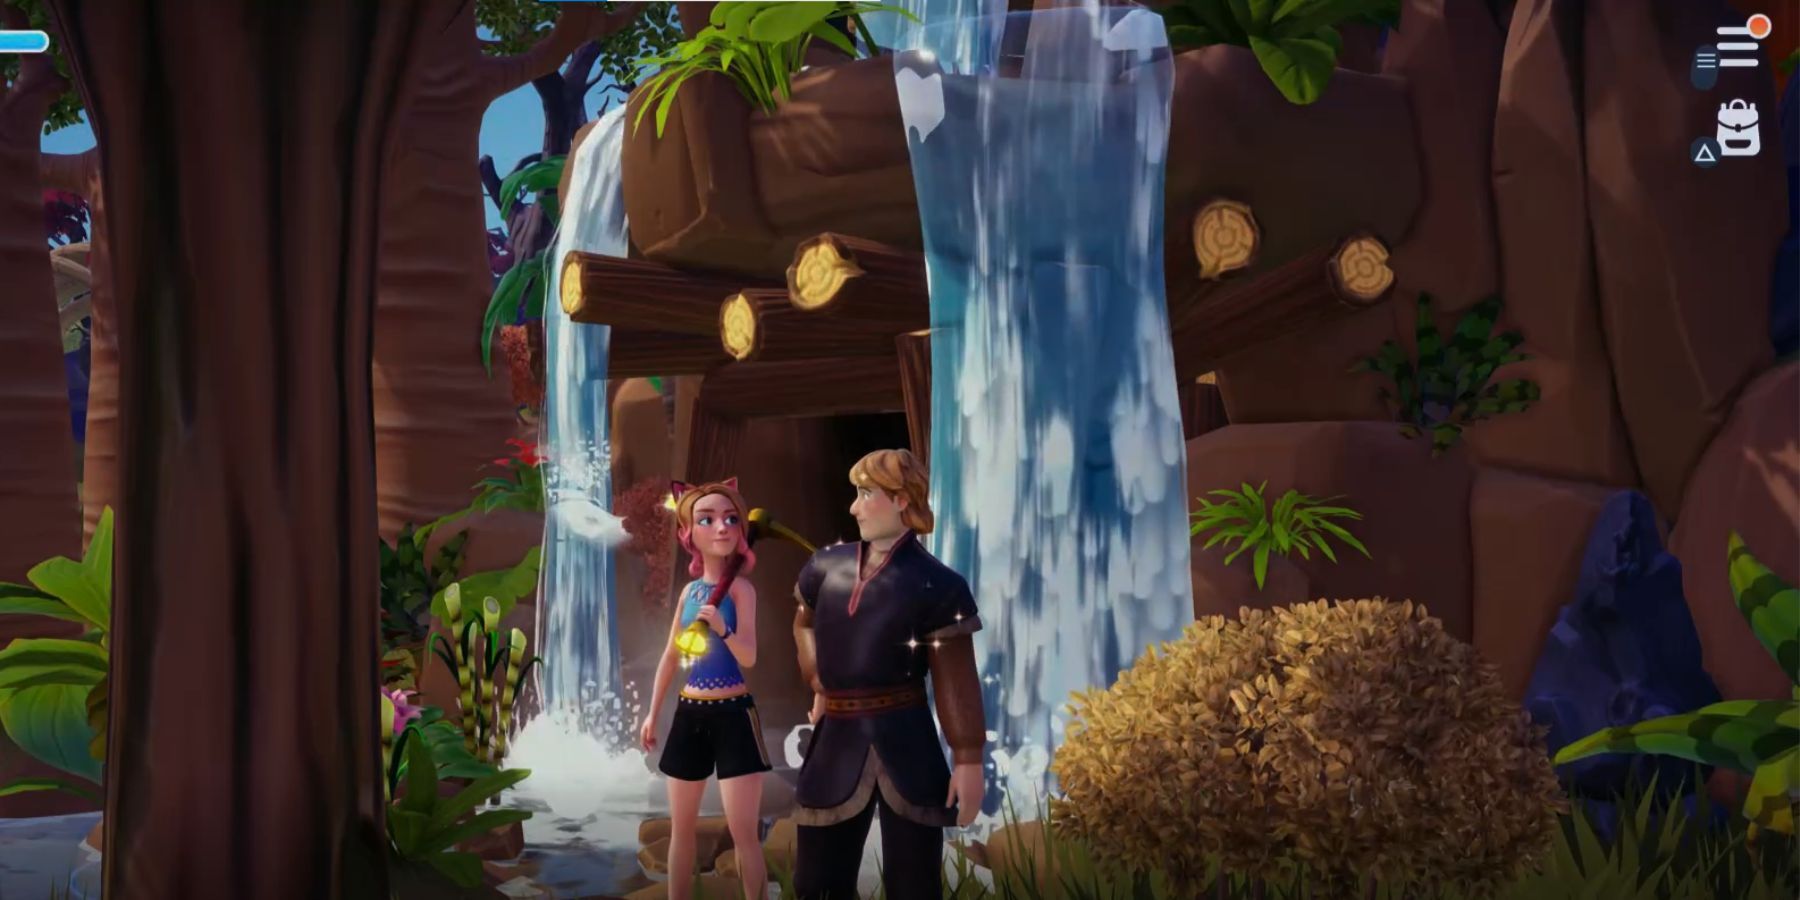
- Где найти кожу в Palia
- Monolith’s Wonder Woman Game Потенциальный Игровой Переворот во Вселенной DC Gaming
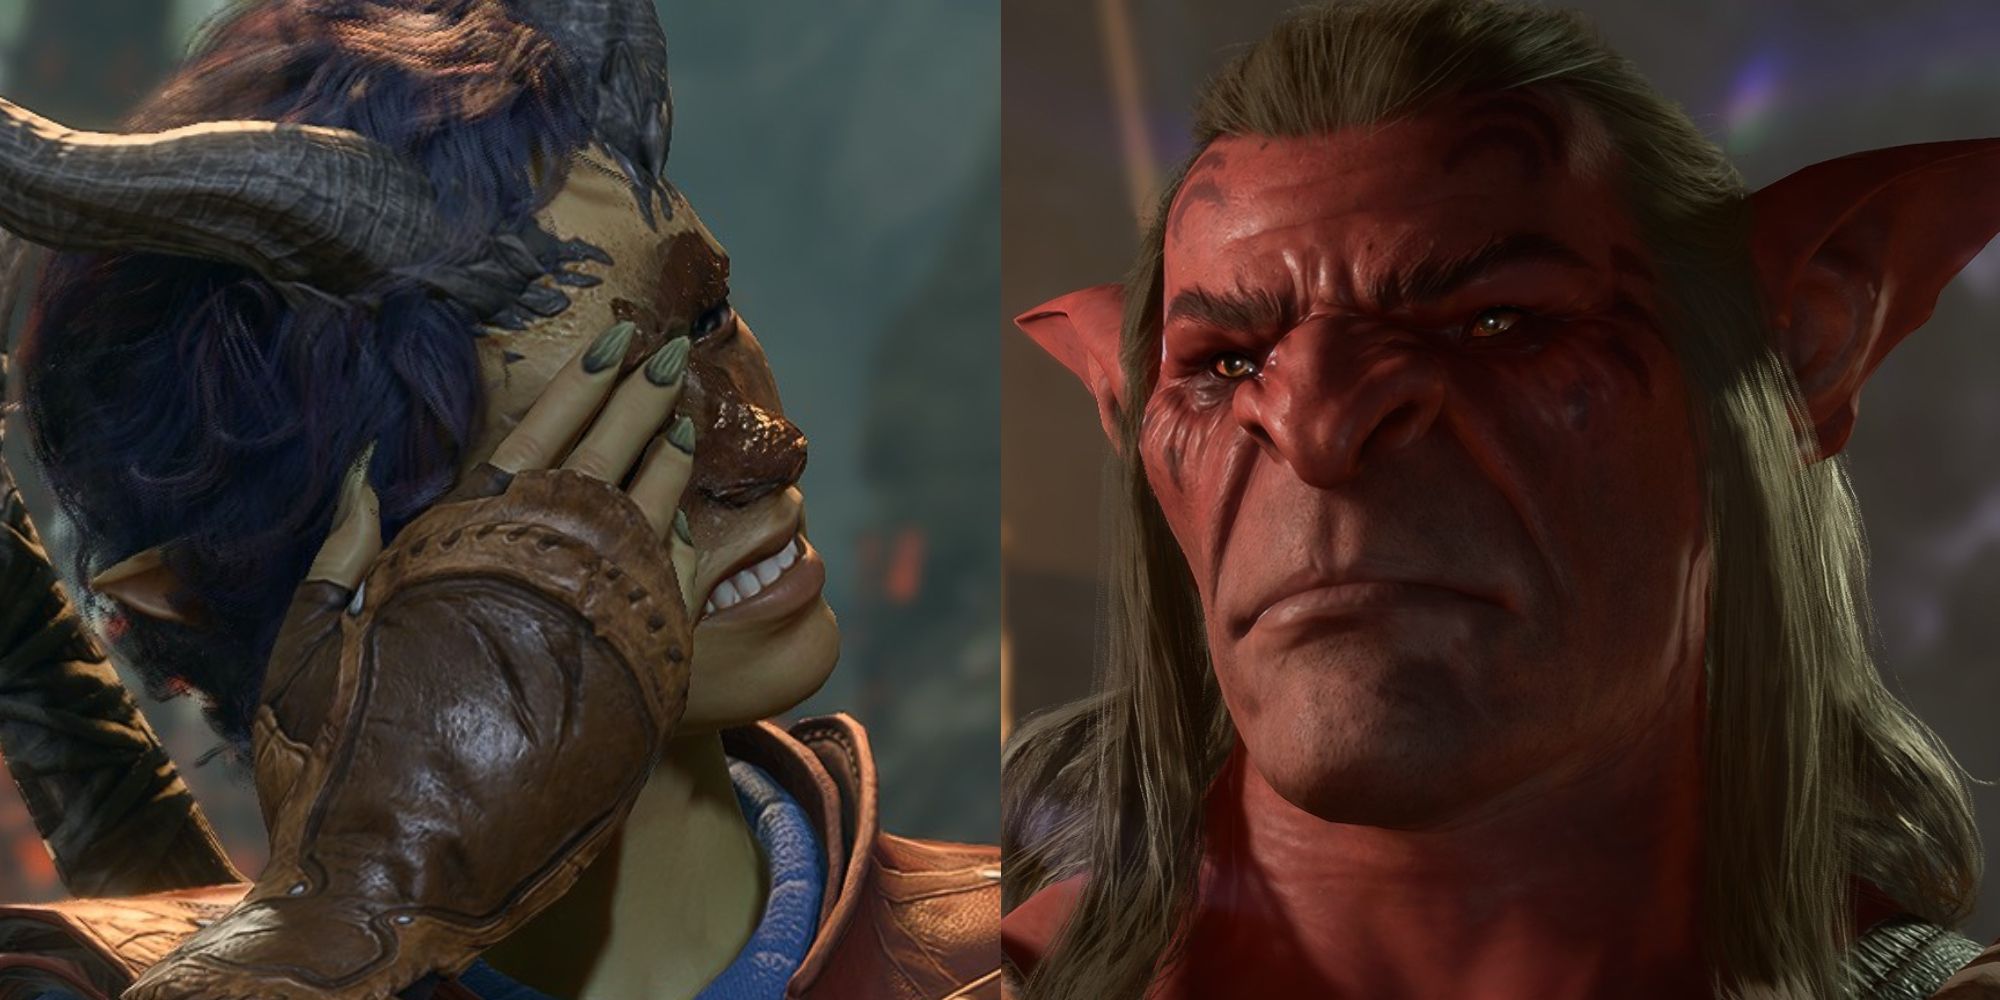
- «Baldur’s Gate 3 решает одну надоедливую проблему RPG с помощью одного маленького символа»
- Обновление Meta Quest теперь можно использовать гарнитуру лёжа и контролировать расходы с помощью Quest Cash!
- Какие наушники используют профессионалы?
- Получите SSD Western Digital и Samsung PS5 по низким ценам
- Разработчики Terraria пожертвовали $200 000 на развитие открытых игровых движков после изменений в Unity.
- Все узоры Vivillon в Pokemon GO Коллекция, которую стоит отпраздновать! 🦋🌍
- 8BitDo Ultimate Bluetooth контроллер достигает самой низкой цены за всю историю
- Руководство по Мультикомандной Арене в League of Legends
- Игроки Destiny 2 призывают Bungie переделать свою клановую систему.
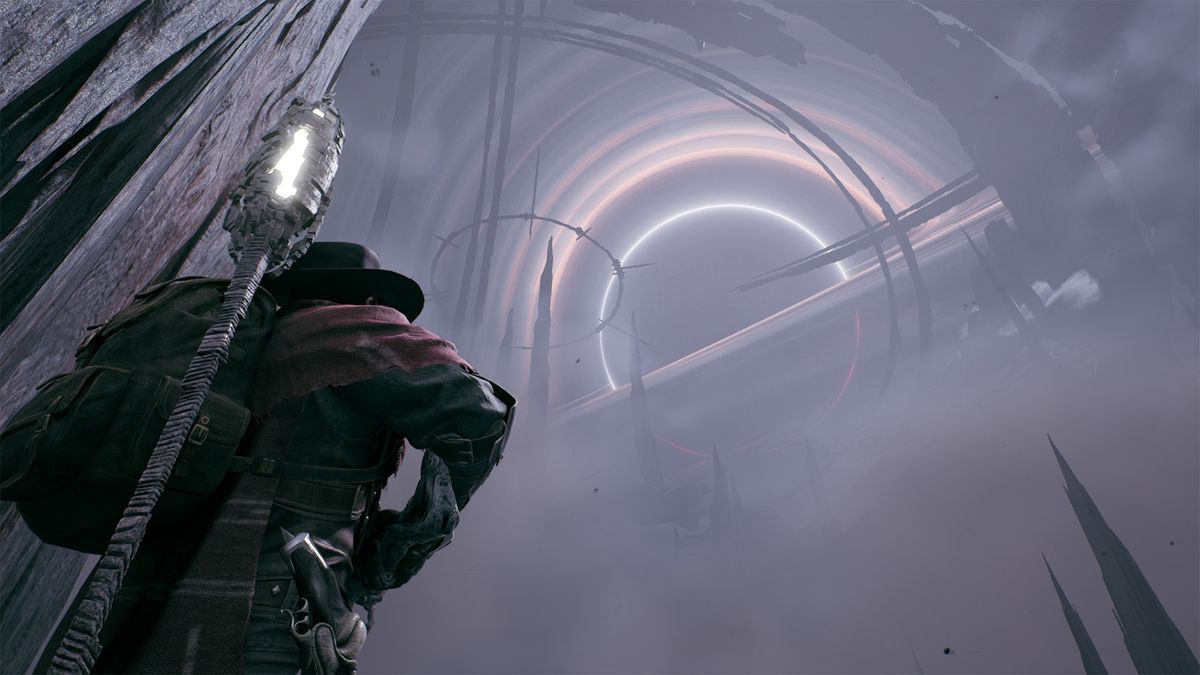
- Разжигая силу времени Становление волшебником хронургии в Dungeons & Dragons