


- Интервью FloraMancer расцветает как уникальный фермерский симулятор
- Уроки, которые The Elder Scrolls 6 должен извлечь у усыновляемых детей в Skyrim
- Все читы и коды для Age of Empires 2 Definitive Edition
- Хонкай Утечка Star Rail раскрывает набор Фу Шуаня
- Взлет Анакина Скайуокера Как проблемы Ватто с азартными играми сформировали Джедая
- Когда ждать новостей о Dragon Age Dreadwolf
- Разработчики Star Wars Outlaws обещают, что это не будет 300-часовой незаконченной эпической ролевой игрой – GameTopic.
- Звездные войны Кто такая Сабе? In Russian Звездные войны Кто такая Сабе?
- Игры с открытым миром, которые занимают больше всего времени на прохождение
- Один режим игры Star Wars Battlefront нуждается в пересмотре названия для будущих выпусков
- Издатель GTA 6 винит 2023-й год в массовых сокращениях в индустрии из-за энтузиазма пандемии.
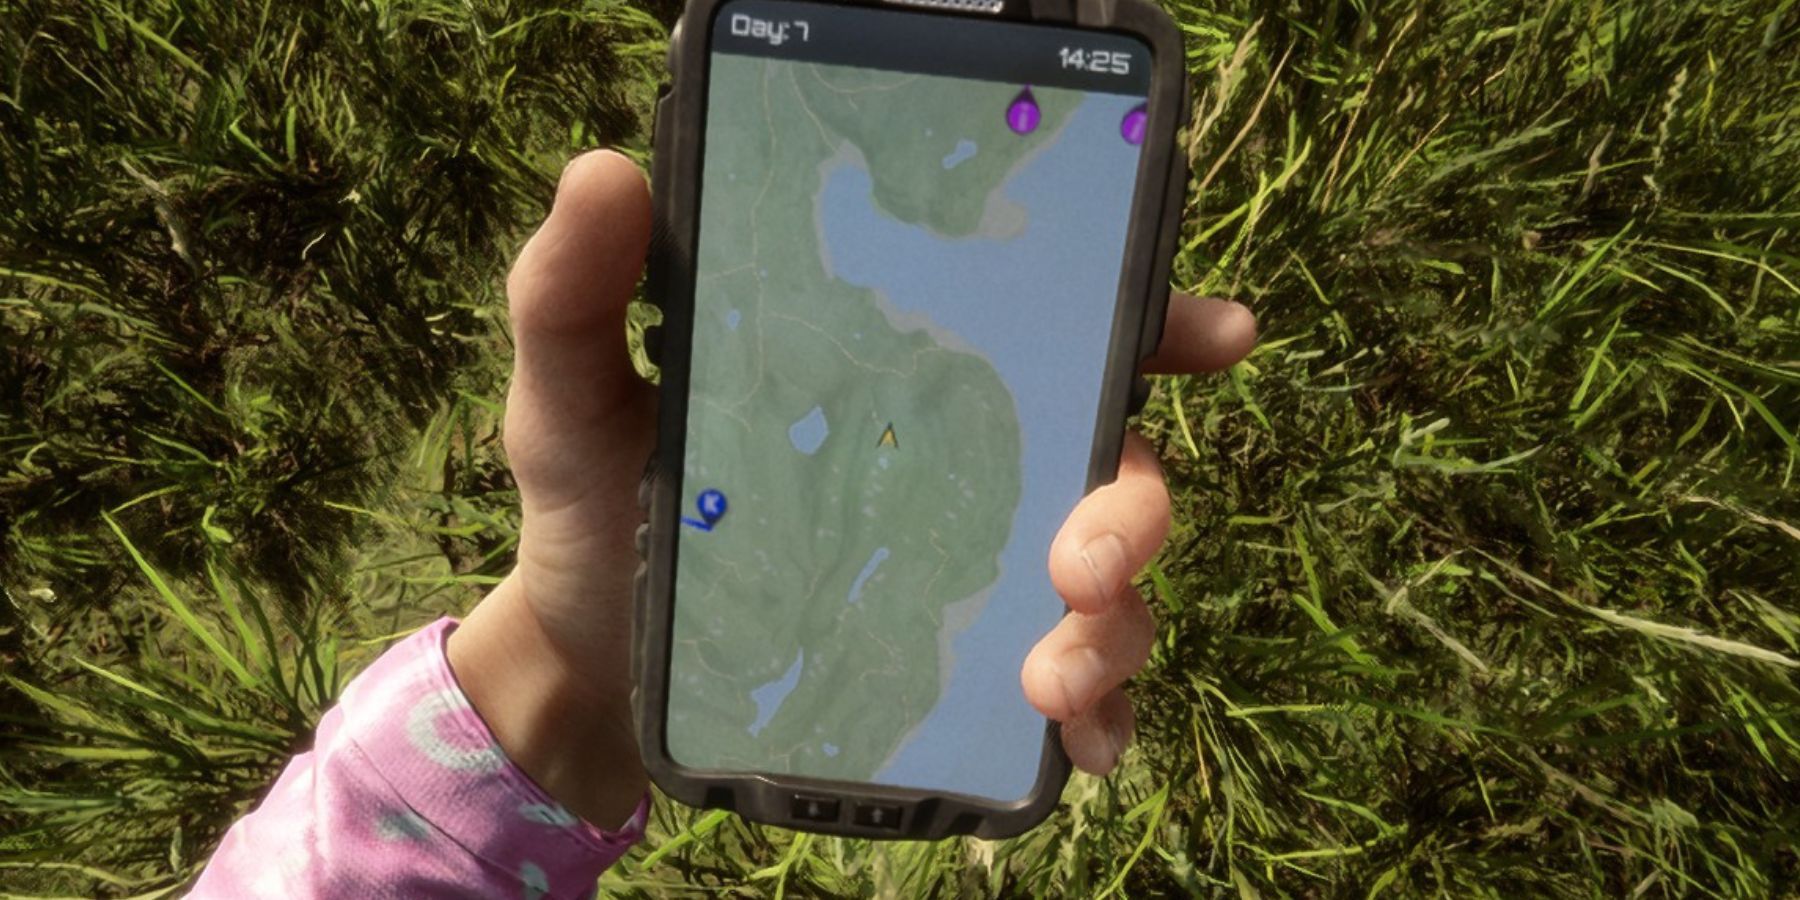
- Исход Уютная выживалка с бесконечными возможностями
- Fallout 8 Научно неправильных частей франшизы
- Палворлд Полное руководство по палам типа Вода.
- Надоедливые заграждения в Diablo 4 скоро можно будет разрушить при помощи лошадей