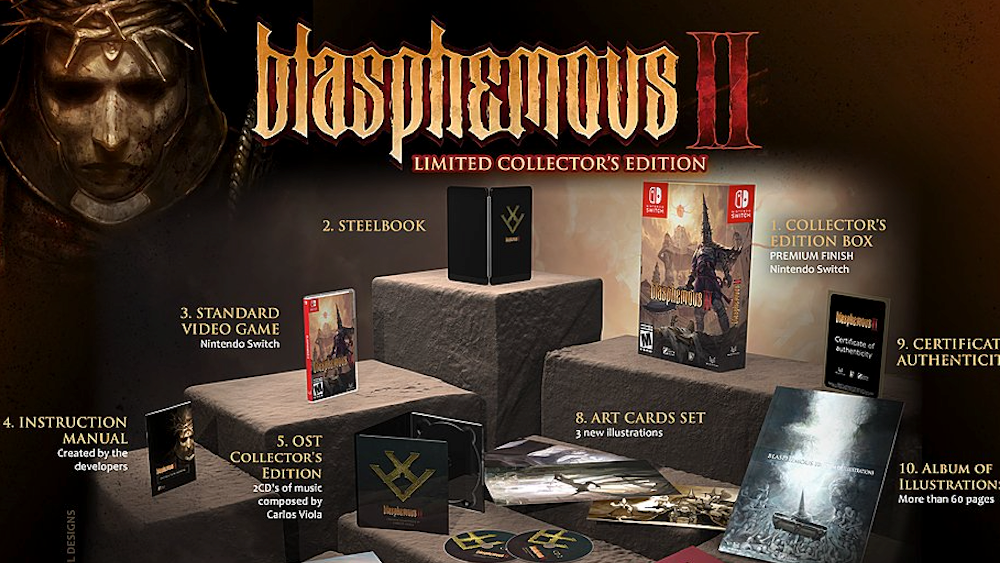
Blasphemous 2 Ограниченное собрательное издание обязательный предмет для фанатов
Приготовьтесь к долгожданному выпуску ограниченной коллекционной версии Blasphemous 2, которая выйдет в апреле! Побед...
«Раскрываем тайны Запечатанное письмо в квесте Blasphemous 2»
Новейшая часть игры Blasphemous, миссия проклятого письма в Blasphemous 2, заставит вас отправиться на поиски необычн...
Blasphemous 2 Все местоположения скрытых символов
Вот местоположения всех десяти Скрытых Символов в Blasphemous 2!
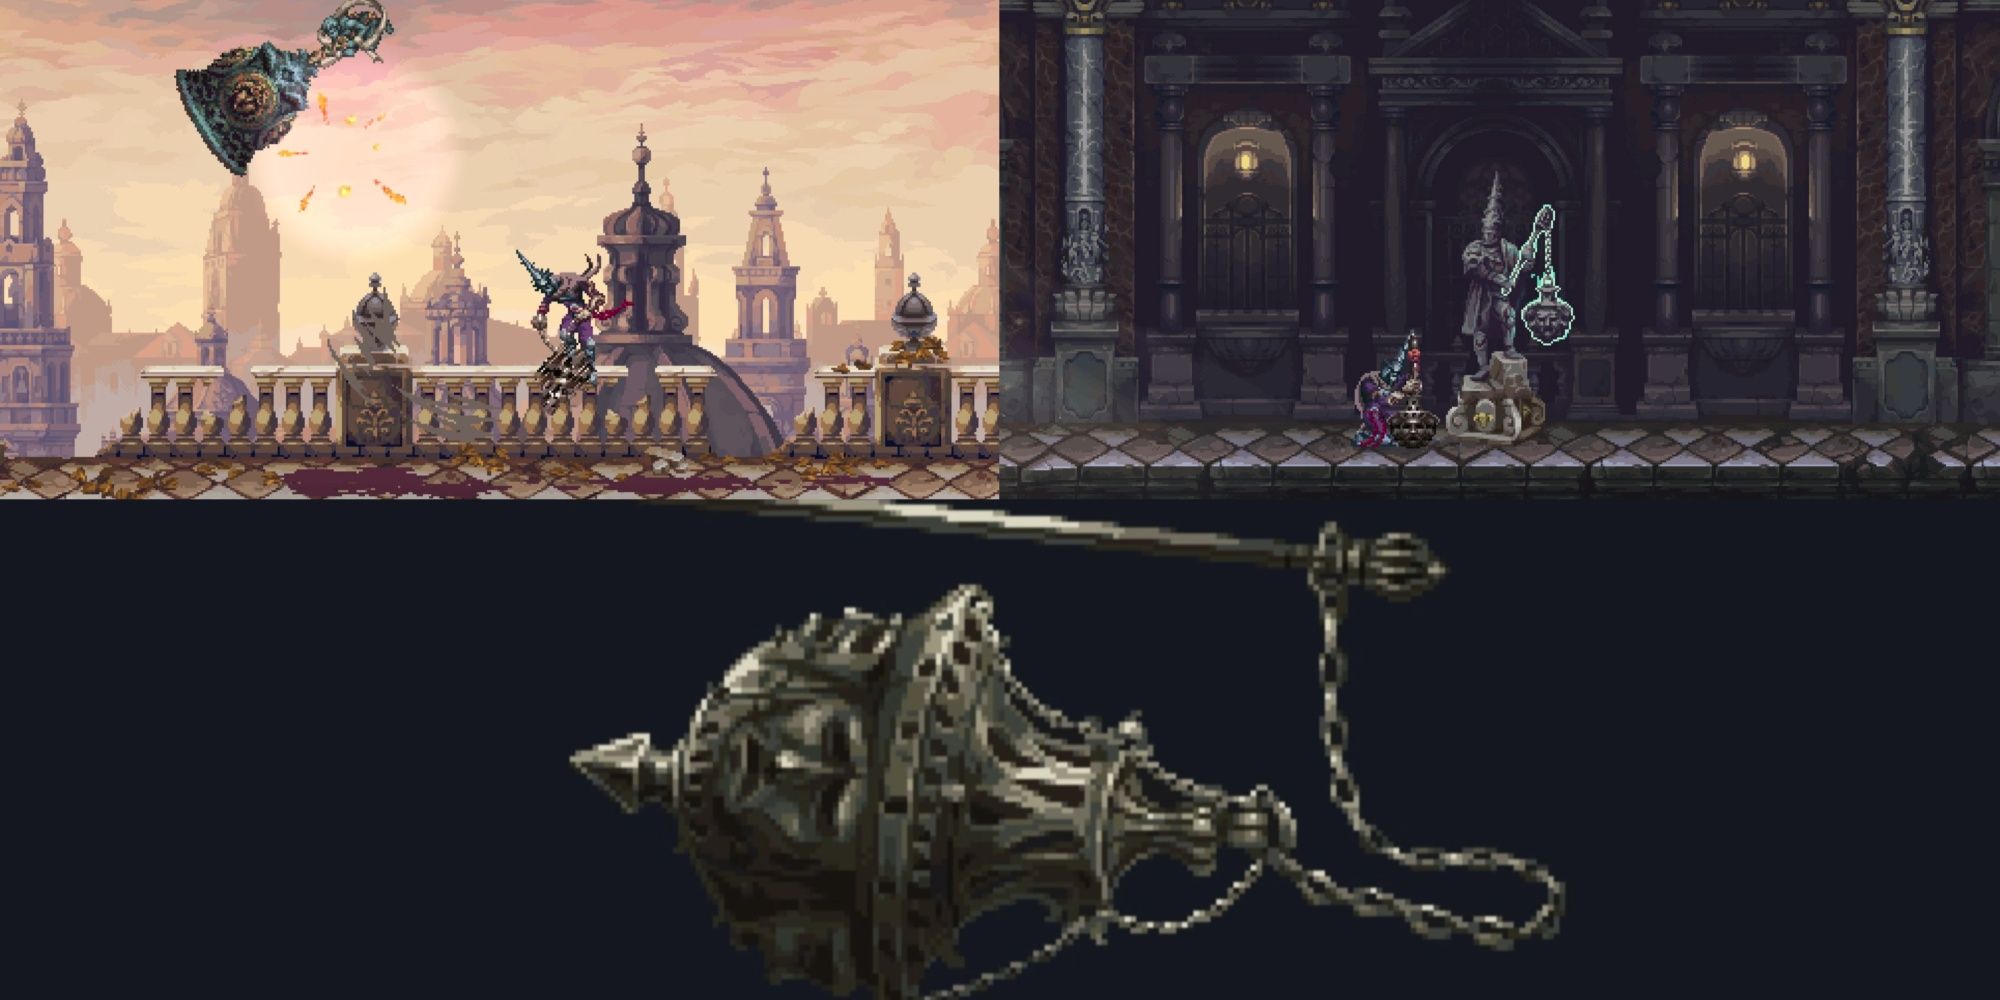
Бласфемия 2 Как улучшить Вередикто, цеп
Вот все местоположения очков улучшения для булавы Вередикто в Blasphemous 2!
Blasphemous 2 продолжает тренд, который стоит принять на вооружение большинству Soulslike игр
Blasphemous 2 переворачивает классический троп Soulslike с ног на голову, меняя то, что обычно делает этот узкоспециа...
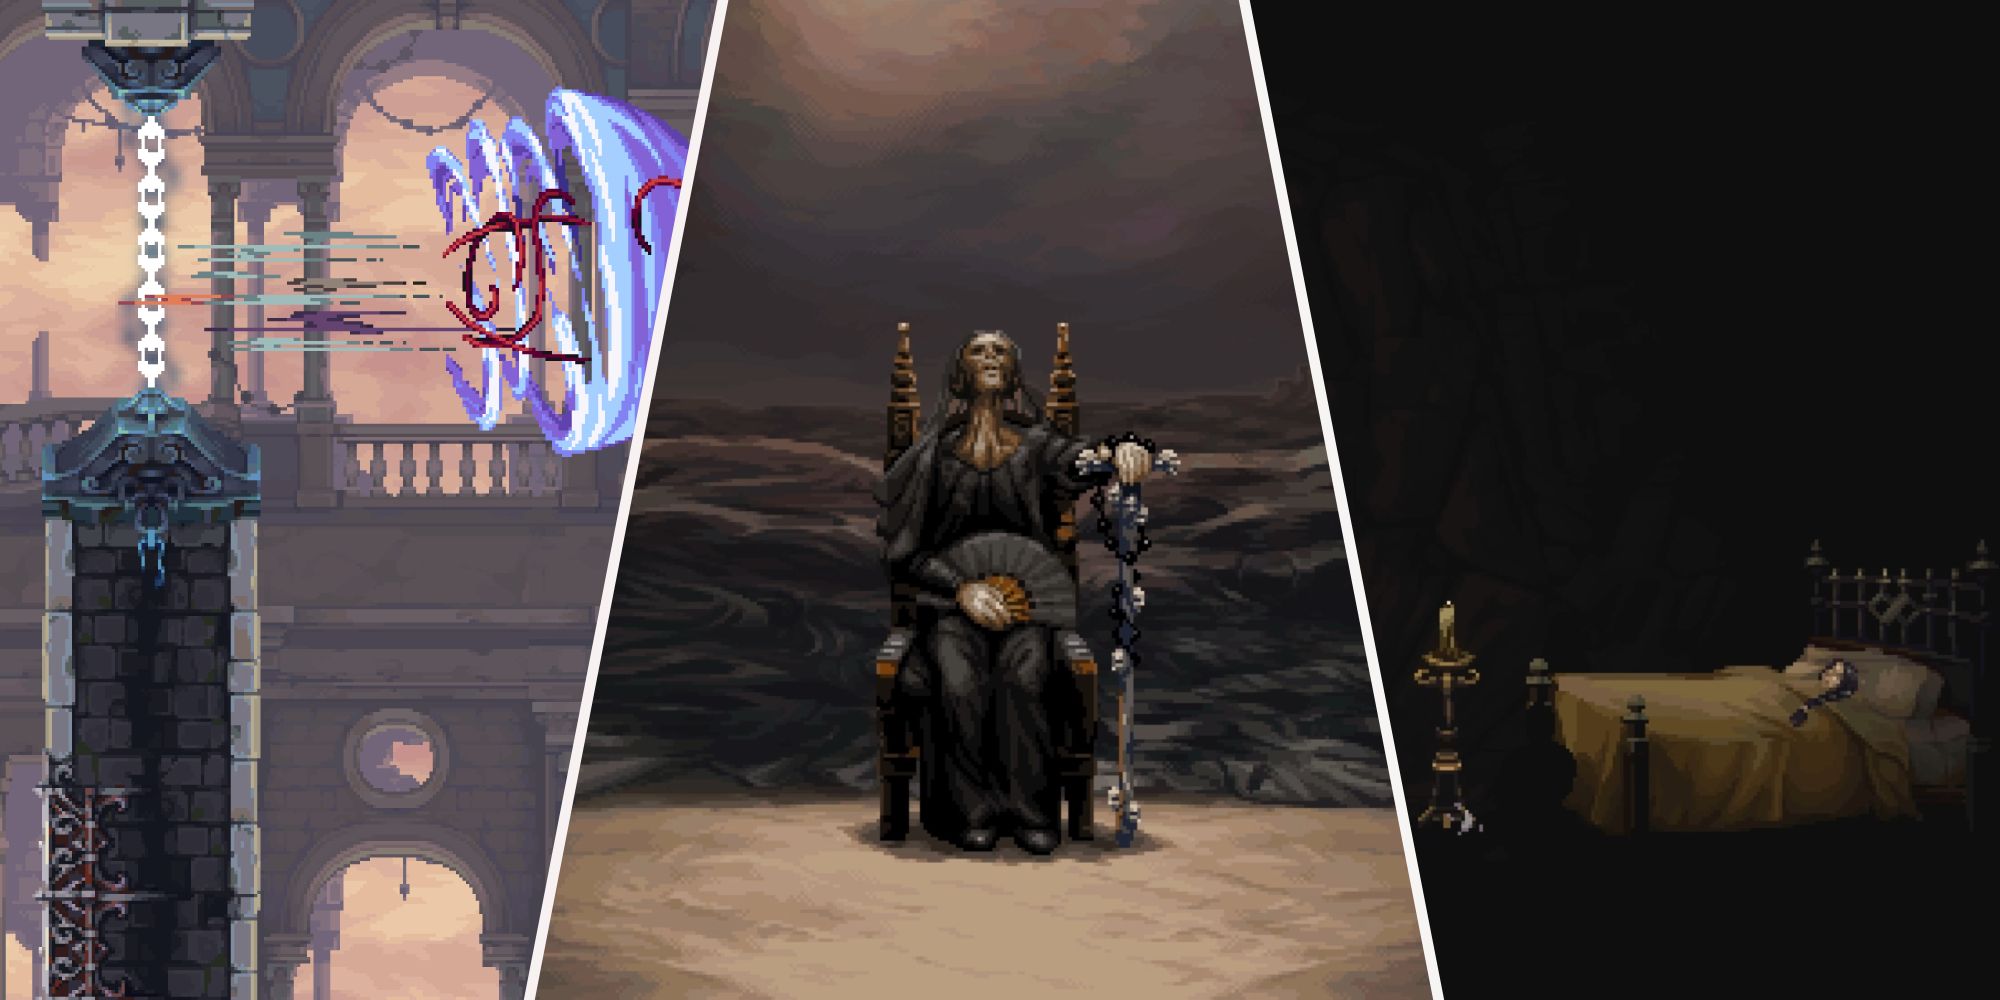
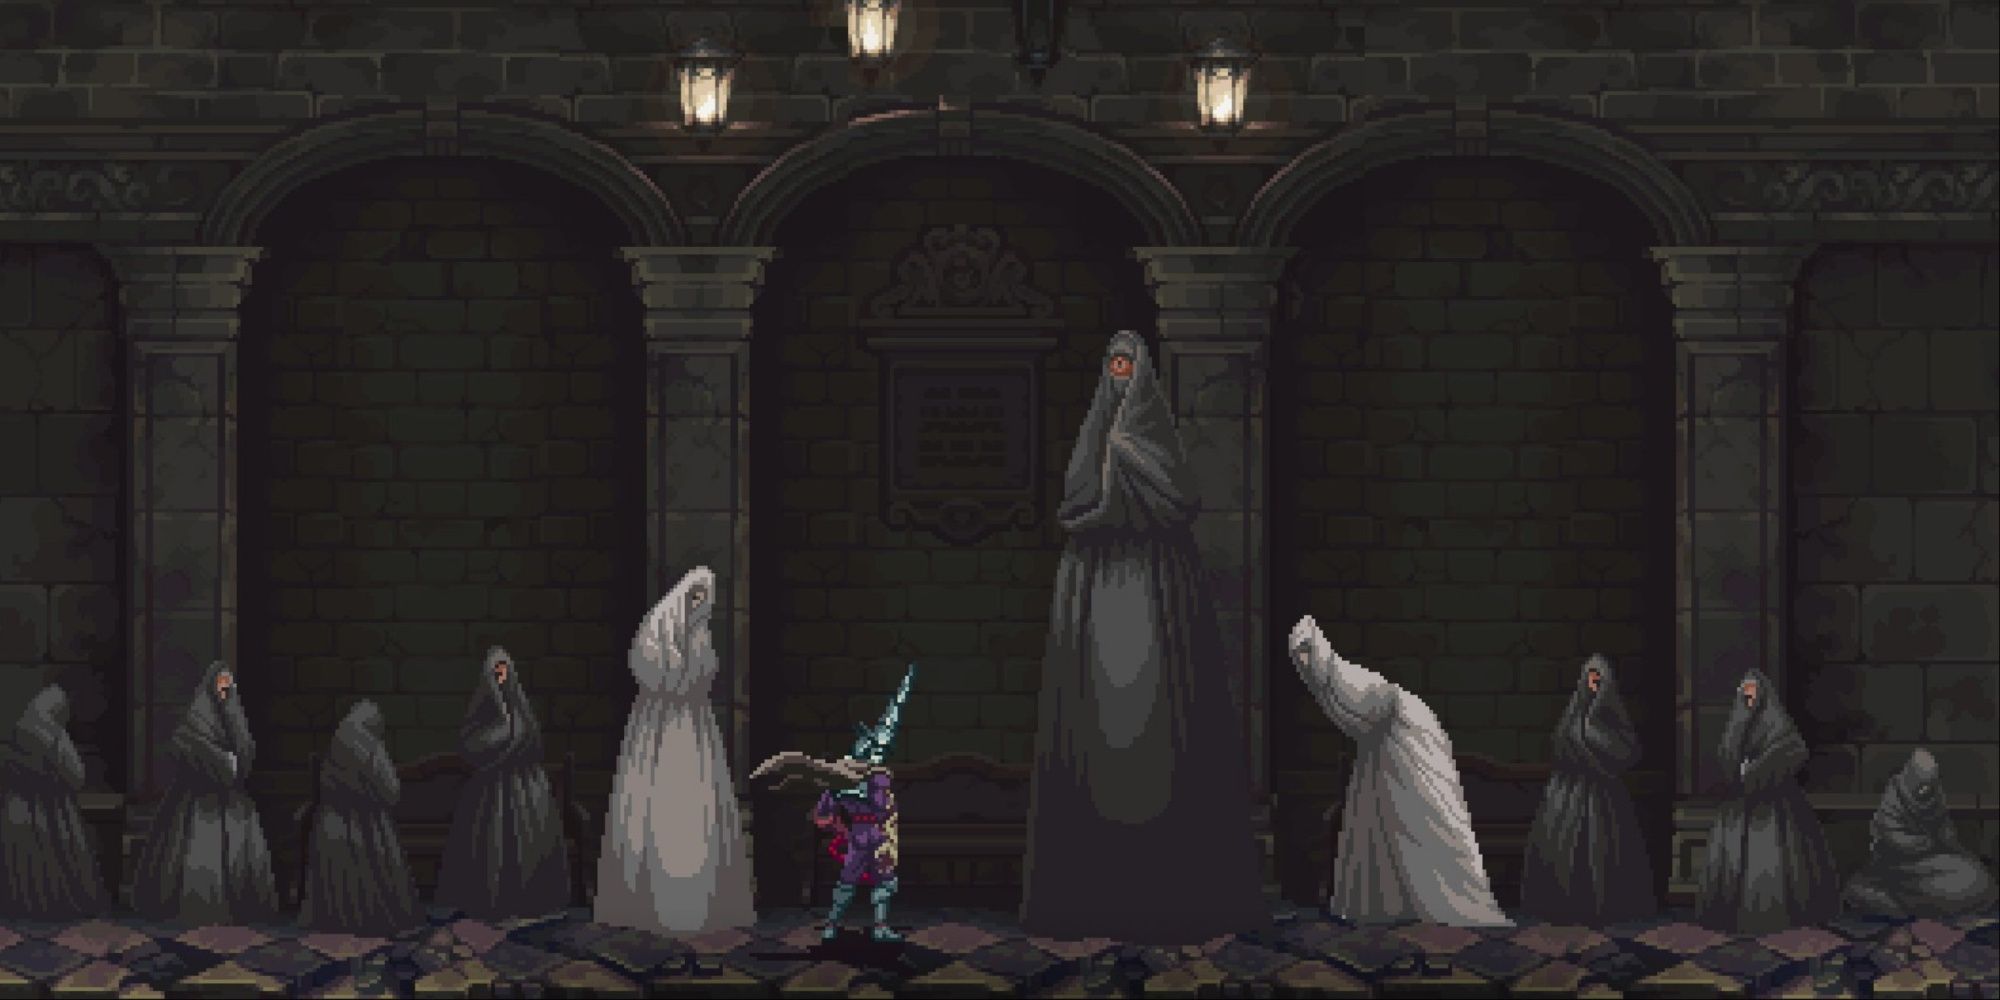
Блуффер 2 Как пройти Дом Печали и Ненависти
Вот где найти всех пятерых лежачих дочерей и комнаты с свечами в Blasphemous 2, чтобы завершить испытания Дома Горя и...
Blasphemous 2 Все местоположения сестер Кобиада
Найти таинственных сестер Кобихада по всему миру Blasphemous 2 - это ключ к разблокировке невероятно полезных способн...
Бласфемия 2 Советы по бою
Вот все, что вам нужно знать, чтобы использовать боевую систему Blasphemous 2 наилучшим образом и получить максимум у...
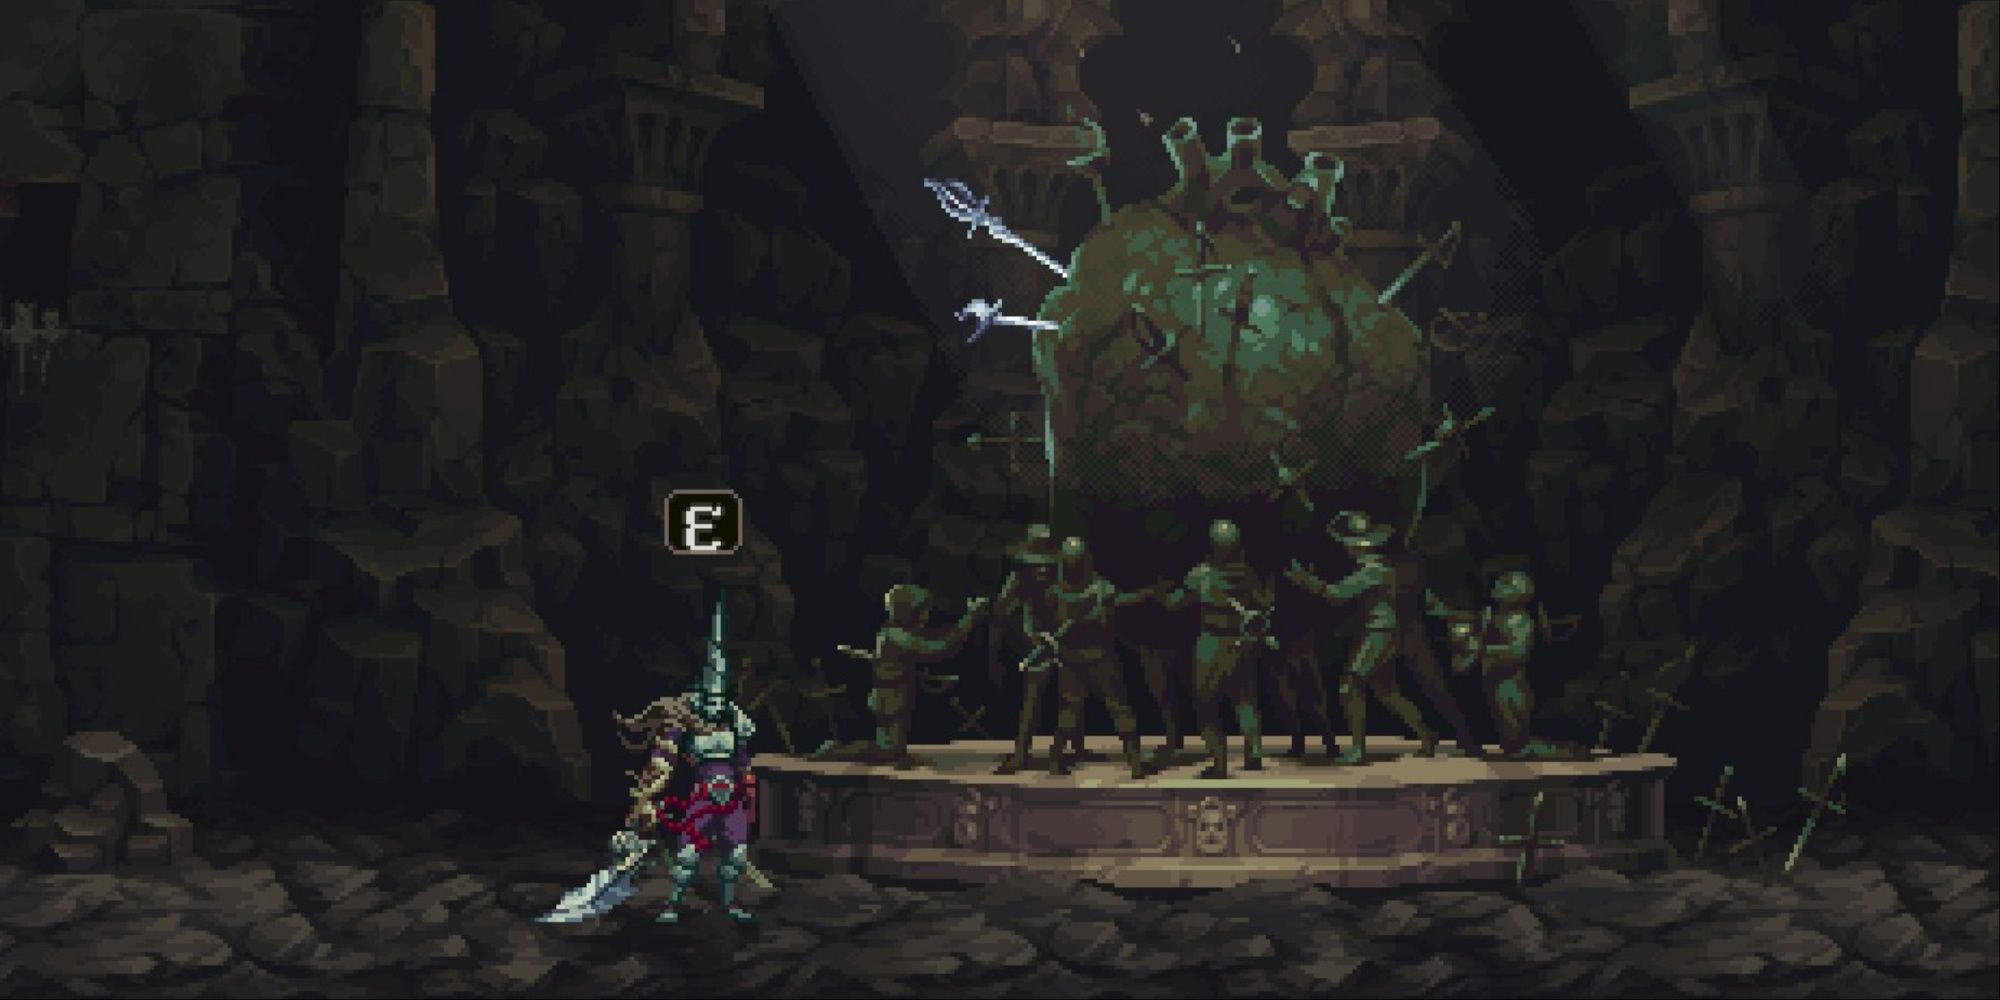
Blasphemous 2 Как победить Ороспину, Леди Вышивальщицу
Вот все, что вам следует знать, чтобы повысить свои шансы на победу над Ороспиной, Леди Вышивальщицей, в Blasphemous 2!
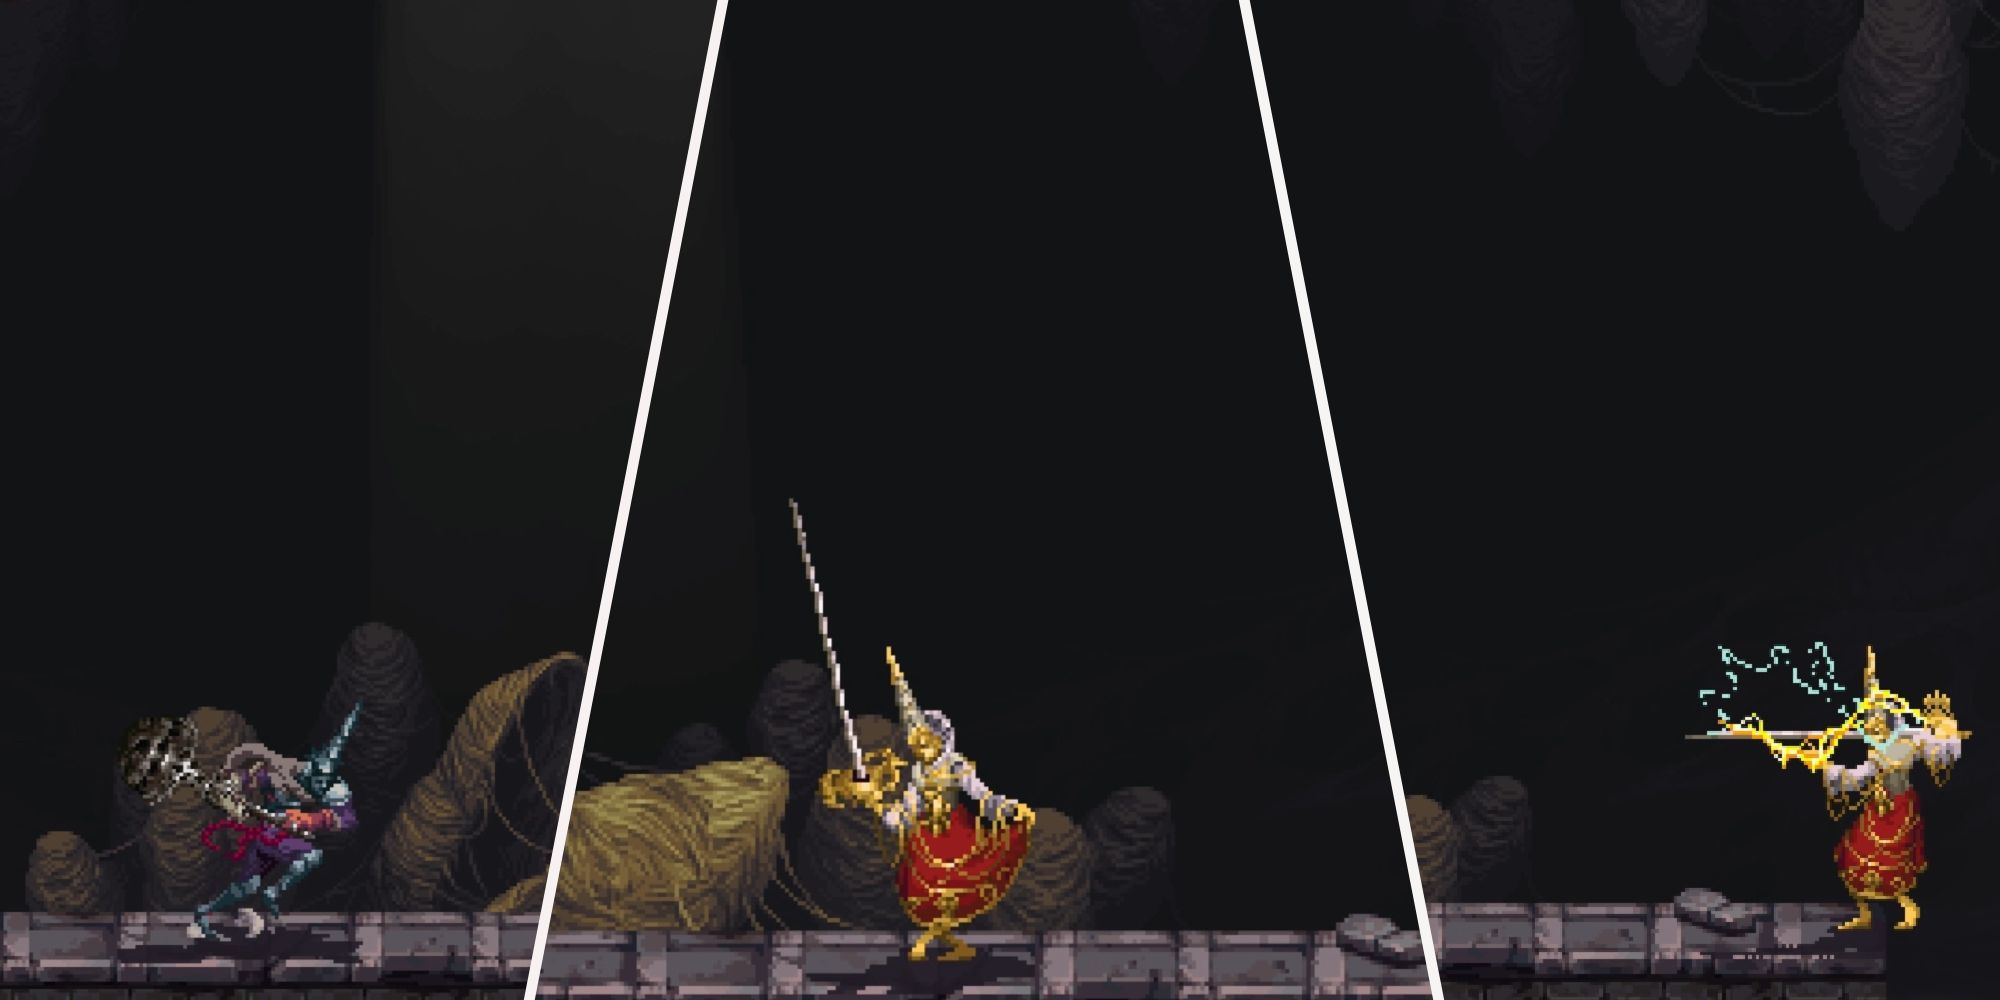
Blasphemous 2 Где получить Сармиенто и Центеллу, рапиры
Эти мечи быстрые и поощряют реактивный, нервный стиль игры. Они также необходимы, если вы хотите завершить сюжет Blas...
- Балдурское ворота 3 Как получить Кровавый грозный топор
- Следующая консоль нового поколения от Nintendo постепенно становится ясной
- «Как Дракон Сага Гайден – Человек, Стерший Свое Имя. Прохождение на запрос Фукупи-чан или ничего»
- Балдурс Гейт 3 Как сохраниться In this article, I will guide you through the treacherous world of Baldur’s Gate 3 and teach you how to save your progress. So, grab your sword, prepare your spells, and let’s dive in! Step 1 Find a Safe Spot First things first, you need to find a safe spot to save your game. Look for designated save points or safe areas where you won’t be attacked by enemies. It’s always a good idea to save before entering a dangerous location or engaging in a tough battle. Trust me, you don’t want to lose hours of progress because you forgot to save! Step 2 Quick Saves and Manual Saves Baldur’s Gate 3 gives you two options for saving your game quick saves and manual saves. Quick saves are a convenient way to quickly save your progress with just a press of a button. However, they overwrite each other, so be careful not to overwrite an important save by accident. On the other hand, manual saves allow you to create multiple save files, giving you the freedom to go back to previous points in the game if needed. It’s always a good idea to create a new manual save before making any major decisions or entering a new area. Step 3 Save Often Never underestimate the power of saving often. Trust me, in Baldur’s Gate 3, anything can happen. One wrong move, and you could find yourself in a deadly situation. Make it a habit to save your game regularly, especially after completing quests, leveling up, or acquiring valuable items. Step 4 Checkpoint Saves In addition to quick saves and manual saves, Baldur’s Gate 3 also features checkpoint saves. These are automatic saves that occur at specific points in the game, such as after completing a major objective or reaching a milestone. While checkpoint saves can be convenient, they are not as reliable as manual saves, so don’t solely rely on them. Step 5 Backup Your Saves Last but not least, always remember to back up your save files. You never know when a power outage or a computer crash might occur, causing you to lose all your progress. Make it a habit to regularly back up your saves to an external storage device or a cloud service. Trust me, you’ll thank me later! So there you have it, my fellow adventurers! Follow these steps, and you’ll never have to worry about losing your progress in Baldur’s Gate 3. Now, go forth and conquer the vast world of this epic RPG!
- Starfield Как получить снежный шар NASA
- Глубокая скала Галактика Выживший – Разжигая силу Скаута
- Baldur’s Gate 3 Где найти Карлаха
- Долина сказочных снов Диснея Как получить масло In this game guide, we will explore the magical world of Disney Dreamlight Valley and discover the secrets of obtaining the elusive Butter item. Whether you’re a seasoned player or just starting out, this guide will help you on your quest to become the ultimate butter connoisseur. Step 1 Planting the Seeds To begin your butter-making journey, you’ll need to plant some special seeds. These can be obtained by completing quests, defeating monsters, or purchasing them from the in-game store. Once you have the seeds, find a suitable spot in your farm and plant them. Make sure to water them regularly and provide enough sunlight for optimal growth. Step 2 Nurturing the Cows Cows are the key to obtaining butter in Disney Dreamlight Valley. Take good care of your cows by feeding them nutritious food, brushing them regularly, and ensuring they have a comfortable living environment. The happier and healthier your cows are, the higher the quality of milk they will produce. Step 3 Milking Time When your cows are ready to be milked, grab a bucket and head to the barn. Approach each cow gently and start milking. Be careful not to startle them, as this may lead to lower milk production. Collect the milk in your bucket and repeat the process with each cow. Step 4 Churning the Milk Now that you have a bucket full of fresh milk, it’s time to churn it into butter. Find a churner in your farm or purchase one from the in-game store. Pour the milk into the churner and start churning. This process requires patience and a bit of elbow grease, but the end result will be worth it. Step 5 Voila! Butter! After churning the milk for a while, you’ll notice it transforming into butter. Keep churning until the desired consistency is achieved. Once the butter is ready, collect it from the churner and store it in your inventory. You can use it in various recipes or sell it for a hefty profit. Remember, obtaining butter in Disney Dreamlight Valley requires dedication, patience, and a little bit of magic. Follow these steps, take good care of your cows, and soon you’ll be swimming in delicious, creamy butter. Good luck, and may your butter be forever golden!
- Компания разработчиков Wingspan с помощью своей новой игры The Fox Experiment помогает развиваться настольным играм с природно-тематическим сюжетом.
- С совместной выживаемостью от HumanitZ вам не придется справляться с зомби-апокалипсисом в одиночку
- Remnant 2 – Ограничение очков черт Какое максимальное значение?
- Долина сказок Диснея Как сделать весенний шоколад In this guide, I will show you how to make the most delicious and magical spring chocolate in Disney Dreamlight Valley. Get ready to indulge in a sweet treat that will transport you to a world of enchantment! Ingredients – 200 grams of high-quality milk chocolate – 50 grams of white chocolate – A pinch of fairy dust (optional, but highly recommended for that extra touch of magic) – Spring-themed sprinkles and decorations (butterflies, flowers, etc.) Instructions 1. Melt the milk chocolate in a microwave-safe bowl or using a double boiler. Be careful not to overheat it, as it can affect the texture and taste. 2. Once the milk chocolate is melted and smooth, pour it into your desired chocolate mold. If you don’t have a mold, you can use an ice cube tray or simply pour it onto a parchment-lined baking sheet to create a chocolate bark. 3. Next, it’s time to add a touch of spring to your chocolate. Melt the white chocolate and drizzle it over the milk chocolate base. Use a toothpick or a small spoon to create beautiful swirls and patterns. 4. Sprinkle the spring-themed decorations and fairy dust over the chocolate while it’s still wet. This will ensure that they stick and become a part of the chocolate. 5. Place the chocolate in the refrigerator to set for at least 1-2 hours, or until it becomes firm and easy to handle. 6. Once the chocolate is fully set, carefully remove it from the mold or break it into smaller pieces if you made a chocolate bark. Your spring chocolate is now ready to be enjoyed! Pro tip Get creative with your decorations! You can add edible flowers, colorful sprinkles, or even crushed pistachios for an extra crunch. The more whimsical and colorful, the better! So there you have it – a recipe for making spring chocolate in Disney Dreamlight Valley. Whether you’re a fan of chocolate, Disney, or both, this sweet treat is sure to bring a little bit of magic to your day. Happy gaming and happy snacking!
- Рыцари Искры Лучшие улучшения древа Искри, ранжированные
- Baldur’s Gate 3 Как разговаривать с животными
- Административная обработка Alan Wake 2 обещает более 200 исправлений