


Dragon Age Долгожданный Dreadwolf и другие игры, чтобы заполнить пустоту 🐉
Dragon Age - это высоко оцененная серия, которая обожаема геймерами. Для тех, кто является поклонником фэнтезийных РП...


- Компания Valve теперь продает восстановленные Steam Deck с скидкой до £110
- Starfield Лучшие способы фарма золота
- Аватар Пределы Пандоры Все, что мы знаем на данный момент
- Руководство по наряду Смертоносный ассасин в игре Red Dead Redemption
- Задание ‘Первый контакт’ в игре Starfield Пошаговое руководство
- Новый герой Космический рейнджер в Overwatch 2 перевернет игровой процесс танков!
- Подземелья и драконы как создать Эльдрического рыцаря
- CRPG ветеран имеет специально гравированные часы, чтобы напомнить ему, что его недооцененная игра была на самом деле хорошей.
- Дневники вампира неумирающие истории для вечных фанатов 👻
- 10 лучших игр для MSX
- Выбор лучшего класса в Diablo 4 Руководство по поиску идеального стиля игры
- Nintendo Switch 2 Неожиданно отложенное путешествие
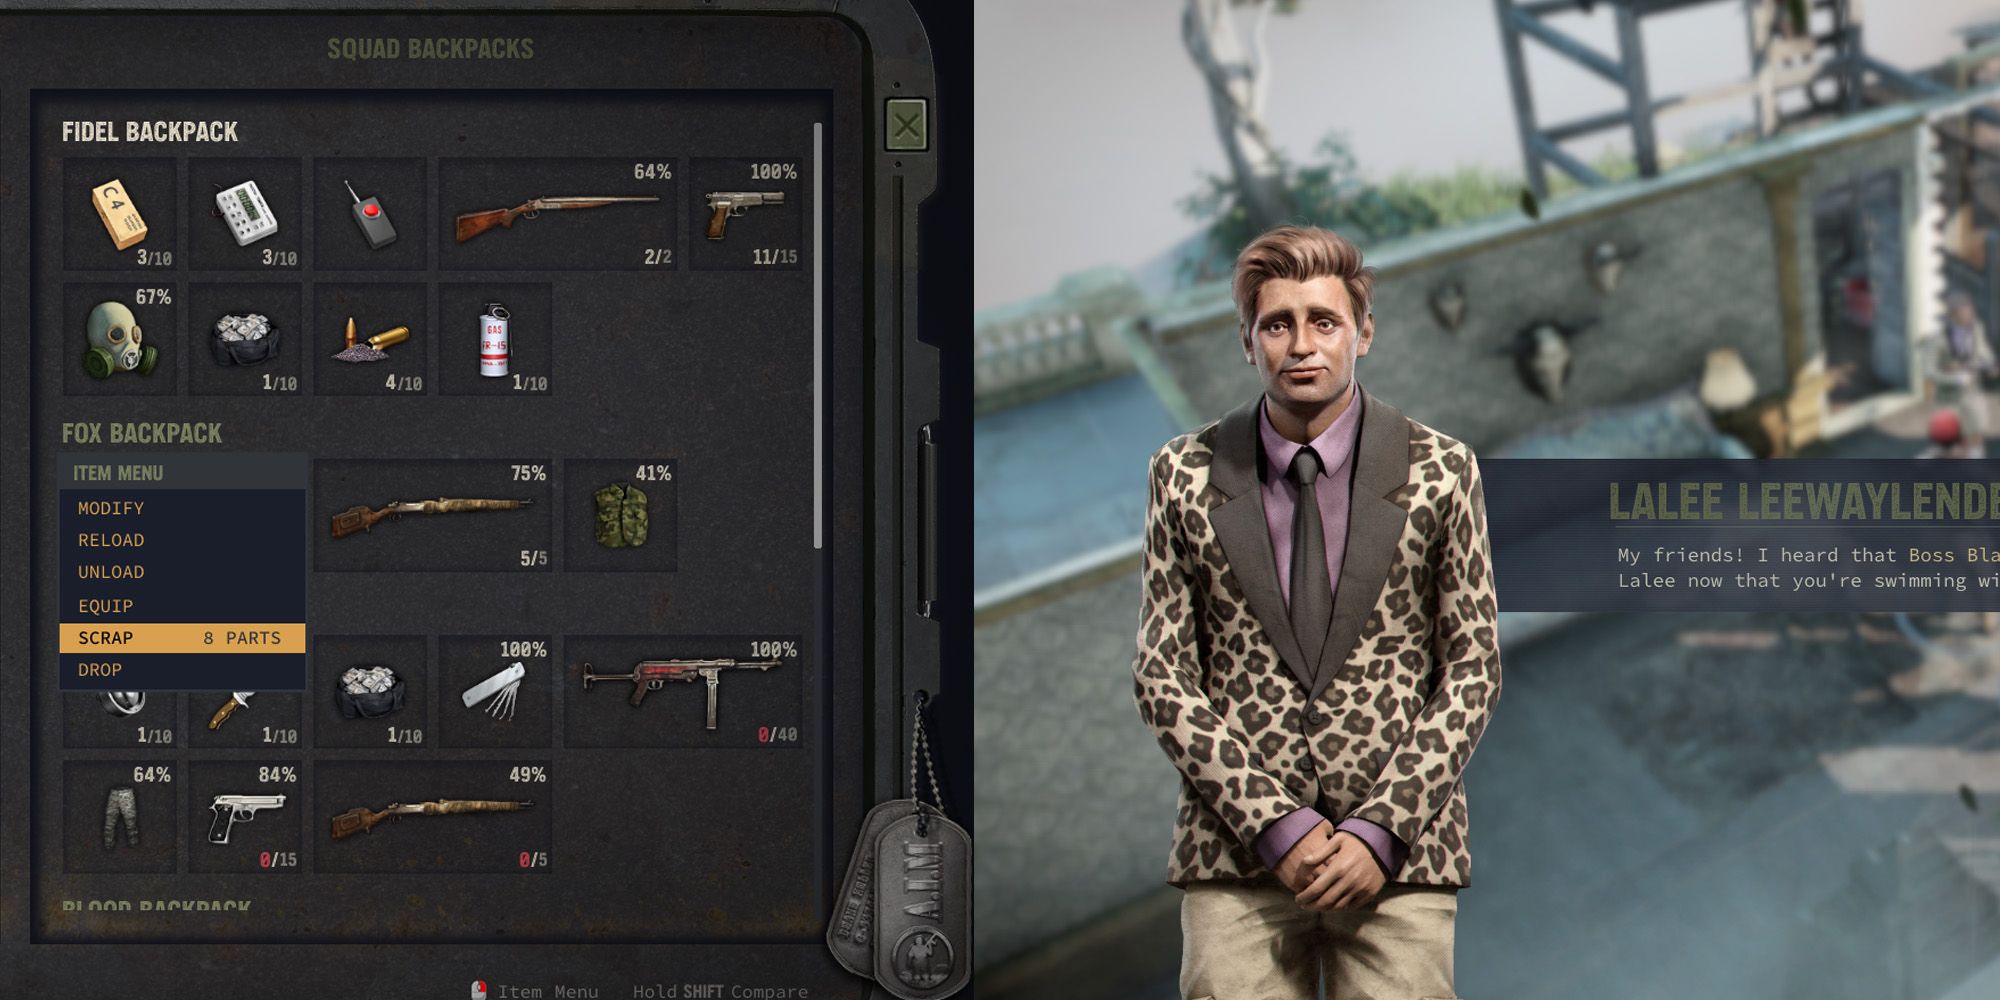
- Как получить легендарный арбалет Руководство по искусному убийству
- Pikmin 4 Ожидаемое время выпуска
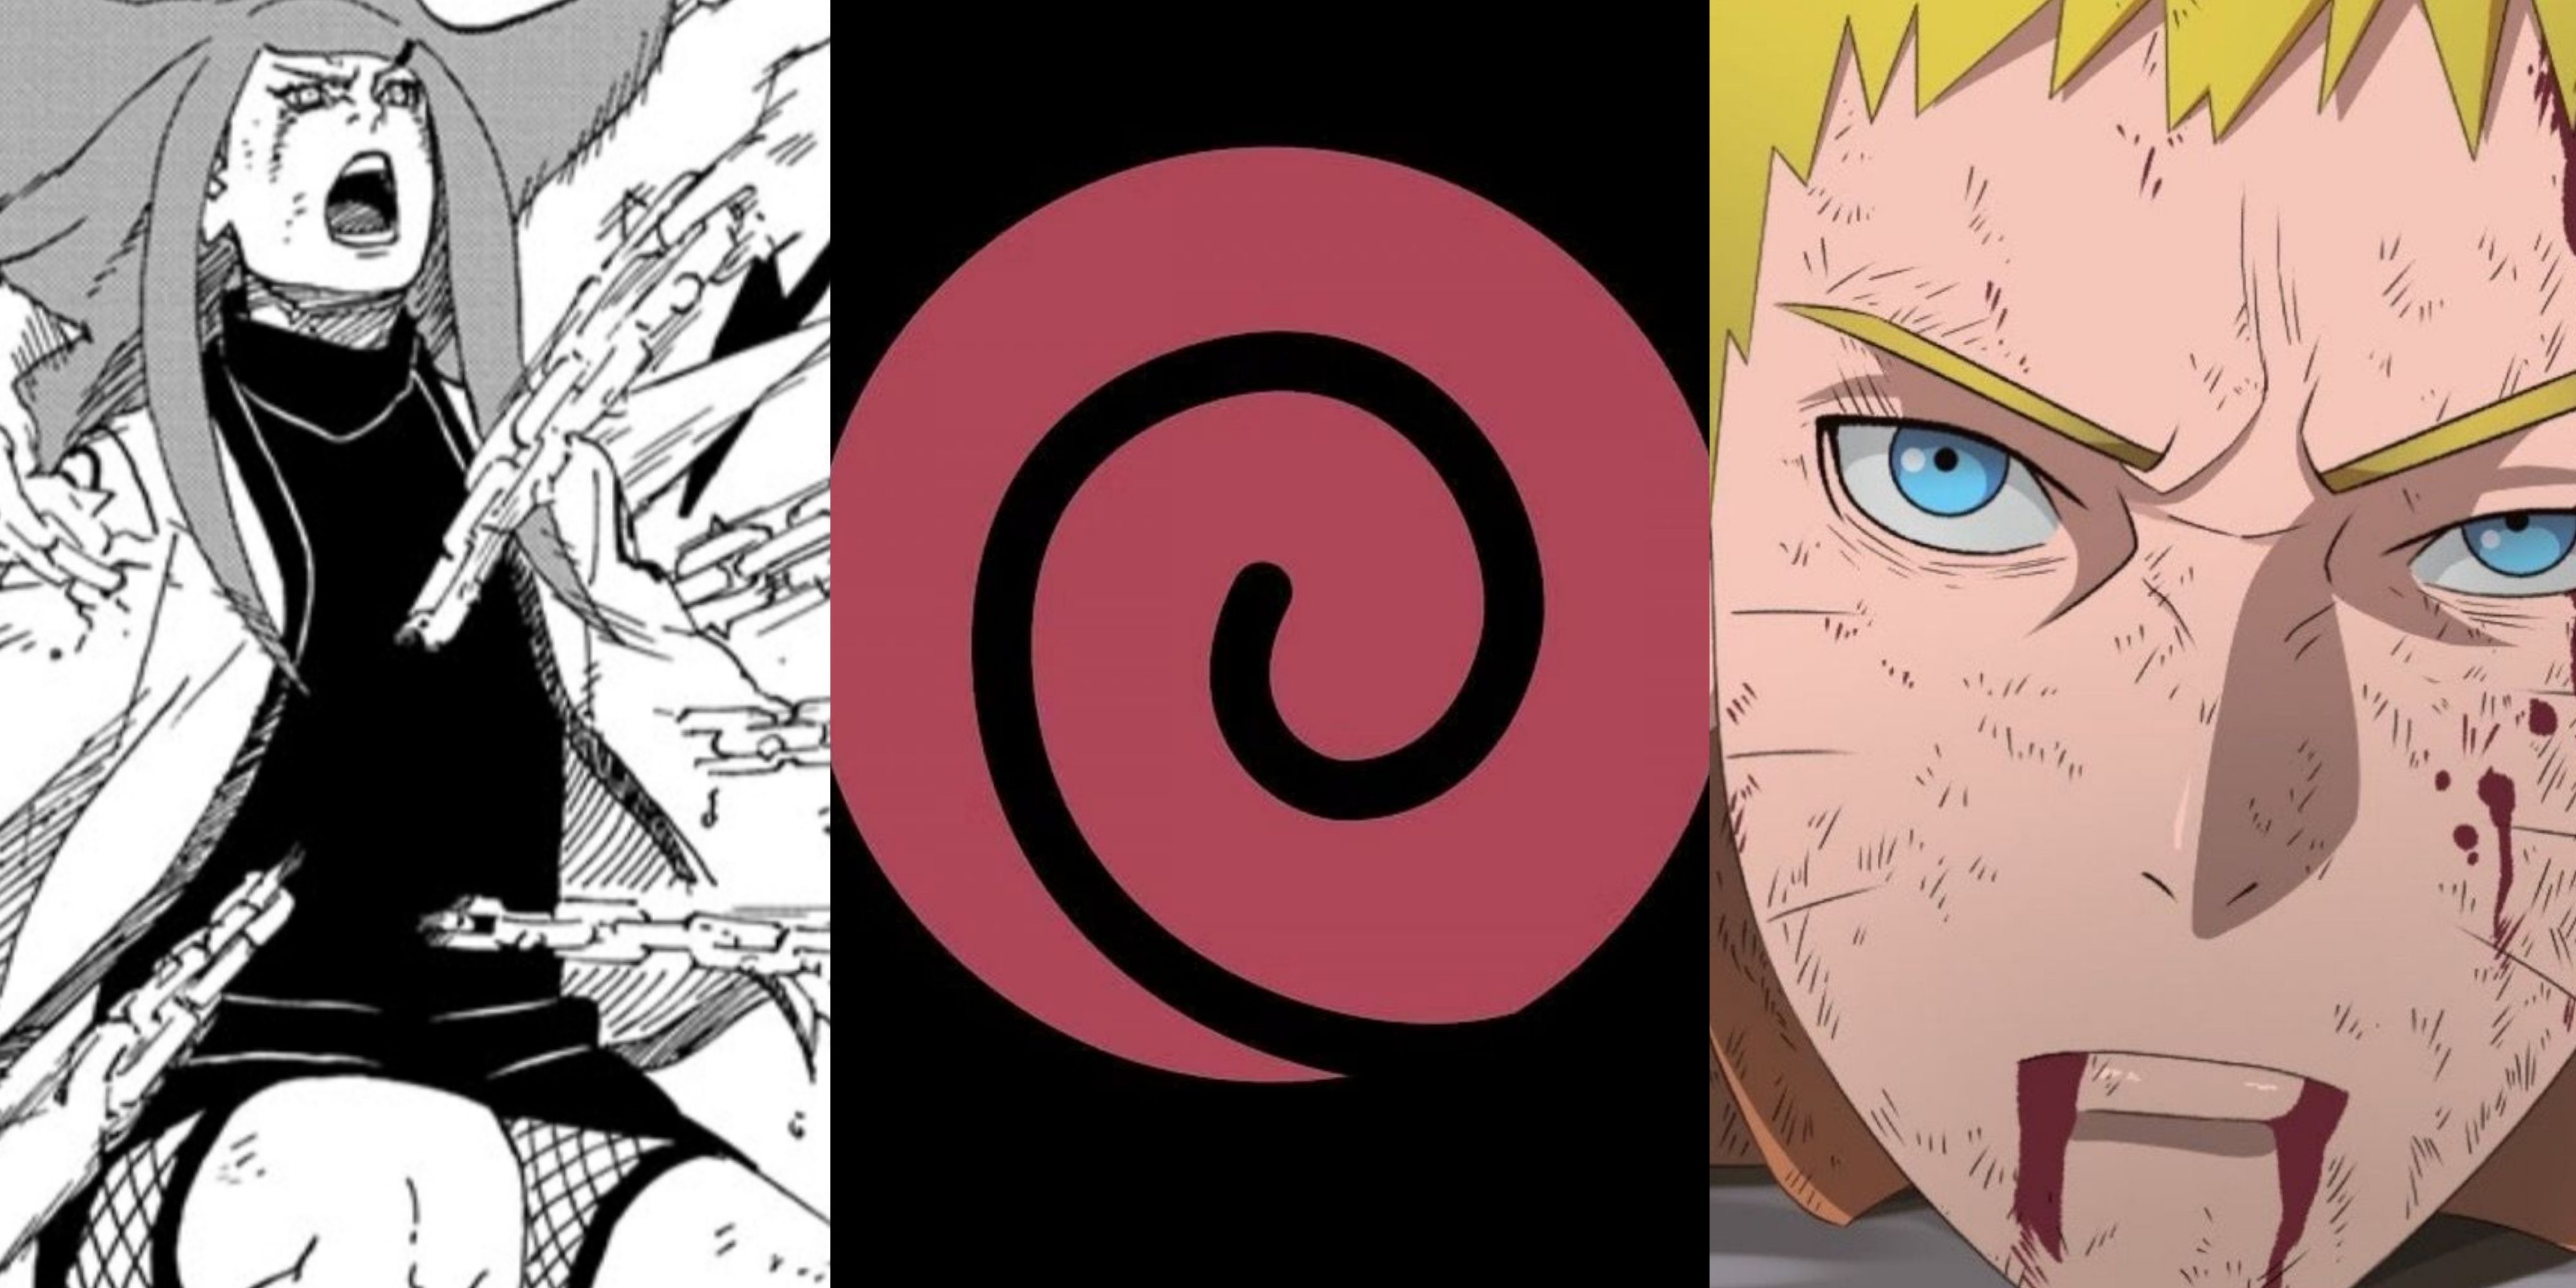
- Пользователи мощного Хаки в Мировом Правительстве в One Piece