

- Все прислужники в Last Epoch и как их вызвать, объяснено 🧟
- Лучшие игры, которые стоит сыграть, если вам понравилась Легенда о Зельде Дыхание дикой природы.
- Покемон TCG колода Banette ex – мощная деструктивная колода роуг.
- Урожайная Луна Ветра Антоса – 9 советов для начинающих
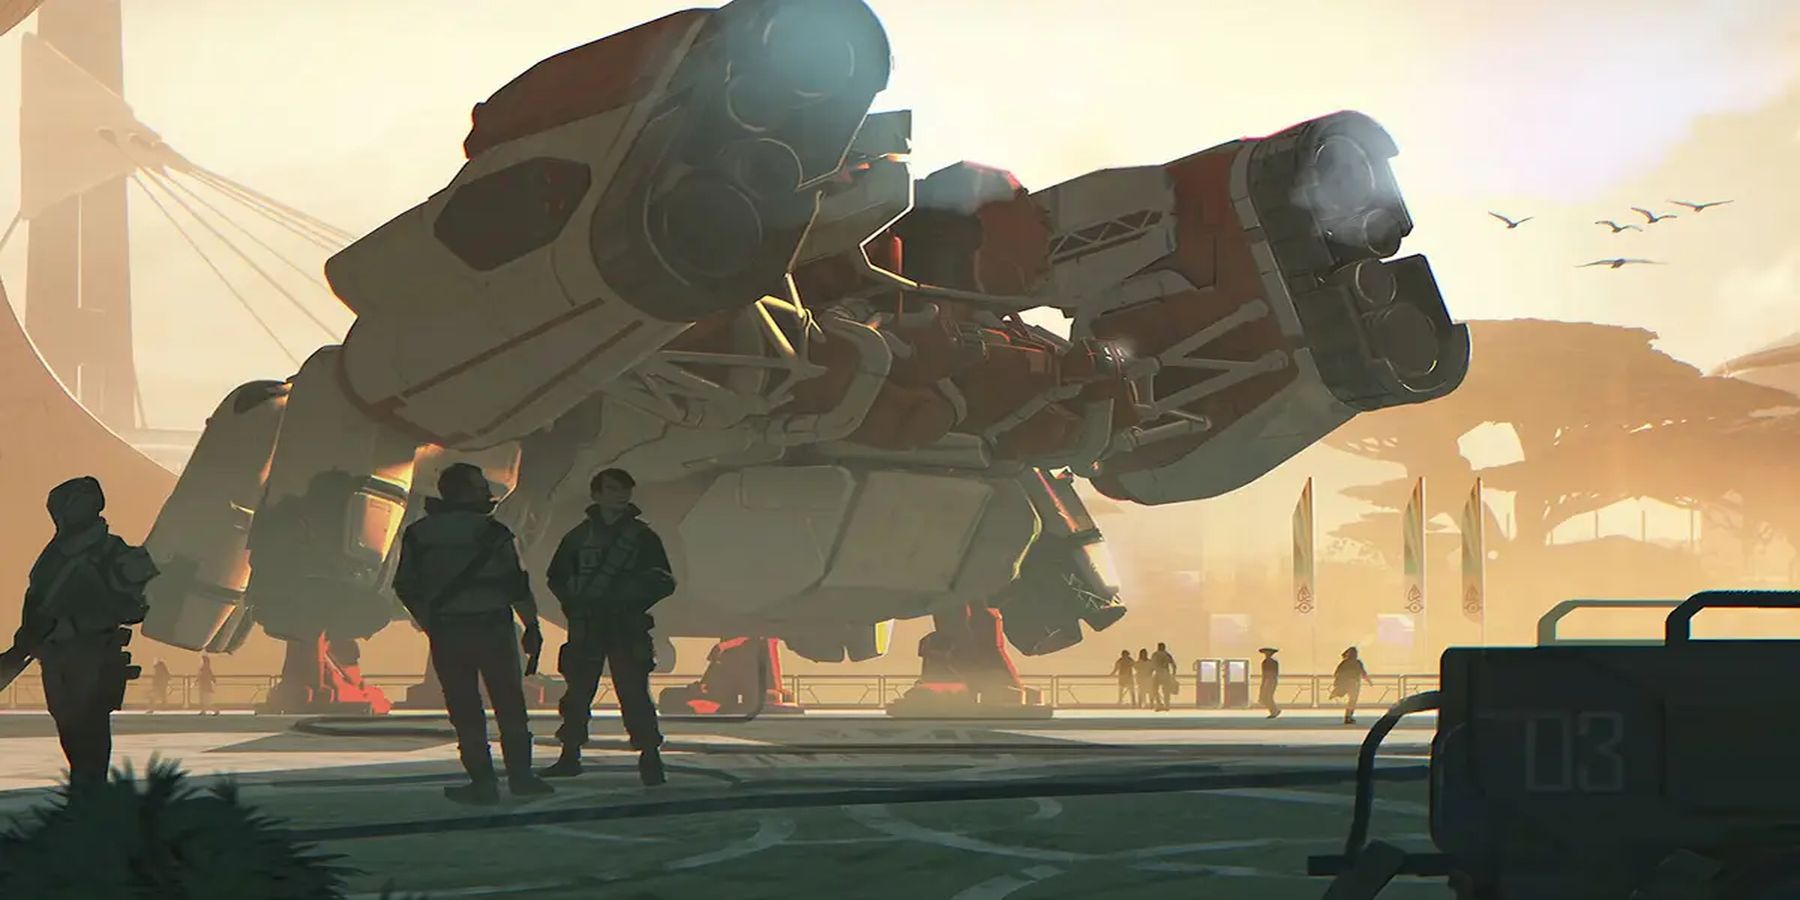
- Через 3 года оригинальный трейлер релиза Mass Effect 5 все еще может хранить секреты будущего серии.
- Первое дополнение The Awakened King для игры Remnant 2 получает дату выпуска в ноябре
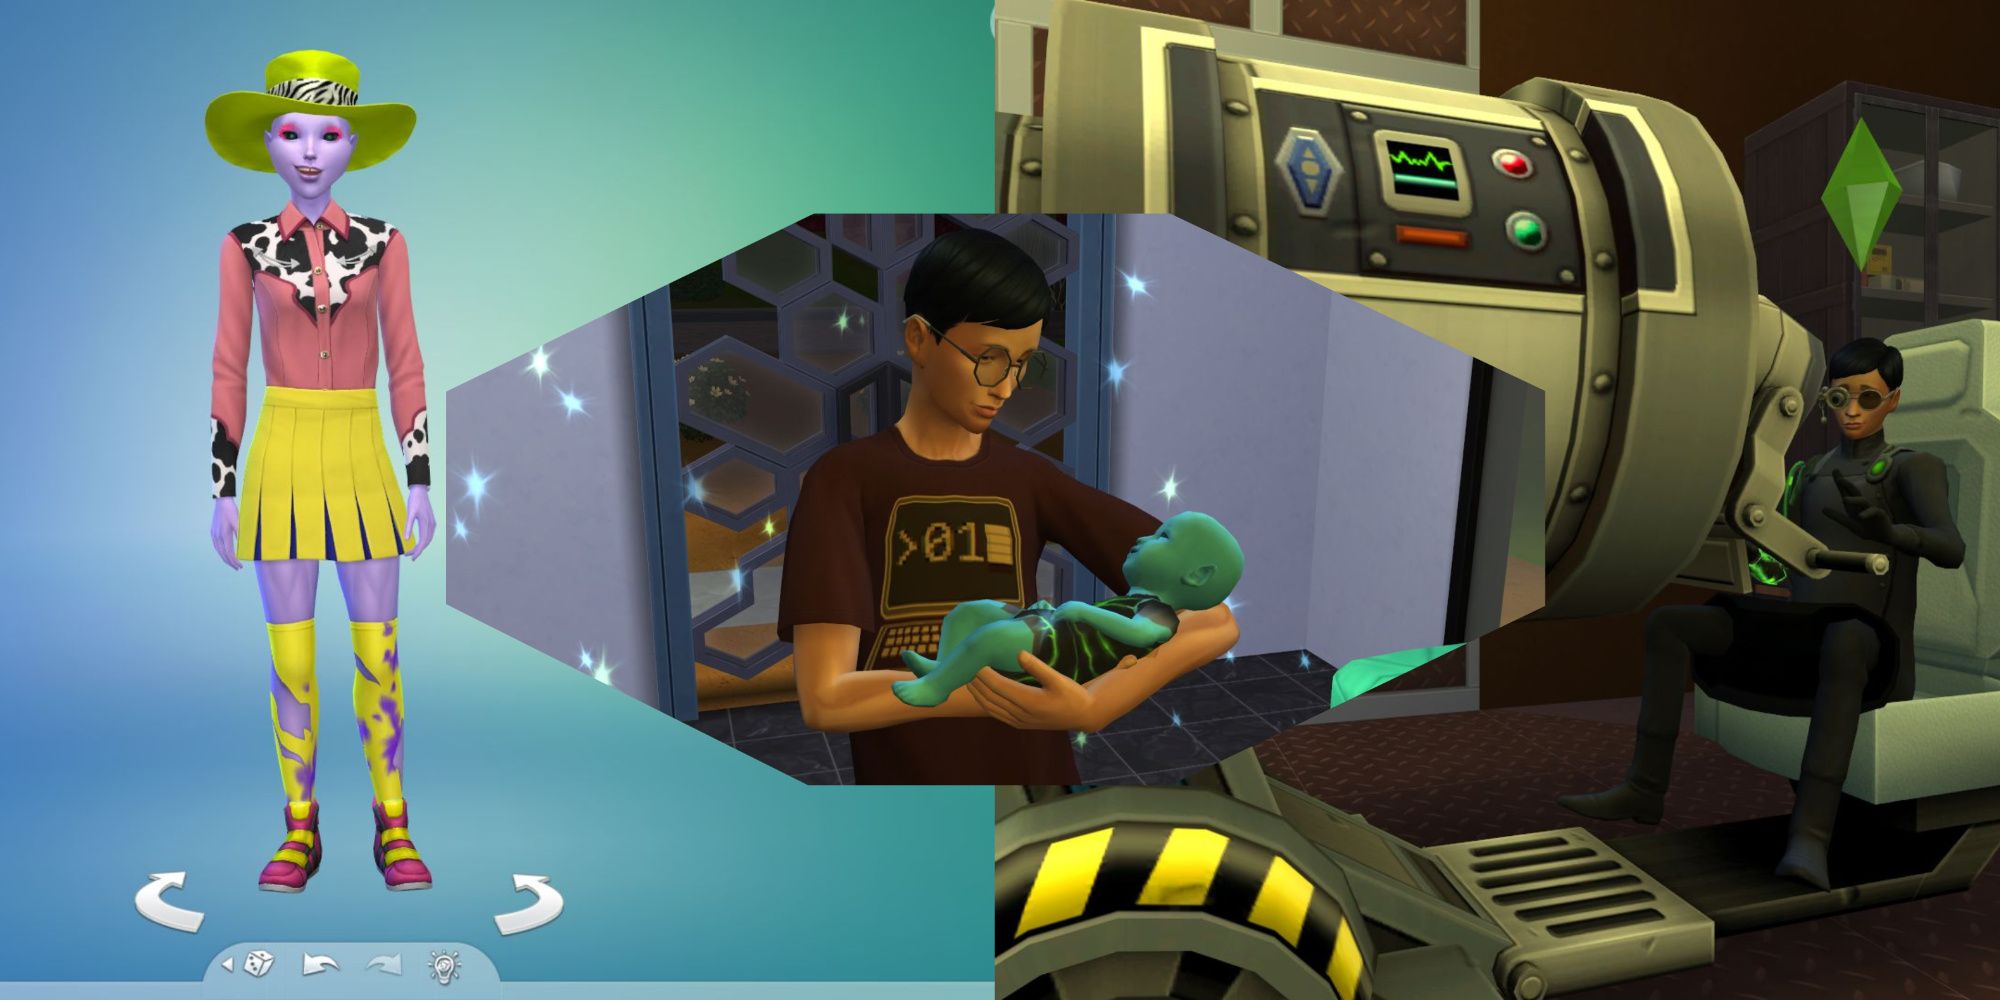
- Мультиплеер The Sims 5 может быть вдохновлен играми Animal Crossing или Among Us
- Мультиплеер игры Uncharted Игнорируемый потенциал
- Ведьмак Ремейк – оживление эпического приключения 🐺🎮
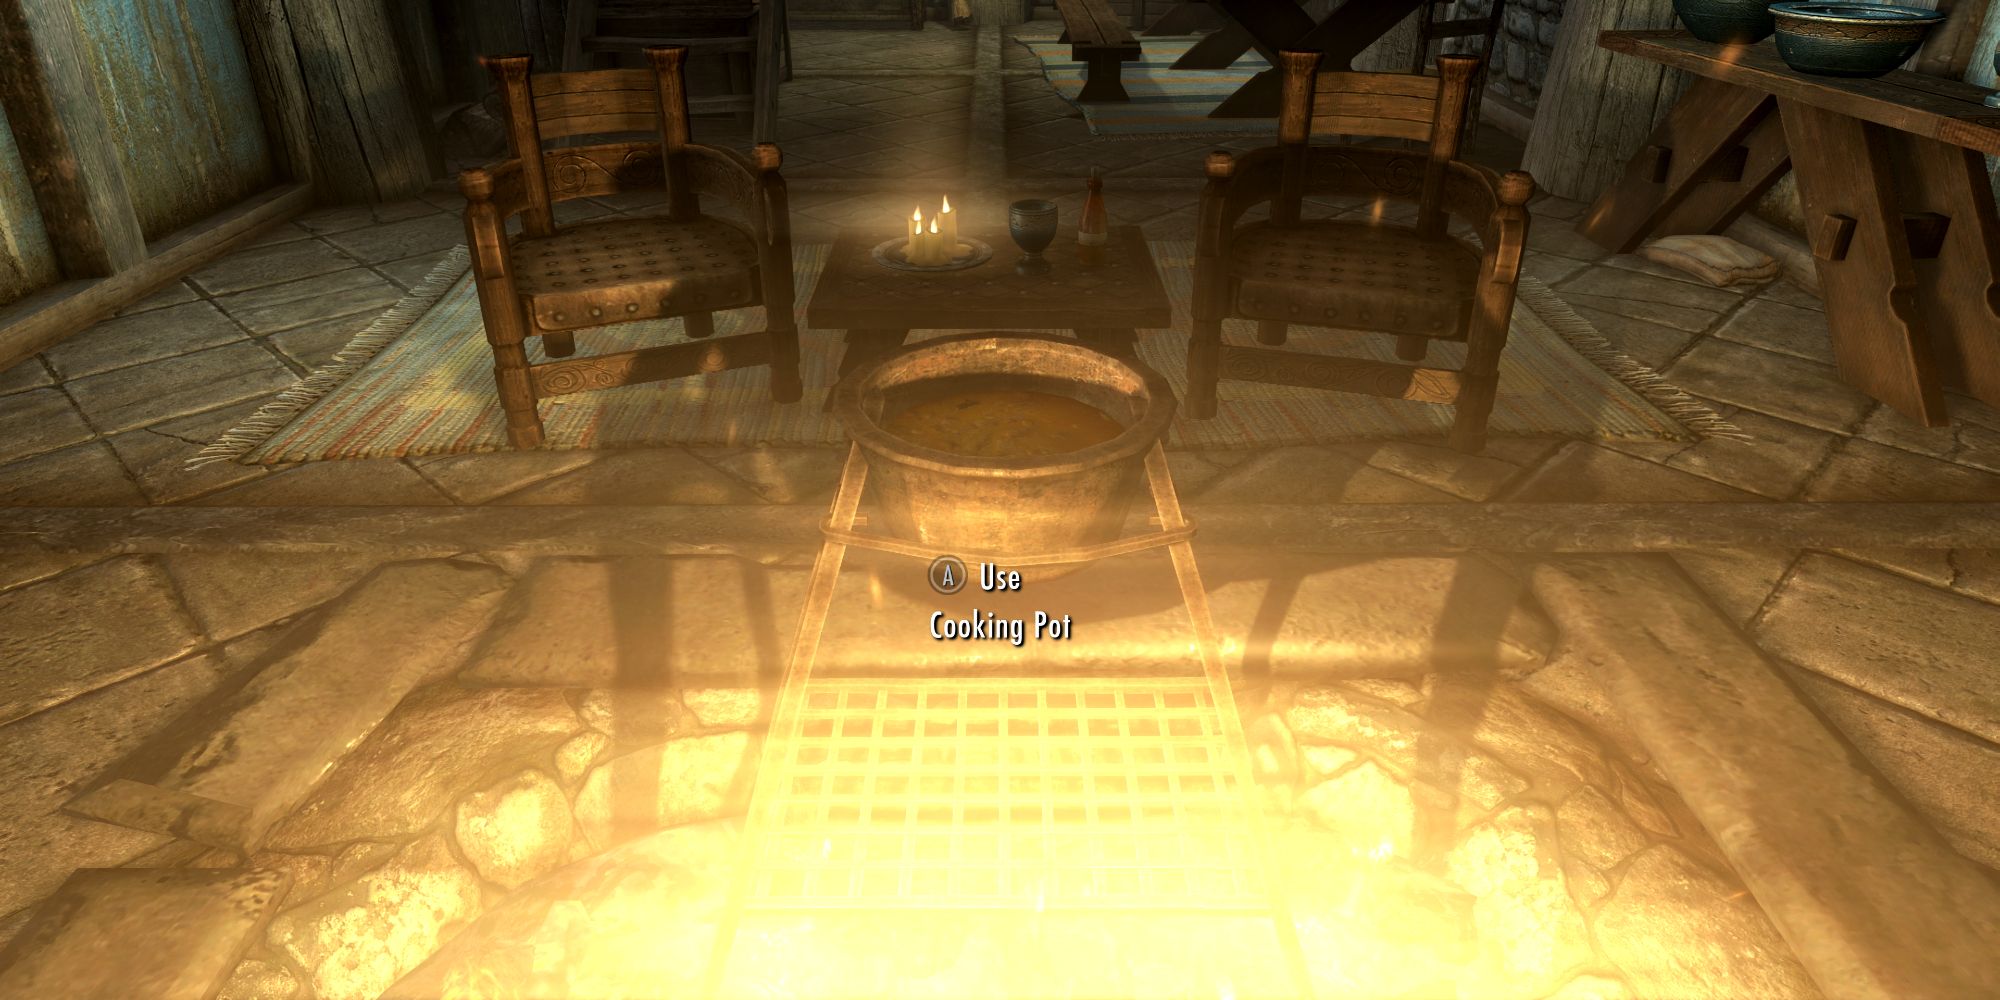
- Самые реалистичные игры выживания
- РПГ-игра Pro Wrestling WrestleQuest Дата релиза отложена в последнюю минуту
- Обзор игры The Lamplighters League – GameTopic
- Хонкай утечка Star Rail раскрывает новую область в версии 1.3
- Бесплатные брони Eververse в Destiny 2 появятся в сезоне 22, так как Bungie объясняет изменения
- Актеры игры The Last of Us Трой Бейкер и Эшли Джонсон снова играют Джоэла и Элли – на аттракционе в парке развлечений.