The Sims 4 Как стать русалкой In this guide, we’ll dive deep into the mystical waters of The Sims 4 and explore the enchanting world of mermaids. If you’ve ever dreamed of swimming effortlessly through the ocean, combing your hair with a fork, and singing with a voice that could rival Ariel herself, then this is the guide for you. Step 1 Get Your Sim Ready Before your Sim can embark on their aquatic adventure, they’ll need to be in the right mindset. Make sure their needs are fulfilled, their aspirations are aligned, and they have a deep desire to explore the depths of the ocean. Only then will they be ready for the transformation that awaits. Step 2 Dive into the Mystical Realm Now that your Sim is ready, it’s time to take the plunge into the mystical realm of mermaids. Head to any body of water in the game, whether it be a pool, a pond, or even the great ocean itself. Find a secluded spot where your Sim can be alone with their thoughts and desires. Step 3 Chat with the Dolphins Mermaids are known for their special connection with dolphins, so it’s only fitting that you’ll need to have a chat with them. Interact with the dolphins in the water and build a friendly relationship with them. Who knows, they might just have some valuable information about becoming a mermaid. Step 4 Make a Splash Once your Sim has established a connection with the dolphins, it’s time to make a splash and embrace their inner mermaid. Look for a hidden underwater cave, where magical artifacts and treasures are said to reside. Explore the cave and interact with any items you find. You never know what secrets they might hold. Step 5 Transform into a Mermaid After your Sim has explored the underwater cave and interacted with the magical items, it’s time for the big moment. Your Sim will start to feel a change in their body, their legs will transform into a beautiful mermaid tail, and their dream of becoming a mermaid will finally come true. It’s time to embrace your new aquatic life and explore all the wonders the ocean has to offer. So there you have it, a step-by-step guide on how to become a mermaid in The Sims 4. Dive into the mystical realm, chat with dolphins, and make a splash in the underwater cave. Before you know it, you’ll be swimming with the fishes and living out your mermaid fantasies. Good luck, and may the ocean be forever in your favor!

Стать частью Ордена Русалок в The Sims 4 так же просто, как следовать этим шагам.

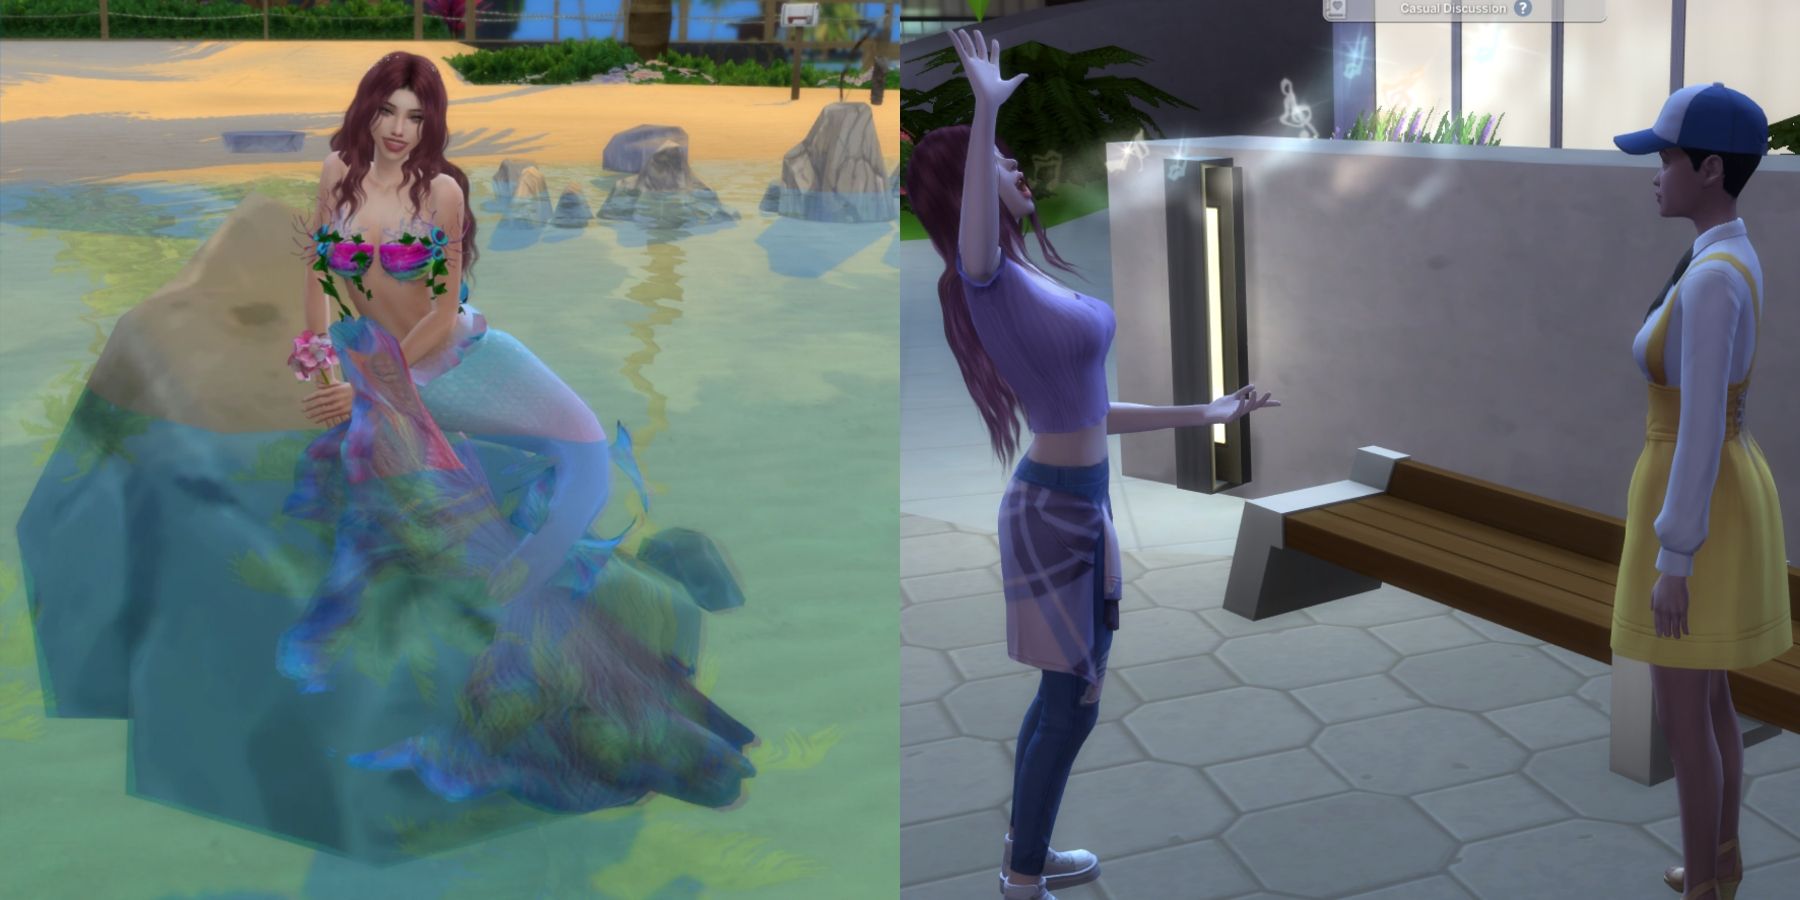
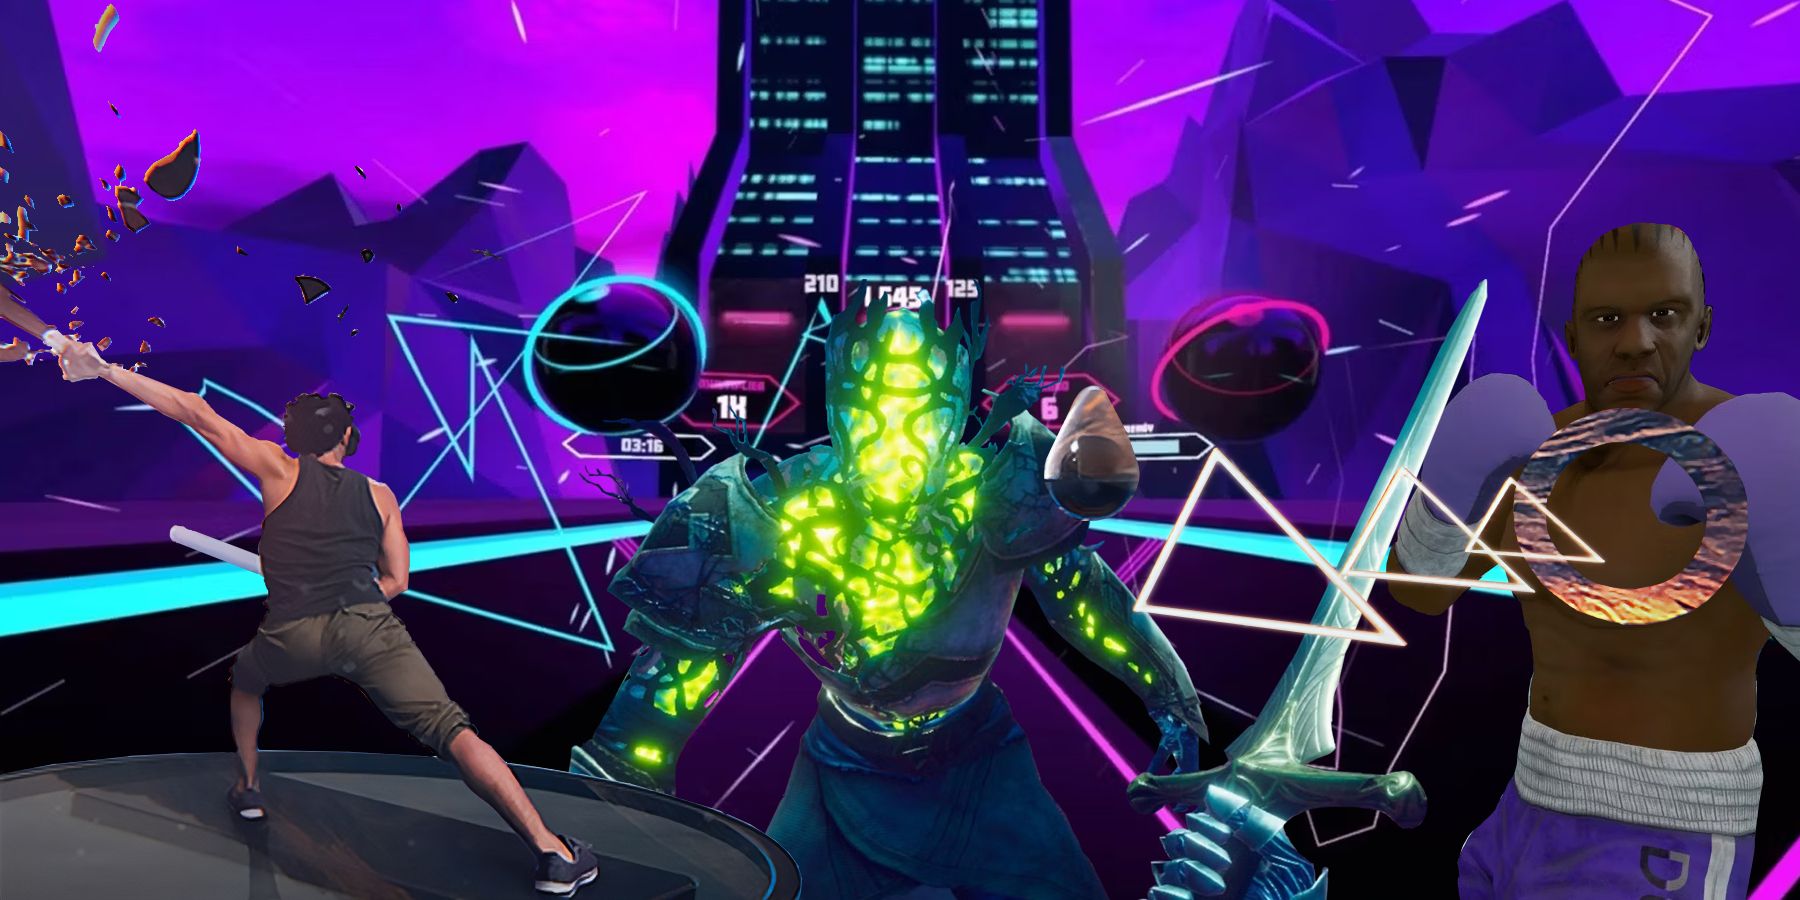
10 лучших фитнес-игр на Oculus Quest 2

Oculus Quest 2 имеет невероятный набор фитнес-игр, в которых игроки могут полностью погрузиться.

Балдурское Врата 3 Как победить гоблинов As a translation assistant and a fellow gamer, I have some tips and tricks to help you conquer the goblins in Baldur’s Gate 3. So grab your swords, sharpen your axes, and let’s dive into the world of goblin-slaying! 1. Preparation is key Before heading into battle, make sure you have the right equipment and spells. Stock up on potions, scrolls, and any other goodies that can give you an advantage. Don’t forget to check your character’s abilities and ensure they are optimized for goblin-slaying. 2. Scout the area Goblins are sneaky creatures and like to set up traps. Take your time to explore the area and look for any signs of danger. Disable traps before engaging with the goblins to avoid unnecessary damage. 3. Use the environment to your advantage Baldur’s Gate 3 offers a dynamic and interactive environment. Utilize it to your benefit! Push barrels onto enemies, set fire to explosive barrels, or throw objects to distract or stun goblins. Get creative with your surroundings! 4. Crowd control is key Goblins often attack in groups, so crowd control spells and abilities will be your best friend. Use spells like Sleep, Web, or Thunderwave to incapacitate or disorient groups of goblins, giving you the upper hand in battle. 5. Target the spellcasters Goblins may be small, but they can pack a punch with their spells. Focus your attacks on goblin spellcasters first to prevent them from causing havoc on your party. Interrupt their spells with well-timed attacks or use silence spells to render them useless. 6. Watch your positioning Goblins are known for their hit-and-run tactics. Position your party members strategically to create a defensive line and prevent goblins from flanking you. Protect your squishy characters by placing them in the backline, while your tanks hold the frontline. 7. Heal up Don’t forget to heal your party members during and after battles with goblins. Keep a close eye on their health bars and use healing spells or potions when necessary. A healthy party is a victorious party! Remember, goblins may be small, but they can still pose a threat. Stay focused, adapt to the situation, and use your wits to outsmart these pesky creatures. Good luck, adventurer, and may your blades be sharp and your spells be powerful!

Первый акт игры Baldur's Gate предлагает вам принять серьезное решение, касающееся Гоблинского лагеря. Вот руководств...

Балдурс Гейт 3 – Как добраться до башен Мунрайз In this guide, we will show you how to reach the elusive Moonrise Towers in Baldur’s Gate 3. These majestic towers are rumored to hold incredible treasures and secrets, but getting there is no easy feat. So fasten your seatbelts, grab your weapons, and let’s embark on this epic adventure! Step 1 Gear Up Before setting off on your journey, make sure you are well-equipped. Stock up on healing potions, scrolls, and any other useful items you may need. It’s also a good idea to bring along a party of skilled adventurers to help you along the way. Step 2 Find the Teleportation Circle To reach the Moonrise Towers, you’ll need to find the teleportation circle that will transport you there. This circle can be found in the Underdark, a dark and dangerous underground realm. Make your way through the treacherous tunnels, battling monsters and solving puzzles, until you stumble upon the teleportation circle. Step 3 Activate the Teleportation Circle Once you’ve found the teleportation circle, you’ll need to activate it. This can be done by solving a series of riddles or completing a challenging quest. Use your wits and skills to overcome these obstacles and activate the circle. Step 4 Hold on Tight After activating the teleportation circle, get ready for a wild ride. Hold on tight as you are whisked away to the Moonrise Towers. The journey may be bumpy, but trust us, the destination is worth it. Step 5 Explore and Conquer Congratulations, you’ve reached the Moonrise Towers! Now it’s time to explore and conquer. These towers are filled with dangerous creatures, hidden treasure, and mind-bending puzzles. Use your combat skills and problem-solving abilities to overcome any challenges that come your way. Step 6 Claim Your Rewards As you make your way through the Moonrise Towers, you’ll encounter powerful enemies and discover valuable loot. Defeat these foes and claim your rewards. Whether it’s a rare weapon, a magical artifact, or a secret passage to another realm, the treasures of the Moonrise Towers are yours for the taking. And there you have it, a step-by-step guide on how to reach the awe-inspiring Moonrise Towers in Baldur’s Gate 3. Good luck, adventurer, and may your journey be filled with excitement and triumph!

Откройте способы, которыми вы можете достичь башен Moonrise в Baldur's Gate 3.

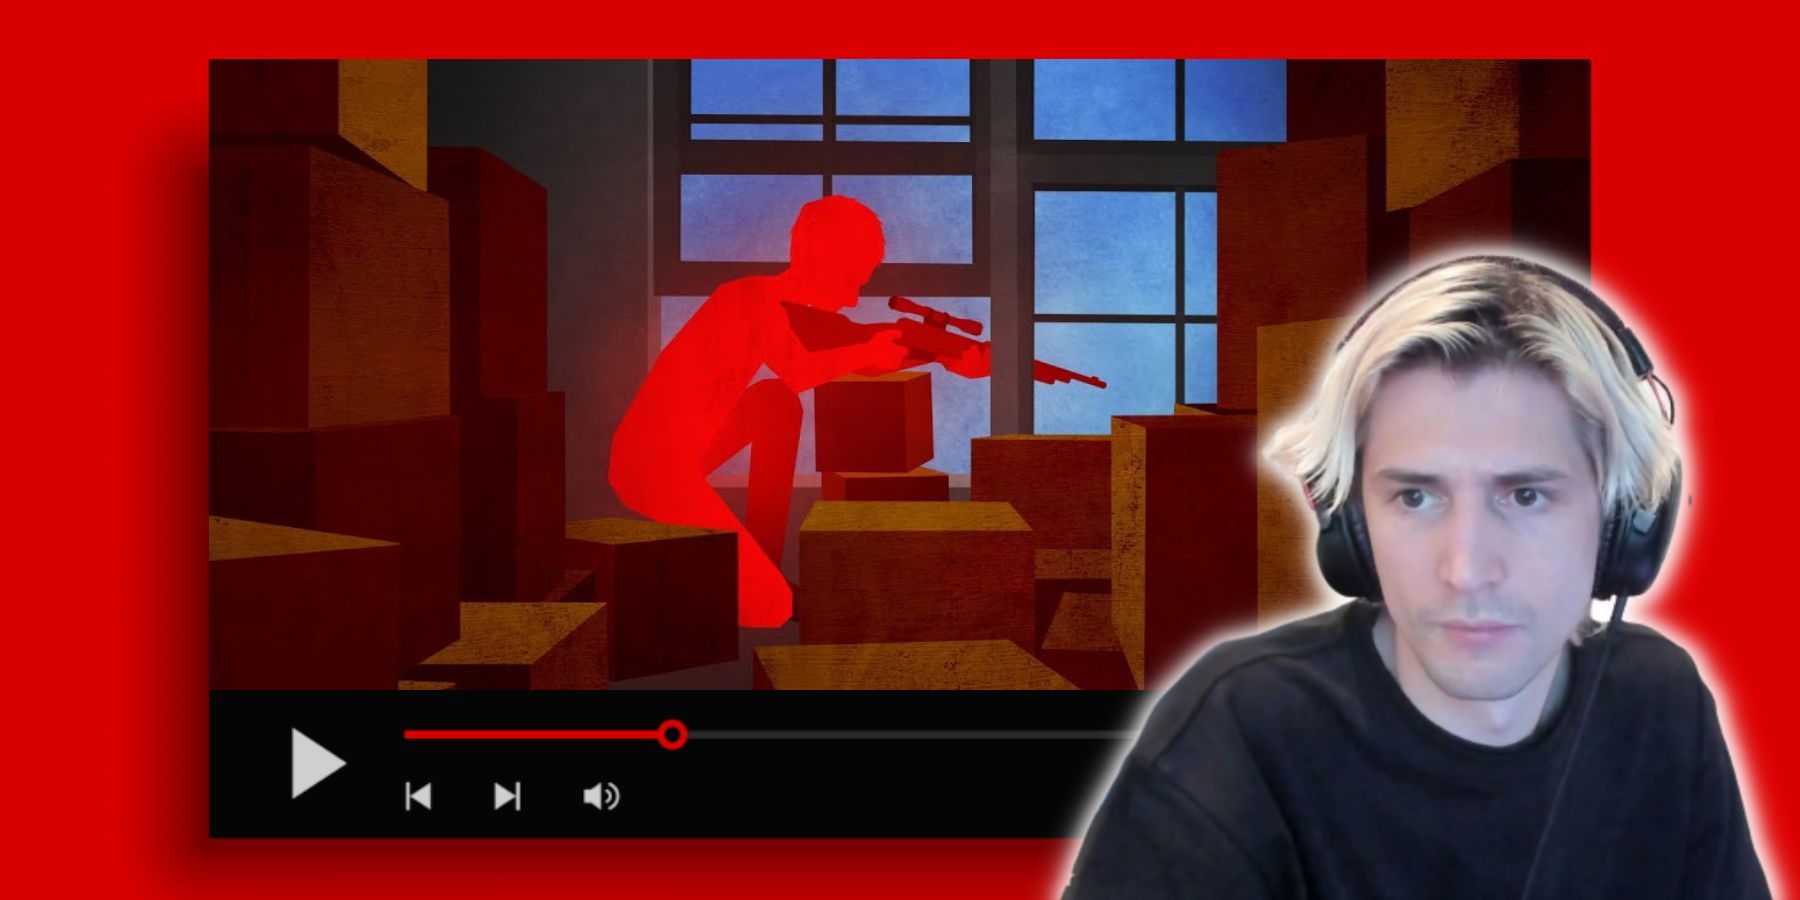
Разъясняем контроверзию с xQc и реакционное контентирование

xQc снова оказался в центре внимания из-за своего контента с реакциями, и некоторые считают, что это недостаточно пре...

Сэкономьте 20% на следующей игре Dragon Quest, Приключение Дая

Участники бесплатной программы лояльности Green Man Gaming могут сэкономить крупную сумму при предзаказе этой экшн-RP...

Как получить реликвию Пустого Сердца в игре Remnant 2 In this guide, I will show you how to get your hands on the coveted Remnant 2 Void Heart Relic. So sit back, grab your controller, and let’s dive into the world of Remnant once again! Step 1 Prepare for the Journey Before embarking on this epic quest, make sure you’re well-equipped and ready for anything. Stock up on healing items, upgrade your weapons and armor, and don’t forget to bring your trusty sidekick (or at least a good supply of snacks). Step 2 Locate the Void Heart Relic Now that you’re all set, it’s time to find the elusive Void Heart Relic. This relic is rumored to be hidden deep within the treacherous Abyssal Caverns. So gear up, sharpen your senses, and get ready for some serious dungeon crawling. Step 3 Conquer the Abyssal Caverns The Abyssal Caverns are not for the faint of heart. It’s a labyrinth of darkness and danger, filled with deadly traps and monstrous creatures. But fear not, brave adventurer, for I have some tips to help you navigate this treacherous place – Take it slow Rushing through the caverns will only lead to your demise. Take your time, explore every nook and cranny, and be prepared for surprises around every corner. – Watch your step The Abyssal Caverns are known for their tricky terrain. Keep an eye out for hidden pitfalls, crumbling platforms, and other hazards that could send you plummeting into the abyss. – Bring a friend The caverns are a lonely place, but having a friend by your side can make all the difference. Team up with a fellow adventurer or recruit an AI companion to watch your back and lend a helping hand. Step 4 Face the Guardian of the Relic After what feels like an eternity of crawling through the darkness, you will finally come face to face with the Guardian of the Void Heart Relic. This formidable foe will test your skills and determination, but don’t give up. Use everything you’ve learned along the way and give it your all. Step 5 Claim your Prize Once you’ve defeated the Guardian, the Void Heart Relic will be yours for the taking. Bask in your glory, show off your new shiny trinket to your friends, and revel in the satisfaction of a job well done. Congratulations, you’ve successfully obtained the Remnant 2 Void Heart Relic! Now go forth, hero, and continue your epic journey through the world of Remnant. May fortune favor your travels and may your gaming skills never falter.

Заберите реликвию Пустотного сердца Рушин 2 в районе Н'Эруд после того, как помогли Смотрителю

Балдурс Гейт 3 Как выделить объекты In this game guide, we will show you how to become the master of object highlighting in Baldur’s Gate 3. So grab your potions, sharpen your swords, and let’s get started! Step 1 The Power of Perception Before you can start highlighting objects, you need to make sure your character has a high perception skill. This will allow you to spot hidden items and interactable objects more easily. So if you’ve been neglecting this attribute, it’s time to give it some love. Step 2 The Art of Observation Once your character’s perception is up to par, it’s time to put those eagle eyes to work. As you explore the various areas of the game, keep an eye out for anything that looks out of place. It could be a hidden switch, a secret door, or even a valuable item tucked away in a corner. Don’t be afraid to investigate every nook and cranny! Step 3 The Magic of Mouse Clicks Now that you’ve spotted something interesting, it’s time to highlight it. Simply move your cursor over the object and give it a click. This will bring up a menu of options, allowing you to interact with the object in various ways. Whether it’s picking up an item, examining a book, or pulling a lever, the choice is yours. Step 4 The Joy of Exploration Highlighting objects isn’t just about finding hidden treasures. It’s also a way to immerse yourself in the game world and uncover its secrets. Take your time to explore every nook and cranny, talk to NPCs, and soak in the atmosphere. You never know what surprises await you. Step 5 The Perils of Over-Highlighting While highlighting objects is a useful skill, be careful not to go overboard. There’s a fine line between being thorough and being obsessive. So don’t spend hours clicking on every single rock or blade of grass. Trust your instincts and focus on the objects that truly pique your interest. And there you have it, a beginner’s guide to highlighting objects in Baldur’s Gate 3. So go forth, adventurer, and may your inventory be filled with epic loot!

Существуют несколько очень удобных способов выделить все взаимодействующие объекты в Baldur's Gate 3.

Stardew Valley Как надеть приманку на удочку In this guide, I will show you how to put bait on your fishing rod in Stardew Valley. Now, I know what you’re thinking – Why do I need bait? Can’t I just fish without it? Well, my friend, let me tell you that using bait can greatly increase your chances of catching some juicy fish. So let’s dive right in! Step 1 Gather Some Bait First things first, you need to get your hands on some bait. You can either buy it from Willy’s Fish Shop for 5g each, or you can craft it yourself using 1 Bug Meat. Bug Meat can be obtained by killing bugs in the mine or by chopping down trees in the Secret Woods. It’s like a two-for-one deal – you get rid of bugs and you get bait. It’s a win-win! Step 2 Equip Your Fishing Rod Next, make sure you have your fishing rod equipped. You can equip it by selecting it from your inventory or by holding down the fishing button (which is usually the right mouse button) and selecting the fishing rod from the radial menu. Once your fishing rod is equipped, you’re ready for the next step. Step 3 Attach the Bait Now comes the fun part – attaching the bait to your fishing rod. To do this, simply right-click on the bait in your inventory and then left-click on your fishing rod. Voila! The bait should now be attached to your fishing rod and you’re all set to catch some fish. Step 4 Cast Your Line With the bait attached, it’s time to cast your line and start fishing. Find a suitable fishing spot, aim your cursor towards the water, and left-click to cast your line. Now all you have to do is wait for a fish to bite! And there you have it – a simple guide on how to put bait on your fishing rod in Stardew Valley. With the help of bait, you’ll be reeling in those fish in no time. Happy fishing, my fellow farmers!

Рыбалка в Stardew Valley становится значительно быстрее с помощью приманки в мини-игре, так как она заставляет рыбу к...

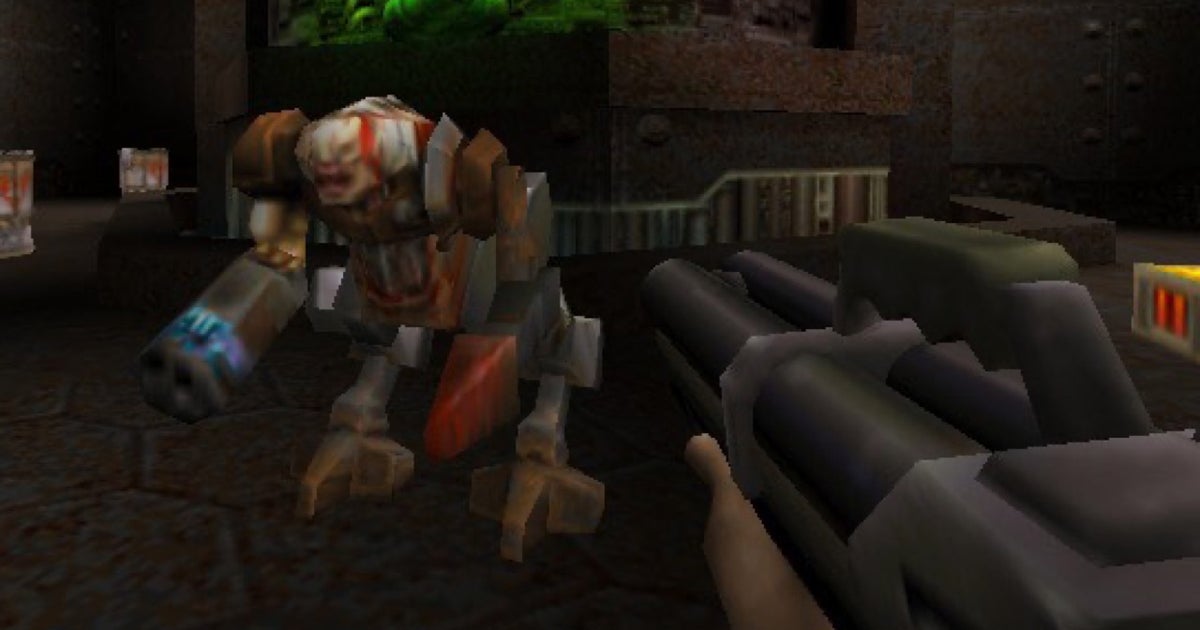
Утечка улучшенной версии Quake 2, предположительно, будет представлена на QuakeCon на следующей неделе.

После небольшой утечки информации от рейтингового комитета ранее в этом году, новый отчет утверждает, что ремастер Qu...