Starfield Как повысить уровень командования корабля In this guide, we will explore the various ways to increase your ship command level in the highly anticipated game Starfield. As a space explorer, your ship command level plays a crucial role in your ability to navigate the vast universe and take on challenging missions. So, let’s dive in and uncover the secrets to becoming a master commander! 1. Complete Missions One of the most straightforward ways to increase your ship command level is by completing missions. As you progress through the game, you will encounter various missions that test your skills and reward you with experience points. The more missions you complete, the faster your ship command level will rise. 2. Upgrade Your Ship Investing in ship upgrades is another effective way to increase your ship command level. By enhancing your ship’s capabilities, such as its engines, weapons, and shields, you’ll be better equipped to handle tougher challenges. Not only will this improve your chances of success, but it will also contribute to your ship command level growth. 3. Explore New Planets Starfield is all about exploration, and venturing into uncharted territories can yield significant rewards. By discovering and exploring new planets, you’ll uncover valuable resources, artifacts, and knowledge that can contribute to your ship command level. So, don’t be afraid to boldly go where no one has gone before! 4. Engage in Space Battles Space battles are an exhilarating part of Starfield’s gameplay, and they also offer an opportunity to increase your ship command level. By engaging in battles with enemy factions or pirates, you’ll not only test your combat skills but also earn experience points and valuable loot. Just remember to upgrade your ship’s weapons and defenses before diving into these intense encounters! 5. Build Relationships In Starfield, building relationships with NPCs can have a significant impact on your ship command level. By completing side quests, helping out fellow spacefarers, or making strategic choices during conversations, you can gain allies and unlock unique bonuses. These bonuses can range from increased ship command level to exclusive ship upgrades or crew members. 6. Master Space Trading Trading is a fundamental aspect of the spacefaring lifestyle, and it can be a lucrative way to increase your ship command level. By buying low and selling high, you can amass wealth, acquire rare goods, and expand your influence in the galaxy. As your trading prowess grows, so will your ship command level. Remember, increasing your ship command level in Starfield is a gradual process that requires dedication and skill. By following these tips and embracing the challenges that lie ahead, you’ll soon rise through the ranks and become a legendary space commander. So, strap in, set your coordinates, and embark on an epic adventure in the vastness of Starfield!

Без некоторых рангов в Командовании Кораблем, вы не сможете смело отправиться с более чем парой человек и исследовать...

Балдурс Гейт 3 Как получить доспех Хеллдаск In this article, we will guide you through the process of obtaining the coveted Helldusk Armor in Baldur’s Gate 3. This powerful armor will not only provide excellent protection but also make you look like a total badass. So, let’s dive in and find out how to get your hands on this epic piece of equipment. Step 1 Find the Lost Temple The first step in obtaining the Helldusk Armor is to find the Lost Temple. This ancient, hidden temple is rumored to house powerful artifacts, including the armor you seek. You’ll need to embark on a perilous journey and solve various puzzles and quests to uncover the location of the Lost Temple. But trust us, the rewards will be worth it! Step 2 Confront the Guardian Once you’ve found the Lost Temple, be prepared to face the Guardian. This fearsome creature will put your combat skills to the test. It’s not going to be an easy fight, but if you want the Helldusk Armor, you’ve got to prove your worth. Use your tactics, skills, and maybe a little bit of luck to defeat the Guardian and move on to the next step. Step 3 Retrieve the Ancient Key After defeating the Guardian, you’ll need to retrieve the Ancient Key. This key is said to unlock the secret chamber where the Helldusk Armor is stored. Follow the clues and explore every nook and cranny of the Lost Temple to find this elusive key. Don’t worry, it’s not going to be a walk in the park, but that’s what makes the journey so exciting! Step 4 Unlock the Secret Chamber With the Ancient Key in your possession, it’s time to unlock the secret chamber. This chamber is filled with traps and obstacles, so be prepared for a challenging experience. Use your wits and problem-solving skills to navigate through the chamber and reach the final destination. Step 5 Claim the Helldusk Armor Finally, after overcoming all the challenges and obstacles, you’ll reach the chamber where the Helldusk Armor is stored. Take a deep breath, because this is the moment you’ve been waiting for. Open the chest, grab the armor, and admire its beauty. Congratulations! You are now the proud owner of the legendary Helldusk Armor. Remember, obtaining the Helldusk Armor is no easy feat. It requires skill, determination, and a bit of luck. But with this guide, you’ll have all the information you need to embark on this epic quest. So, gear up and get ready to conquer Baldur’s Gate 3 in style! Good luck, adventurer!

Вот где можно получить редкий и невероятно мощный набор доспехов Helldusk в Baldur's Gate 3.

Старфилд Как и где продавать контрабанду In this guide, we will delve into the exciting world of contraband in Starfield and explore the best ways and places to sell your illicit goods. Whether you’re a seasoned smuggler or just venturing into the dangerous world of black-market trading, this guide will help you navigate through the shadows and come out on top. So grab your space suit and let’s get started! Step 1 Find the Right Contacts The first thing you need to do is find the right contacts who can connect you to potential buyers. These contacts can be found in various locations throughout the Starfield universe, such as seedy bars, underground markets, or even on certain planets. Keep your ear to the ground and listen for whispers of lucrative opportunities. Step 2 Gather the Goods Once you’ve established your contacts, it’s time to gather the contraband. This can include anything from illegal weapons and rare artifacts to forbidden technology and exotic substances. Remember, the more unique and valuable the item, the higher the potential profits. Step 3 Choose the Right Marketplace Next, you need to choose the right marketplace to sell your contraband. Some locations may offer higher prices, but they also come with greater risks and scrutiny from law enforcement. It’s all about finding the right balance between profit and security. Don’t be afraid to test the waters and experiment with different markets to see which one suits you best. Step 4 Avoid Suspicion Selling contraband is a risky business, so it’s important to avoid suspicion and keep a low profile. Be discreet in your dealings, use code words, and always be aware of your surroundings. Remember, loose lips sink spaceships! Step 5 Expand Your Network As you gain experience and establish yourself as a reliable contraband trader, you can start expanding your network. This means finding new contacts, discovering hidden markets, and forging alliances with other like-minded individuals. The more connections you have, the more opportunities will come your way. Step 6 Stay One Step Ahead Lastly, always stay one step ahead of the competition and law enforcement. Keep up with the latest trends and developments in the contraband trade, invest in security measures to protect your goods, and be prepared to adapt to changing circumstances. Remember, in the world of black-market trading, the only constant is change. So there you have it, a comprehensive guide on how and where to sell contraband in Starfield. Just remember to always stay safe, have fun, and may the black-market gods be ever in your favor!

Контрабанта является одним из незаконных предметов, которые вы можете получить, играя в Starfield, и вот как вы может...

The Sims 4 Как стать русалкой In this guide, we’ll dive deep into the mystical waters of The Sims 4 and explore the enchanting world of mermaids. If you’ve ever dreamed of swimming effortlessly through the ocean, combing your hair with a fork, and singing with a voice that could rival Ariel herself, then this is the guide for you. Step 1 Get Your Sim Ready Before your Sim can embark on their aquatic adventure, they’ll need to be in the right mindset. Make sure their needs are fulfilled, their aspirations are aligned, and they have a deep desire to explore the depths of the ocean. Only then will they be ready for the transformation that awaits. Step 2 Dive into the Mystical Realm Now that your Sim is ready, it’s time to take the plunge into the mystical realm of mermaids. Head to any body of water in the game, whether it be a pool, a pond, or even the great ocean itself. Find a secluded spot where your Sim can be alone with their thoughts and desires. Step 3 Chat with the Dolphins Mermaids are known for their special connection with dolphins, so it’s only fitting that you’ll need to have a chat with them. Interact with the dolphins in the water and build a friendly relationship with them. Who knows, they might just have some valuable information about becoming a mermaid. Step 4 Make a Splash Once your Sim has established a connection with the dolphins, it’s time to make a splash and embrace their inner mermaid. Look for a hidden underwater cave, where magical artifacts and treasures are said to reside. Explore the cave and interact with any items you find. You never know what secrets they might hold. Step 5 Transform into a Mermaid After your Sim has explored the underwater cave and interacted with the magical items, it’s time for the big moment. Your Sim will start to feel a change in their body, their legs will transform into a beautiful mermaid tail, and their dream of becoming a mermaid will finally come true. It’s time to embrace your new aquatic life and explore all the wonders the ocean has to offer. So there you have it, a step-by-step guide on how to become a mermaid in The Sims 4. Dive into the mystical realm, chat with dolphins, and make a splash in the underwater cave. Before you know it, you’ll be swimming with the fishes and living out your mermaid fantasies. Good luck, and may the ocean be forever in your favor!

Стать частью Ордена Русалок в The Sims 4 так же просто, как следовать этим шагам.

Балдурс Гейт 3 – Как добраться до башен Мунрайз In this guide, we will show you how to reach the elusive Moonrise Towers in Baldur’s Gate 3. These majestic towers are rumored to hold incredible treasures and secrets, but getting there is no easy feat. So fasten your seatbelts, grab your weapons, and let’s embark on this epic adventure! Step 1 Gear Up Before setting off on your journey, make sure you are well-equipped. Stock up on healing potions, scrolls, and any other useful items you may need. It’s also a good idea to bring along a party of skilled adventurers to help you along the way. Step 2 Find the Teleportation Circle To reach the Moonrise Towers, you’ll need to find the teleportation circle that will transport you there. This circle can be found in the Underdark, a dark and dangerous underground realm. Make your way through the treacherous tunnels, battling monsters and solving puzzles, until you stumble upon the teleportation circle. Step 3 Activate the Teleportation Circle Once you’ve found the teleportation circle, you’ll need to activate it. This can be done by solving a series of riddles or completing a challenging quest. Use your wits and skills to overcome these obstacles and activate the circle. Step 4 Hold on Tight After activating the teleportation circle, get ready for a wild ride. Hold on tight as you are whisked away to the Moonrise Towers. The journey may be bumpy, but trust us, the destination is worth it. Step 5 Explore and Conquer Congratulations, you’ve reached the Moonrise Towers! Now it’s time to explore and conquer. These towers are filled with dangerous creatures, hidden treasure, and mind-bending puzzles. Use your combat skills and problem-solving abilities to overcome any challenges that come your way. Step 6 Claim Your Rewards As you make your way through the Moonrise Towers, you’ll encounter powerful enemies and discover valuable loot. Defeat these foes and claim your rewards. Whether it’s a rare weapon, a magical artifact, or a secret passage to another realm, the treasures of the Moonrise Towers are yours for the taking. And there you have it, a step-by-step guide on how to reach the awe-inspiring Moonrise Towers in Baldur’s Gate 3. Good luck, adventurer, and may your journey be filled with excitement and triumph!

Откройте способы, которыми вы можете достичь башен Moonrise в Baldur's Gate 3.

Jagged Alliance 3 Как продавать предметы’ In this guide, we will teach you the fine art of selling items in Jagged Alliance 3. So grab your backpack, load up on loot, and let’s turn those unwanted trinkets into cold hard cash! Step 1 Find a Merchant First things first, you need to find a merchant who is willing to buy your stuff. Look for a shop or trader in the game’s cities or settlements. They usually have a sign indicating that they are open for business. Don’t be shy, just walk right in and say hello! Step 2 Assess the Value Not all items are created equal, my friend. Some are more valuable than others, and you don’t want to get ripped off by selling a rare artifact for a measly sum. Before you approach the merchant, take a moment to assess the value of your items. This can be done by checking the in-game market prices or by comparing similar items in your inventory. Knowledge is power! Step 3 Haggle Now comes the fun part – haggling! Merchants in Jagged Alliance 3 are not known for their generosity, so you need to negotiate the best deal possible. Start by offering a price slightly higher than what you think the item is worth. The merchant will counter with a lower offer, and a back-and-forth battle of wits will ensue. Be persistent but not too greedy, or the merchant might refuse to do business with you altogether. Step 4 Accept the Deal Once you and the merchant have reached an agreement, it’s time to seal the deal. Click on the Accept button to sell the item and watch your bank account grow. Congratulations, you’re now a savvy entrepreneur! Step 5 Repeat and Profit Selling items in Jagged Alliance 3 can be a lucrative business if you know what you’re doing. Keep an eye out for valuable loot, visit different merchants, and always be ready to negotiate. Before you know it, you’ll be swimming in cash and laughing all the way to the bank. So there you have it, our guide on how to sell items in Jagged Alliance 3. We hope you found it helpful and entertaining. Now go out there and make some moolah! Happy selling!

Продажа предметов в Jagged Alliance 3 - это простой процесс, но не всегда очевидный для игрока. Вот как это сделать.

Идеи для увлекательной игры в Crusader Kings 3

Разбудите в себе жажду приключений с Crusader Kings 3 и погрузитесь в динамичный мир, где каждая игра предлагает уник...

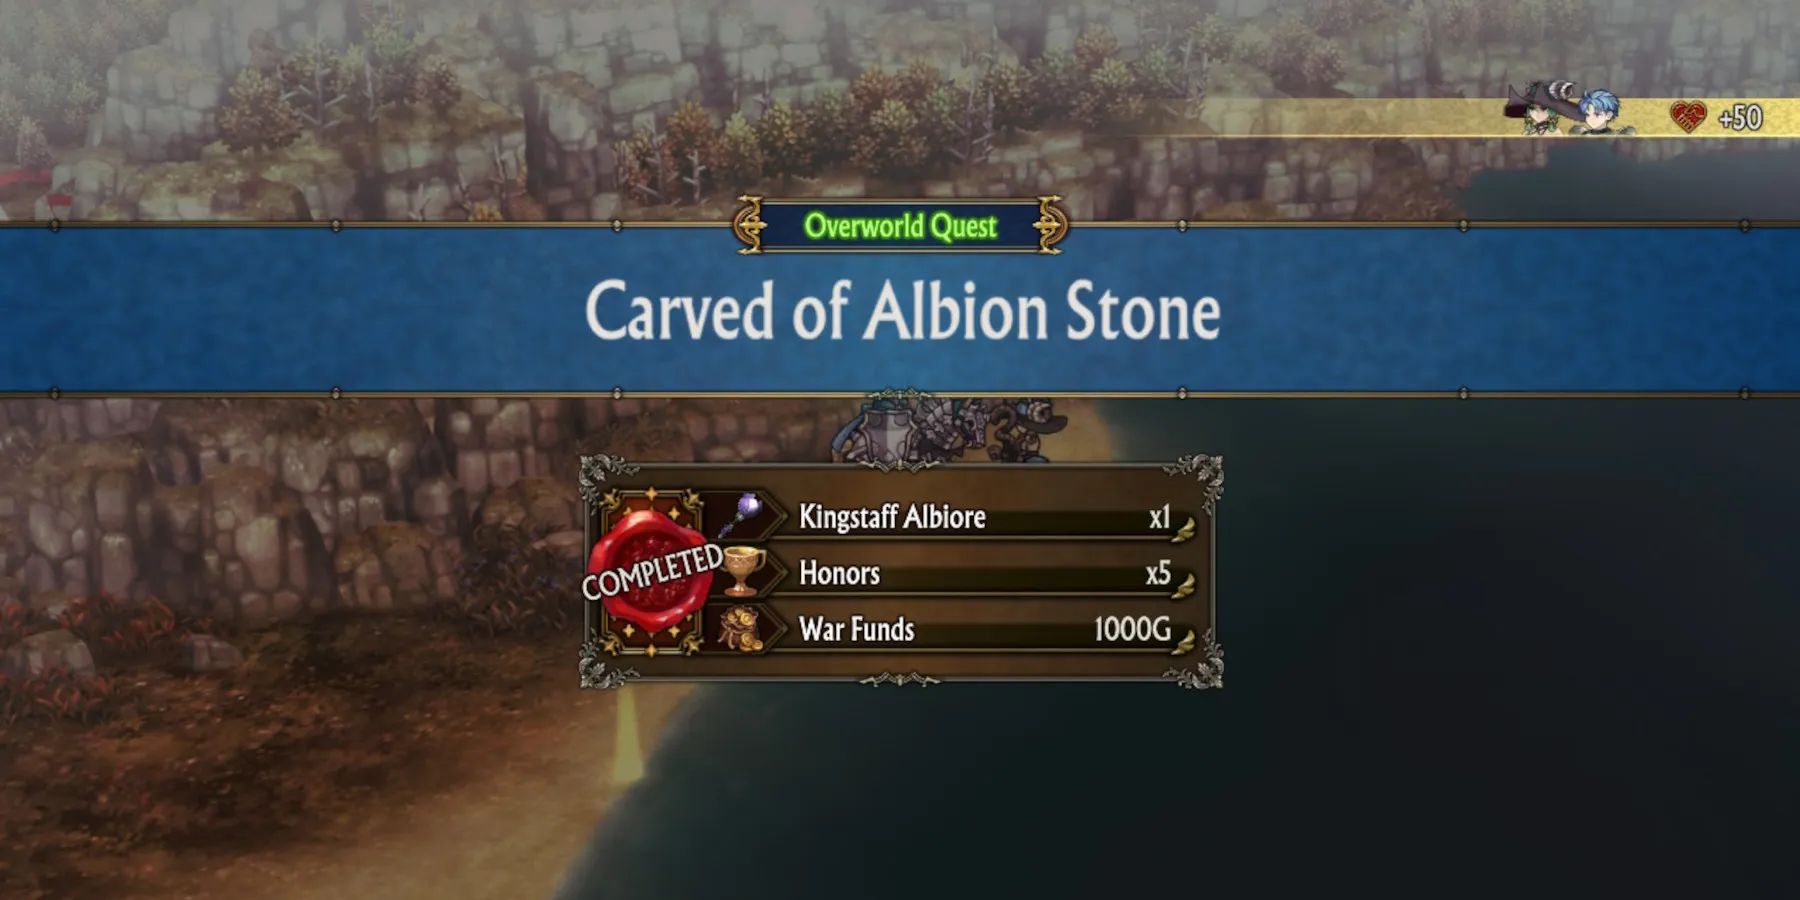
🦄 Единорог-властелин вырезанный из камня Альбиона – освободи магию!

Познайте, как успешно завершить квест Вырезанная из камня Альбиона Карлика-Единорога Господина с помощью этого руково...

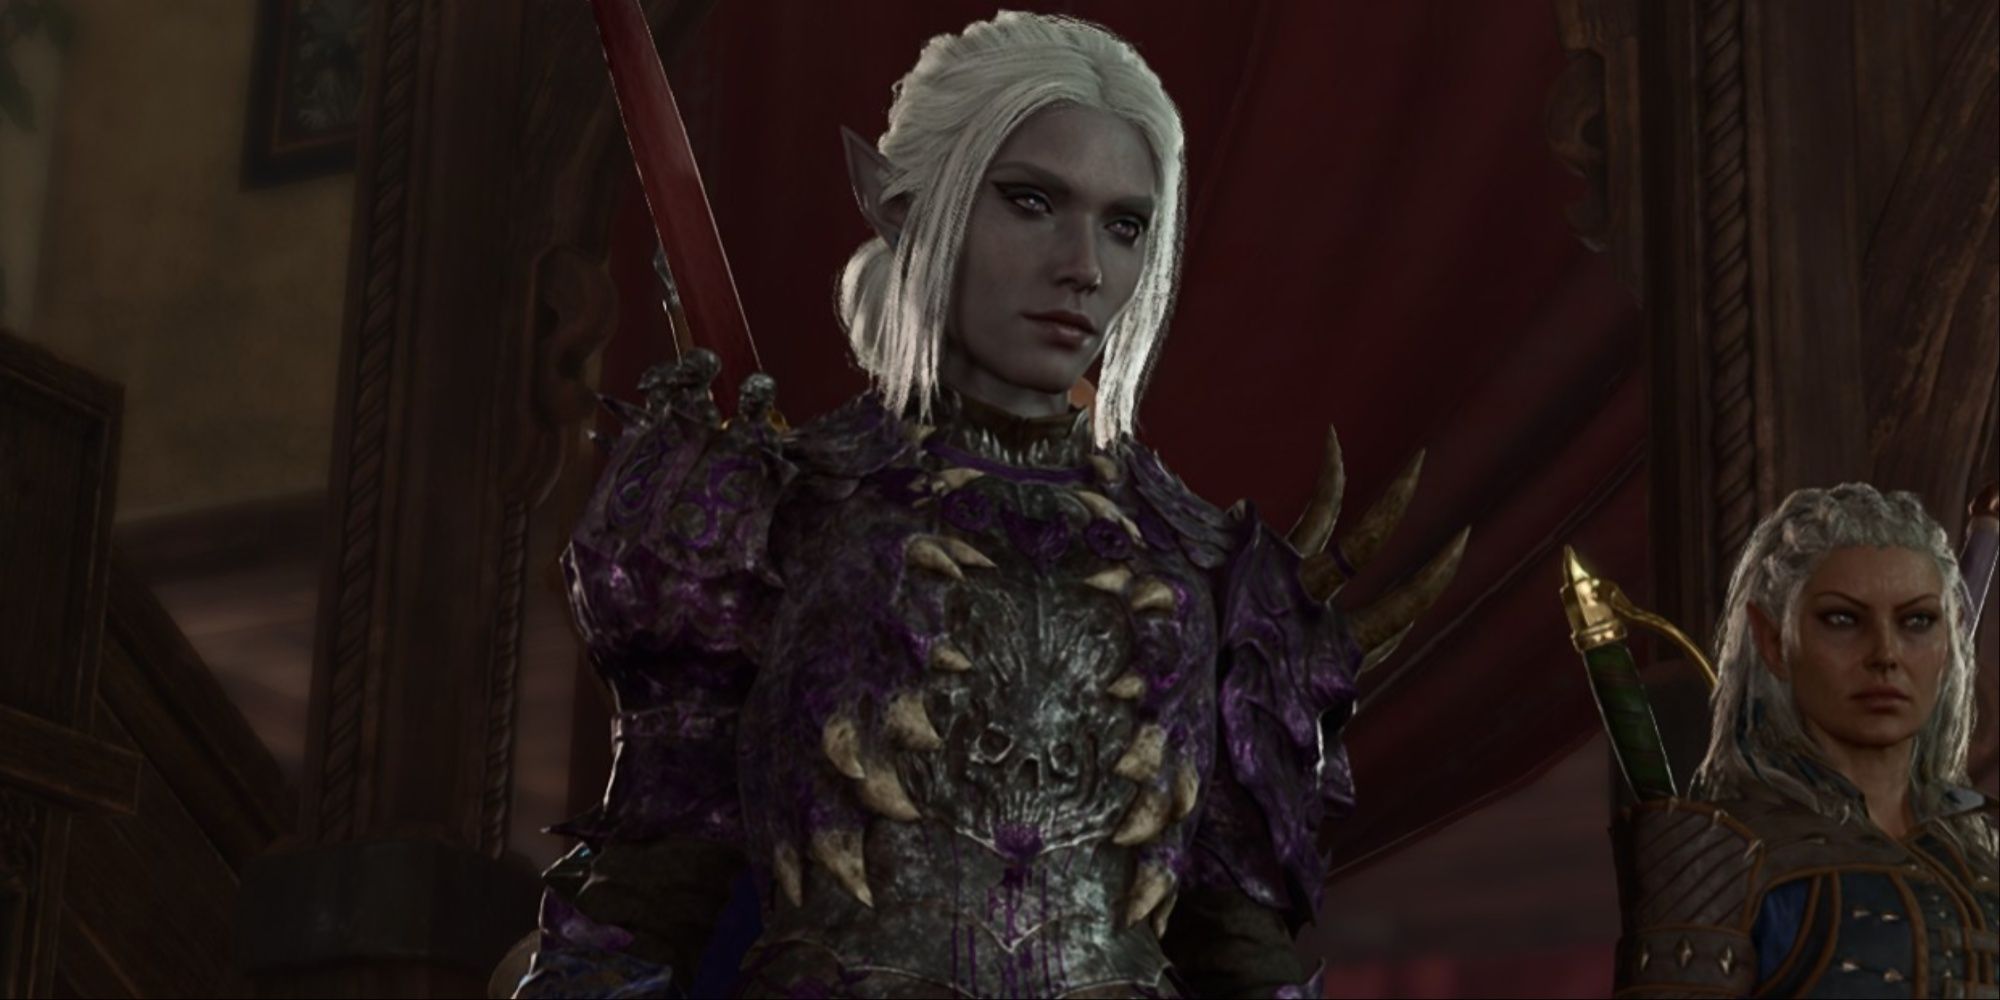
Арлекино жнец с косой, приходящий в Genshin Impact

В сети появились захватывающие кадры динамичных и впечатляющих поз и боевых анимаций Арлеккино, давая игрокам Genshin...

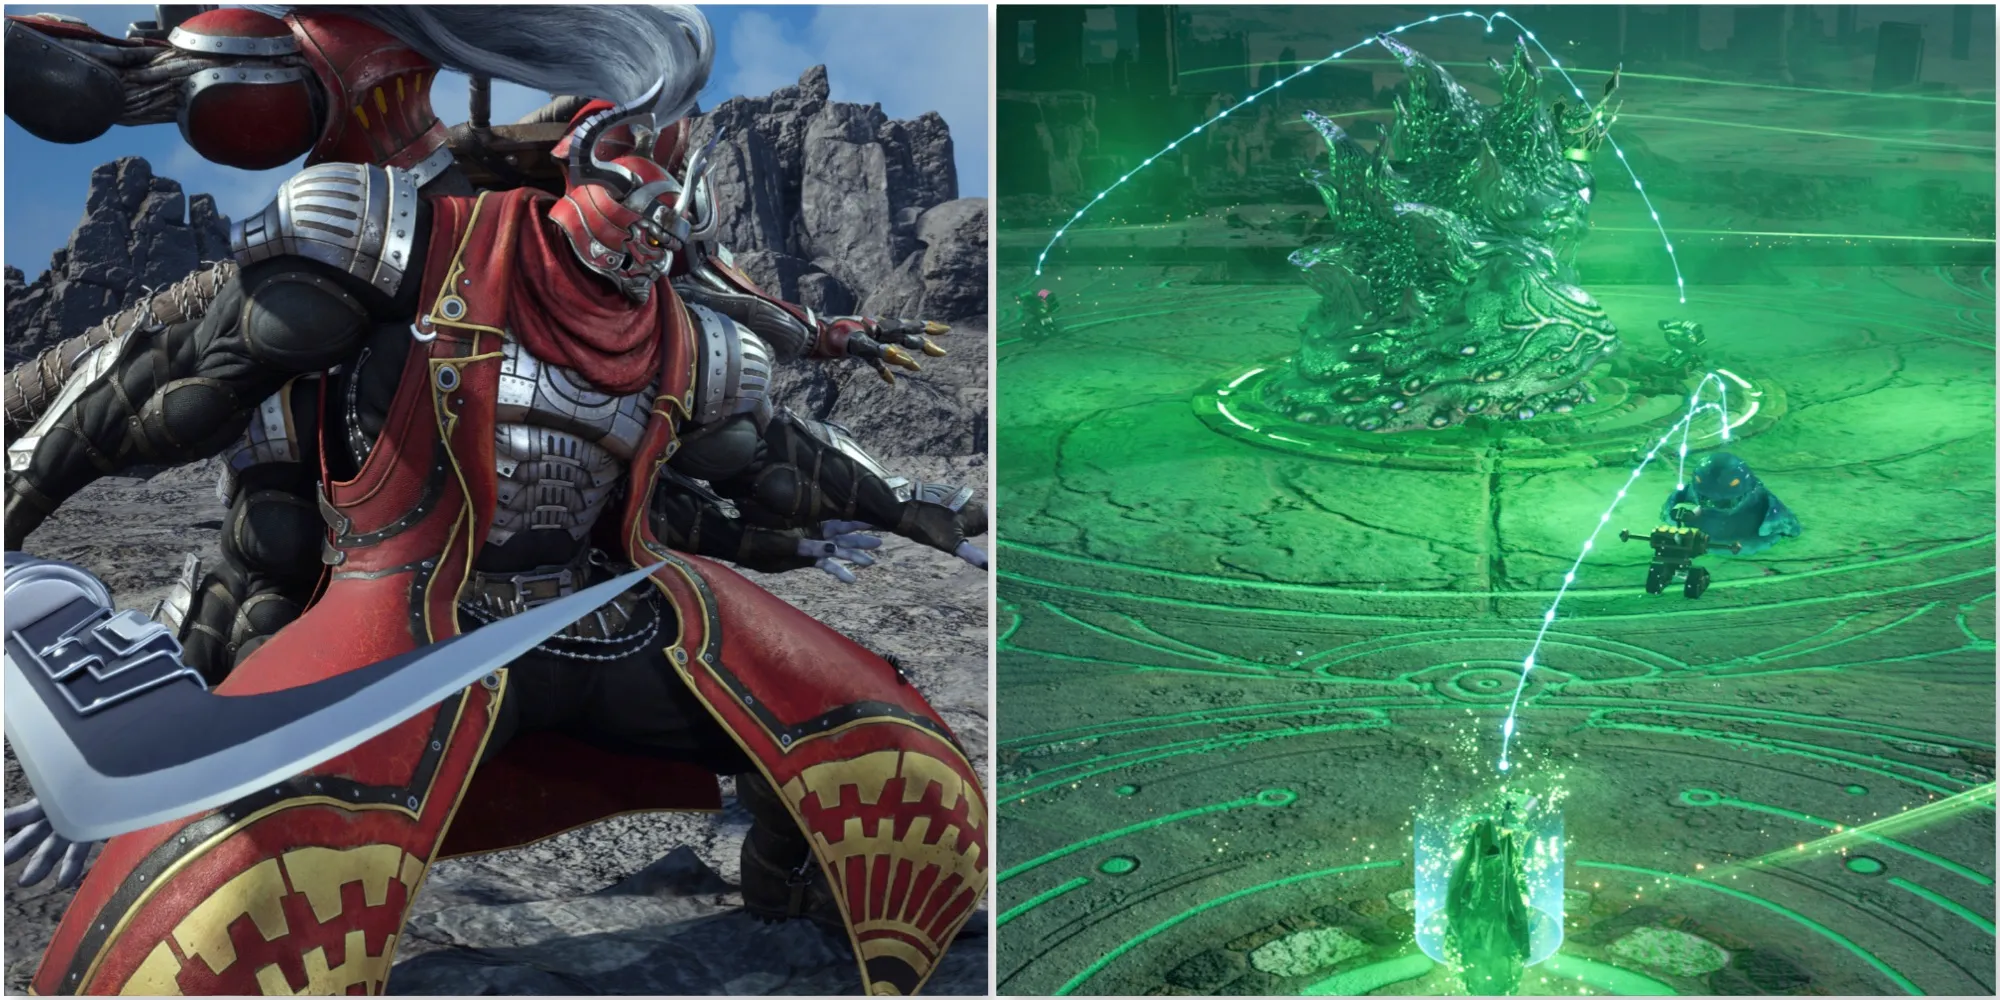
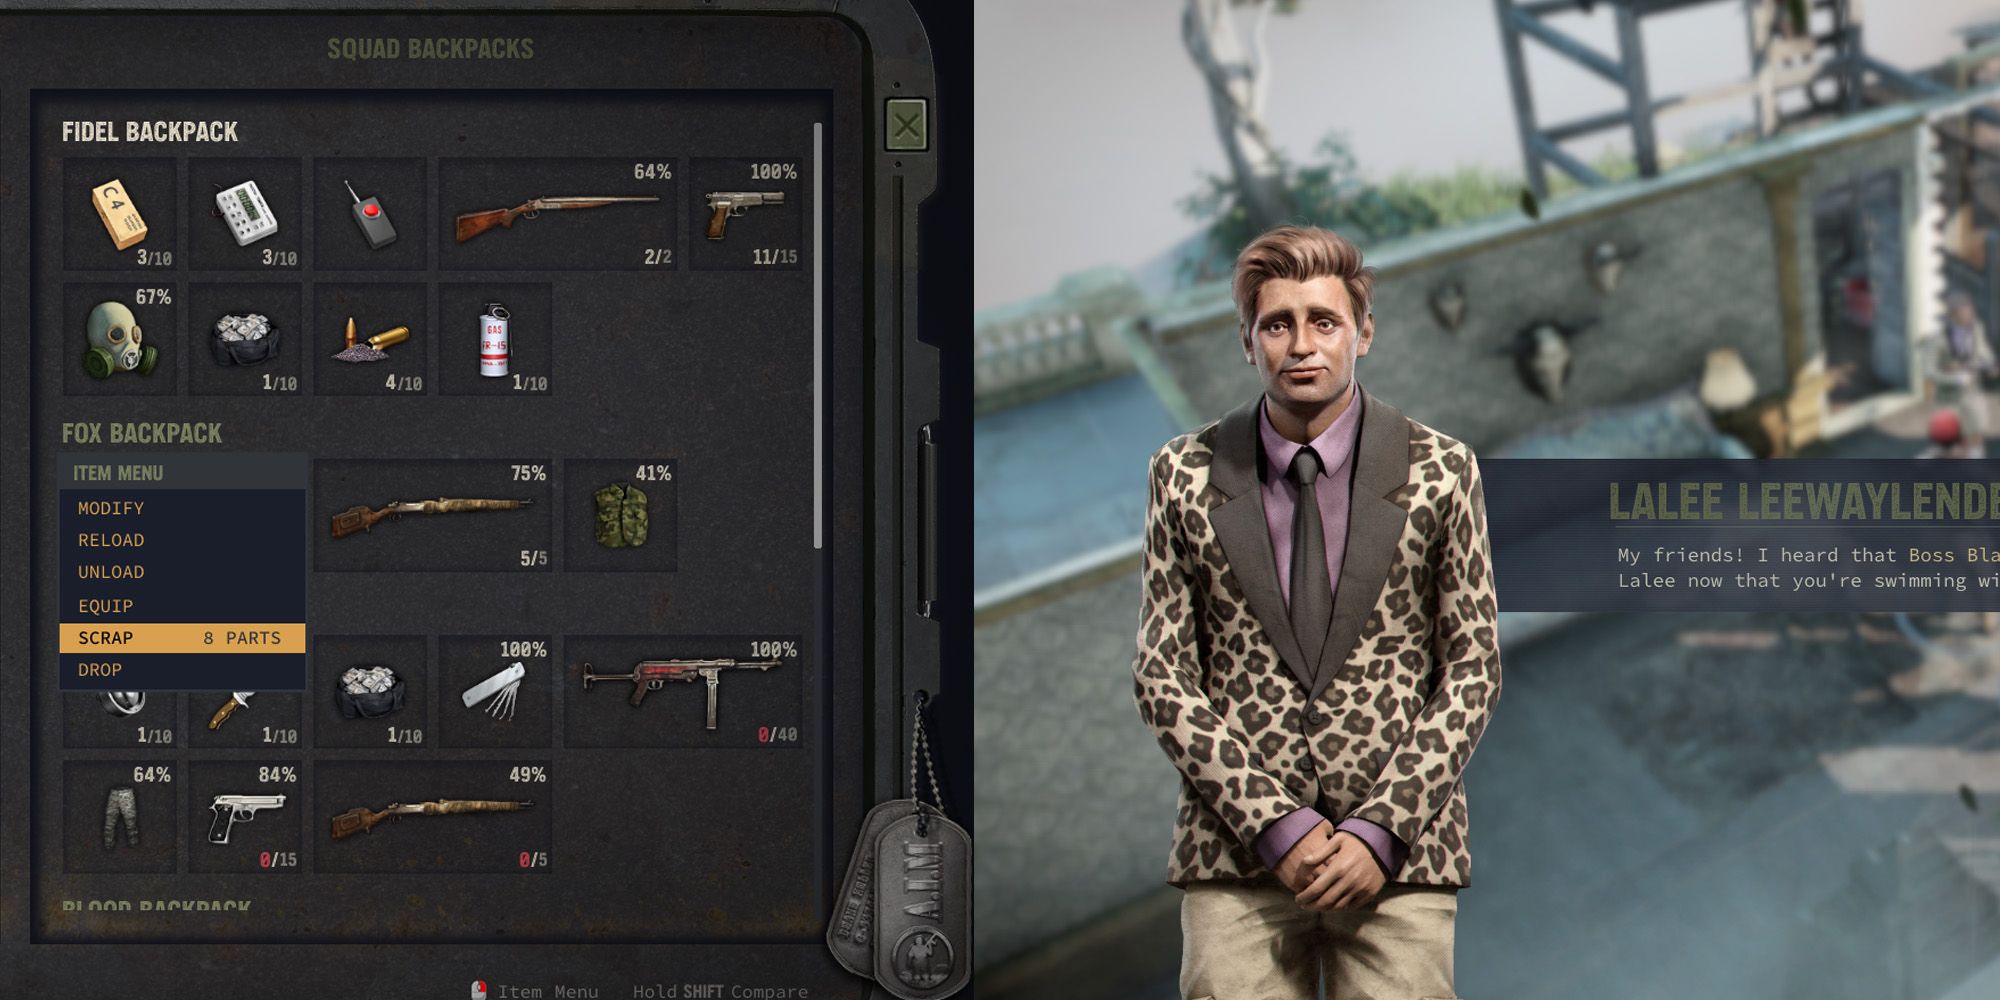
Финал фэнтези 7 Ребирт Изучение скрытых сокровищ побочных квестов 🎮😄

Возродите радость исследования и завершения дополнительных заданий в Final Fantasy 7 Rebirth. Исследуйте самые выгодн...