Продажи Final Fantasy 16 оказались чрезвычайно сильными, сообщает Square Enix.
Square Enix прокомментировала продажи Final Fantasy 16, заявив, что они были «чрезвычайно сильными». Как уже ранее...

Square Enix довольна продажами Final Fantasy 16
Несмотря на сообщения о снижении продаж, Square Enix заявляет, что довольна показателями продаж Final Fantasy 16 по с...
Square Enix говорит, что продажи Final Fantasy 16 на PS5 чрезвычайно сильные
В ответ на сообщения о том, что продажи Final Fantasy 16 отставали, Square Enix говорит, что игра продается хорошо от...

Square Enix отвечает на опасения по продажам Final Fantasy 16, указывает на установленную базу PS5 – GameTopic
Square Enix настаивает на том, что продажи Final Fantasy 16 чрезвычайно сильные, говоря GameTopic, что игра хорошо пр...
.png?width=1200&height=630&fit=crop&enable=upscale&auto=webp)
Британские актеры и профсоюз Equity сражаются с ростом AI-технологий и модификаций глубокого фейкования
Присутствует ли мой голос в сообществе моддинга и изменения голоса? Да. Имею ли я какой-либо контроль над тем, что мо...

«Dungeons and Drag Queens» от Dimension 20 – культурный рестарт для геймеров-нердов
Dropout не перестает радовать качественным контентом для геев

- Разработчики Cities Skylines 2 отвечают на споры о зубах персонажей – GameTopic
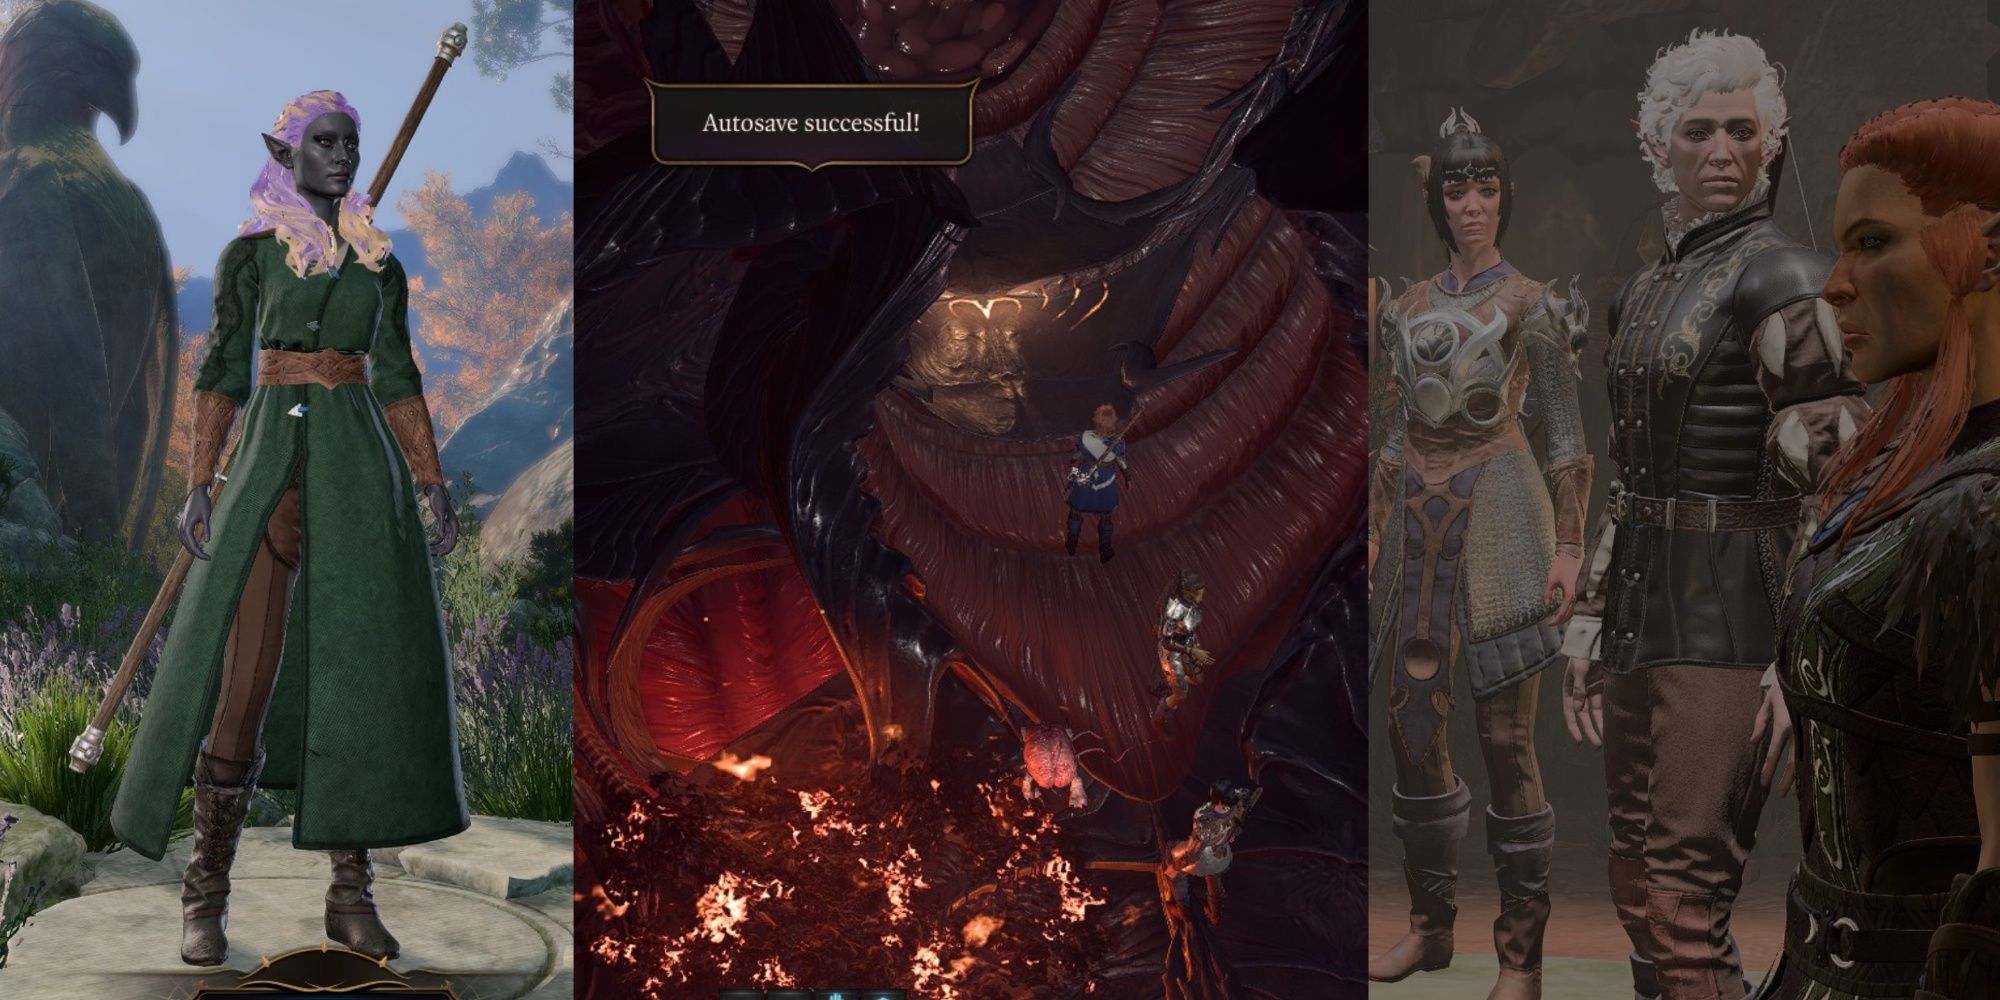
- Расы D&D, которые сделали бы Baldur’s Gate 3 еще лучше
- «Погружаемся в грусть Покупка Симс 4 – забытые традиции и классические НПС»
- 👾 Балатро – это азартная игра? Один разработчик высказывается о контроверзах по возрастному рейтингу! 🎰
- Лучшие оффлайн-РПГ на ПК радость для геймеров! 🎮
- Индиана Джонс и Великий Круг Трой Бейкер берет на себя легендарную роль в предстоящей игре.
- Техасская резня бензопилой Как играть с друзьями
- Как получить шерсть в игре Palworld Подробное руководство
- Предстоящий контент LEGO Fortnite новые враги, оружие и многое другое!
- 6 Видеоигр с несерьезным, но забавным юмором
- Сколько времени займет пройти Dead Island 2?
- В диком мире Rockstar играет честно с GTA 6
- ВВЕ 2К24 Повторение знаковых моментов в истории РестлМании 🏟️✨
- Фанатская версия демейка Resident Evil 4 сосредоточена на боковом скроллинге и полна множества ударов
- 10 Недооцененных игр от Nintendo, которые стоит сыграть