
In this game, we’ve all reached a point where our character’s progression seems to slow down drastically. It’s like hitting a soft wall that prevents us from getting any stronger. Well, fear no more, my fellow fallen lords, because today I’m here to
Вот как работают мягкие крышки в Lords of the Fallen.


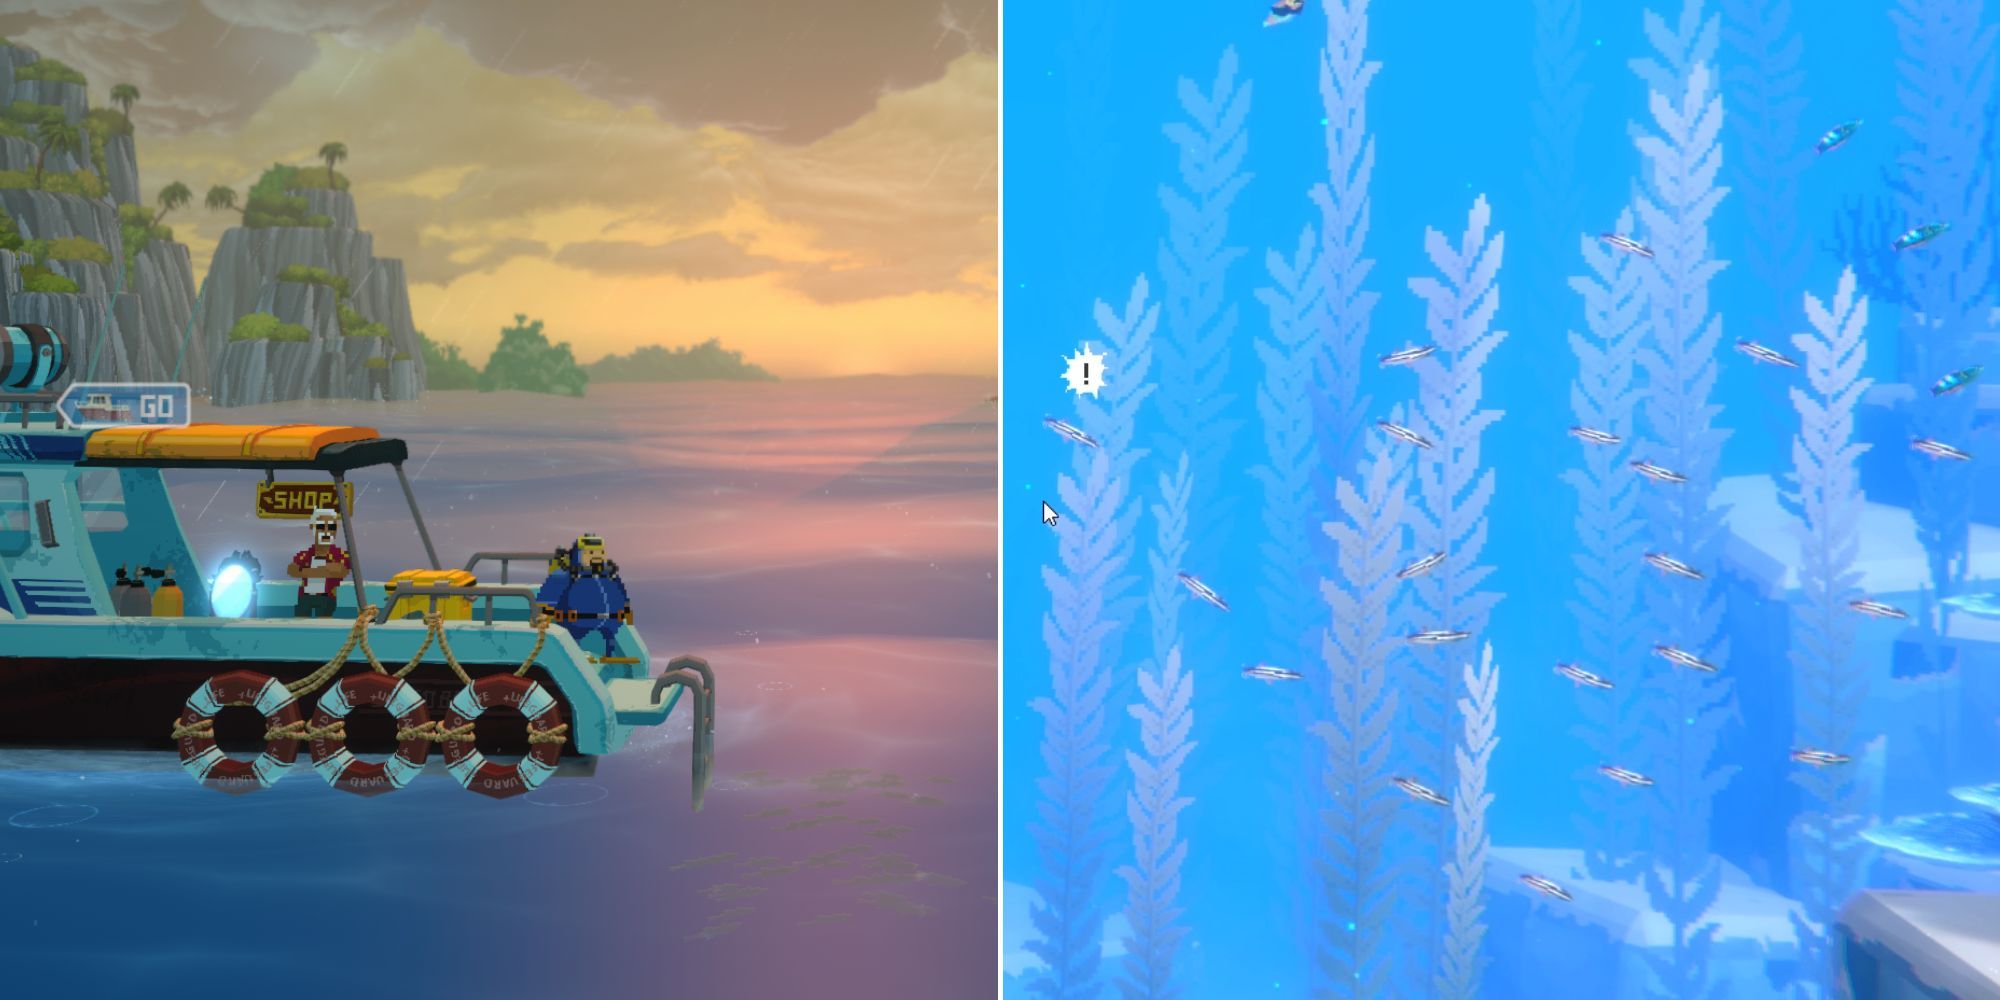

- Дэйв Дайвер Где найти трубчатый коралл In this exciting underwater adventure game, Dave The Diver, one of the rare and valuable resources you can find is tube coral. But where exactly can you find this elusive coral? Fear not, fellow divers, for I have the inside scoop on the best locations to discover tube coral. 1. The Deep Abyss Prepare yourself for a deep dive into the unknown as you venture into the depths of the ocean. Tube coral can often be found in the darkest corners of the deep abyss, where the pressure is high and the rewards are even higher. Just be sure to equip yourself with a sturdy diving suit and a reliable source of light, as the depths can be treacherous. 2. Coral Reefs While tube coral can be found in various locations, one of the most common places to stumble upon it is within coral reefs. These vibrant underwater ecosystems are teeming with life, and tube coral is no exception. Swim through the colorful reefs, keeping an eye out for the telltale signs of tube coral. It often grows in clusters, forming beautiful underwater gardens that are worth exploring. 3. Underwater Caves For the more adventurous divers, exploring underwater caves can yield great rewards. Tube coral has been known to thrive in these secluded and mysterious caverns. However, be warned that navigating through caves can be challenging, and you might encounter dangerous creatures along the way. But isn’t the thrill of the hunt part of the excitement? 4. Shipwrecks If you’re looking for a more unique and adrenaline-pumping experience, dive into the depths where shipwrecks lie. Among the remnants of sunken vessels, you may stumble upon hidden treasures, including tube coral. Exploring these wreckage sites can be both awe-inspiring and rewarding, but be cautious of any lurking dangers that may still haunt these watery graves. Remember, fellow divers, finding tube coral requires patience, keen observation skills, and a sense of adventure. So, strap on your diving gear, prepare your underwater exploration tools, and get ready to dive into the world of Dave The Diver in search of the elusive tube coral. Happy diving!
- World of Warcraft Patch 10.2.5 Seeds of Renewal Что и когда await
- Томб Райдер 1 Ремастеринг – Получение трофеев и достижений весело и вызывает раздражение 😅🏆
- Череп и Кости Пиратское приключение, которого вы ждали!
- В эту выходную на Xbox будет доступен временный бесплатный триал Diablo 4
- Гейм-он с набором Call of Duty Insert Coin Mastercraft!
- Лучшие эргономические игровые кресла в 2024 году.
- Ōoku The Inner Chambers – 7 подлинных исторических ссылок
- 7 миров видеоигр, в которых вы не захотели бы жить
- Список сердец MalGameTopicant в Diablo 4 Как использовать, найти и создать замороженные сердца
- Несколько недель до выпуска фанаты Starfield оказались втянутыми в предварительный спор о сохранении перед каждым шагом
- Disney Dreamlight Valley Как сделать Бигеймтопики
- Бессмертные из студии Aveum столкнулись с массовыми увольнениями в связи с низкими продажами – GameTopic
- «Sonic Origins Plus уже со скидкой, в комплекте 16 классических игр»
- Pokemon GO Маскировки Дитто на июль 2023 года