


- Разжги своего внутреннего героя с этими удивительными контроллерами Nintendo Switch, вдохновленными игрой Zelda! 🎮🌟
- Игрок в Minecraft добавляет функцию, которая значительно упрощает общение с жителями
- Самые похотливые жители Baldur’s Gate 3 все шутят по одной и той же теме о новом злодее Я ее исправлю
- 🎮 Самые тяжелые испытания в серии Shin Megami Tensei
- Как освоить скольжение в Suicide Squad Kill the Justice League
- Ода раскрывает значительное изменение, которое он внес прямо перед дугой Маринфорд в One Piece
- Представляем передовые техники строительства, которые нужно овладеть в Fortnite
- 8BitDo Arcade Stick для Xbox и ПК получает огромную скидку перед Prime Day
- Последний из нас. Часть 3 Новые персонажи и потенциальное перепрыгивание во времени?
- 5 переоцененных Мега-эволюций, на которые вы можете рассчитывать в Pokemon Legends Z-A
- В следующем месяце в Pokémon Go появятся багровые и фиолетовые монстры – GameTopic
- Magic The Gathering – Что такое торговля?
- CoD Warzone и MW2 Сезон 5 включает в себя событие представления CoD 2023, новые карты и многое другое
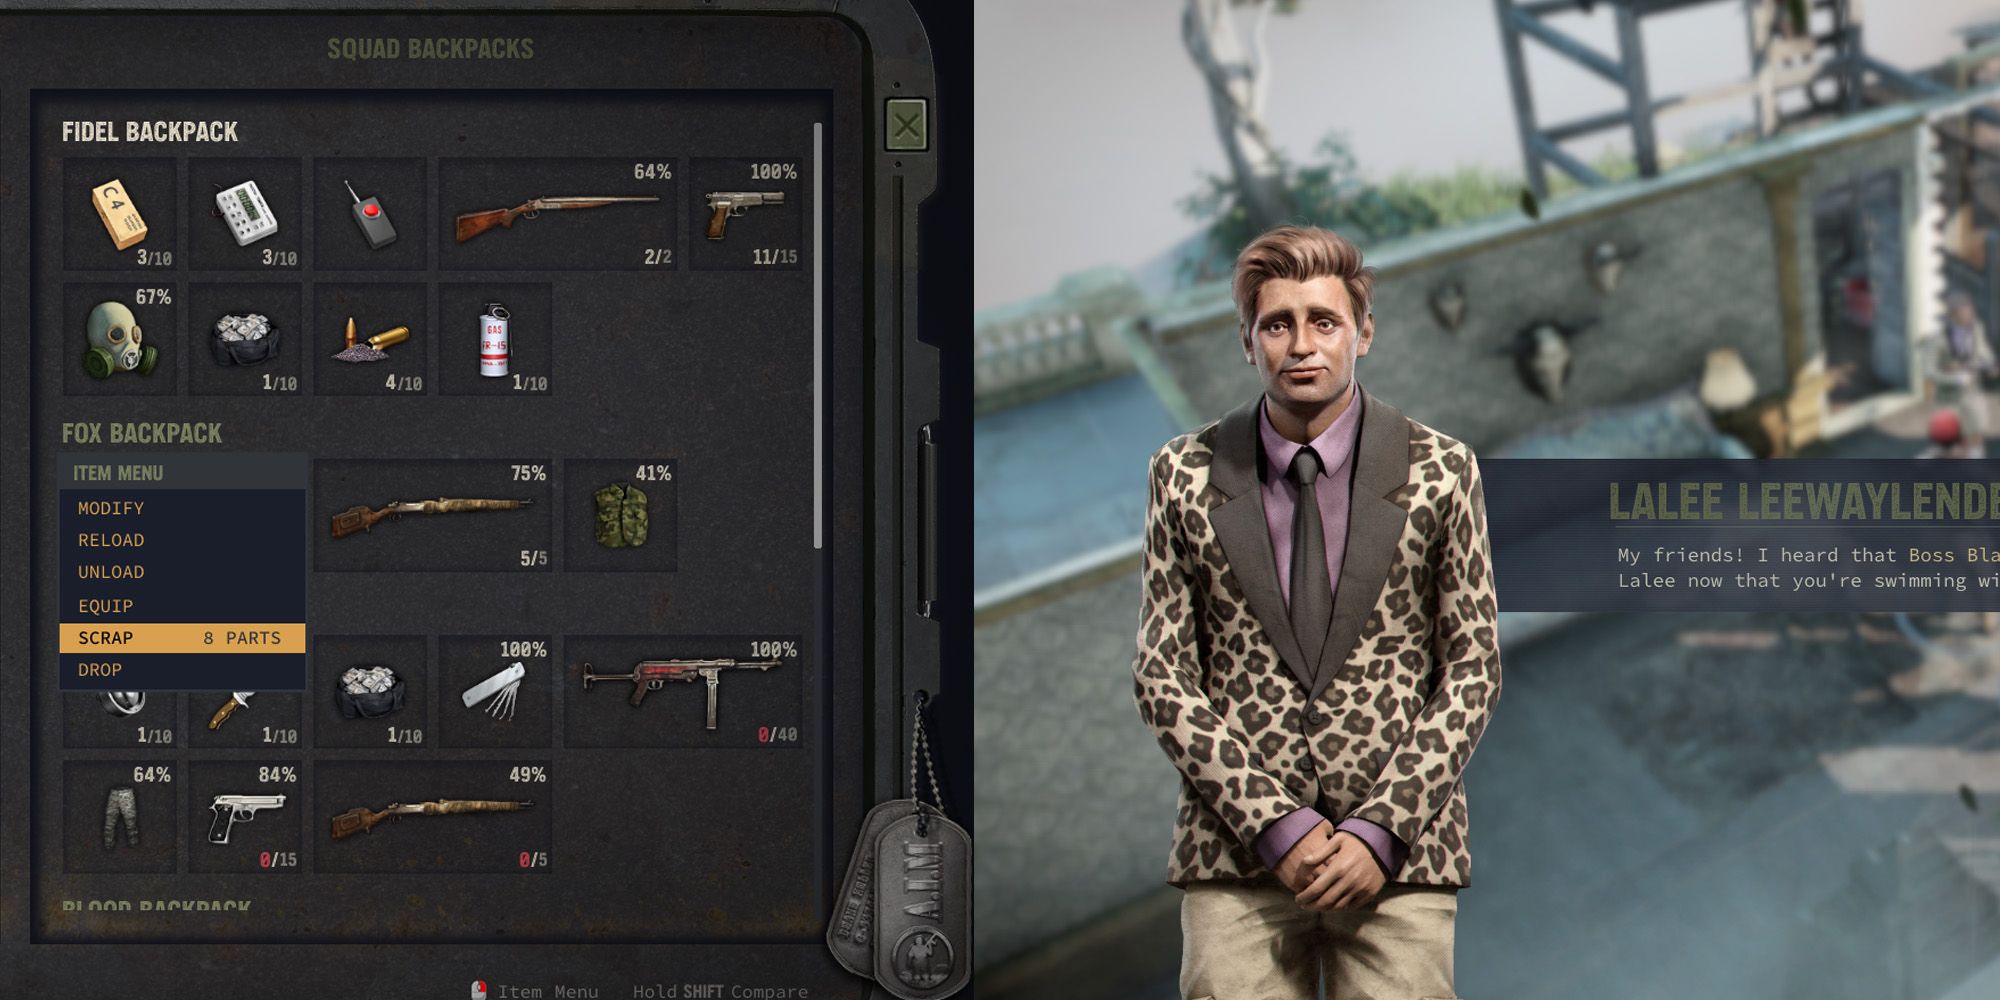
- Обзор игры The Lamplighters League – GameTopic
- Как совершить замах атаки в Tiny Tina’s Wonderlands 🗡️