In this guide, we will talk about one of the most sought-after resources in My Time At Sandrock – Jute. If you’ve been struggling to find this precious material, fear not, for we’ve got all the tips and tricks you need to start gathering it like a pro.

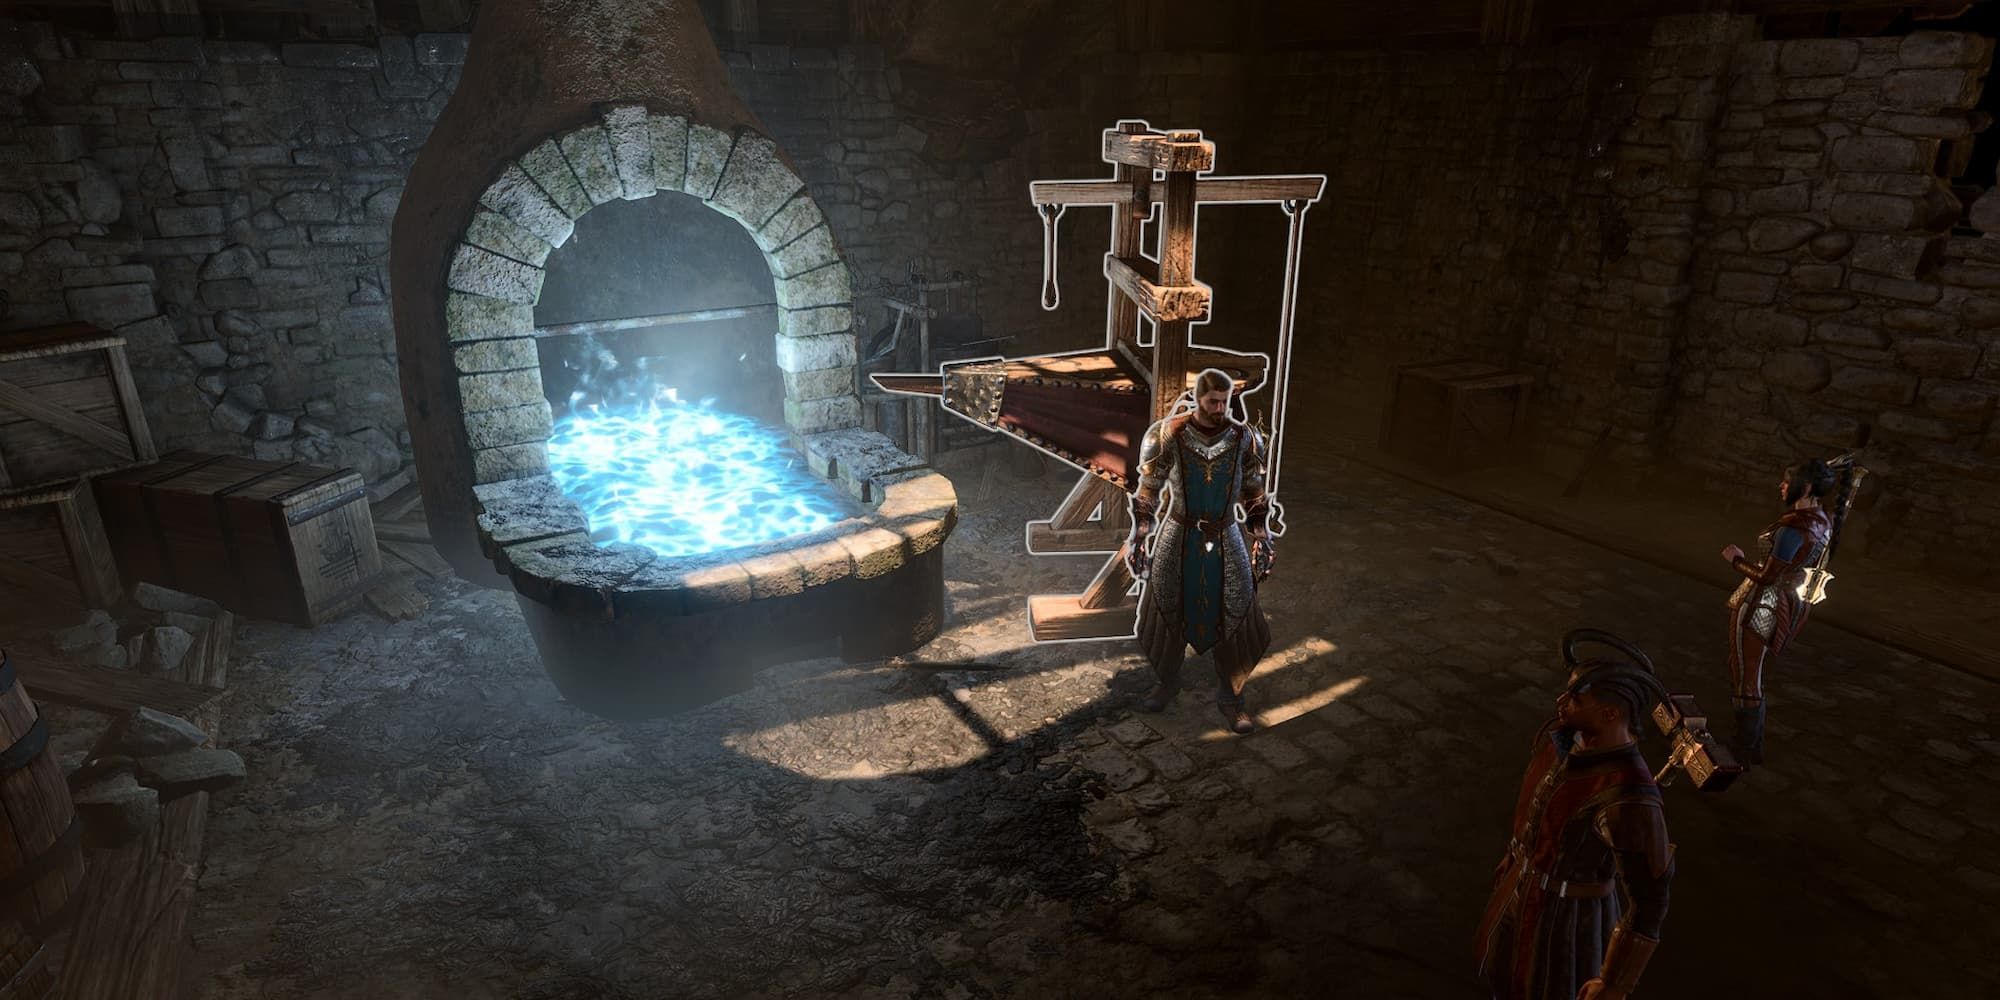
Джут - растение, которое вам понадобится для определенных ремесленных проектов в My Time at Sandrock. Хотя вы можете ...

Starfield Как повысить уровень командования корабля In this guide, we will explore the various ways to increase your ship command level in the highly anticipated game Starfield. As a space explorer, your ship command level plays a crucial role in your ability to navigate the vast universe and take on challenging missions. So, let’s dive in and uncover the secrets to becoming a master commander! 1. Complete Missions One of the most straightforward ways to increase your ship command level is by completing missions. As you progress through the game, you will encounter various missions that test your skills and reward you with experience points. The more missions you complete, the faster your ship command level will rise. 2. Upgrade Your Ship Investing in ship upgrades is another effective way to increase your ship command level. By enhancing your ship’s capabilities, such as its engines, weapons, and shields, you’ll be better equipped to handle tougher challenges. Not only will this improve your chances of success, but it will also contribute to your ship command level growth. 3. Explore New Planets Starfield is all about exploration, and venturing into uncharted territories can yield significant rewards. By discovering and exploring new planets, you’ll uncover valuable resources, artifacts, and knowledge that can contribute to your ship command level. So, don’t be afraid to boldly go where no one has gone before! 4. Engage in Space Battles Space battles are an exhilarating part of Starfield’s gameplay, and they also offer an opportunity to increase your ship command level. By engaging in battles with enemy factions or pirates, you’ll not only test your combat skills but also earn experience points and valuable loot. Just remember to upgrade your ship’s weapons and defenses before diving into these intense encounters! 5. Build Relationships In Starfield, building relationships with NPCs can have a significant impact on your ship command level. By completing side quests, helping out fellow spacefarers, or making strategic choices during conversations, you can gain allies and unlock unique bonuses. These bonuses can range from increased ship command level to exclusive ship upgrades or crew members. 6. Master Space Trading Trading is a fundamental aspect of the spacefaring lifestyle, and it can be a lucrative way to increase your ship command level. By buying low and selling high, you can amass wealth, acquire rare goods, and expand your influence in the galaxy. As your trading prowess grows, so will your ship command level. Remember, increasing your ship command level in Starfield is a gradual process that requires dedication and skill. By following these tips and embracing the challenges that lie ahead, you’ll soon rise through the ranks and become a legendary space commander. So, strap in, set your coordinates, and embark on an epic adventure in the vastness of Starfield!

Без некоторых рангов в Командовании Кораблем, вы не сможете смело отправиться с более чем парой человек и исследовать...

Болдерс Гейт 3 Как использовать слитки In this guide, we will discuss the proper usage of ingots in Baldur’s Gate 3. Ingots are valuable resources that can be used for crafting various items, so it’s important to know how to make the most of them. Whether you’re a seasoned adventurer or a fresh-faced recruit, this guide will help you become an ingot master in no time. Step 1 Gathering Ingots The first step in using ingots is to actually get your hands on them. Ingots can be found scattered throughout the game world, usually in treasure chests or as drops from defeated enemies. Keep an eye out for shiny objects – they might just be the valuable ingots you’re looking for. Step 2 Identifying Ingots Not all ingots are created equal. Different types of ingots have different properties and can be used to create different types of items. Before you start using ingots, it’s important to identify what type they are. This can be done by examining the ingots in your inventory or by consulting a knowledgeable NPC. Don’t just go smelting any old ingot – make sure you know what you’re working with. Step 3 Crafting with Ingots Once you know what type of ingot you’re dealing with, it’s time to put it to good use. Ingots can be used in crafting recipes to create weapons, armor, and other useful items. To craft with ingots, open the crafting menu and select the desired recipe. If you have the necessary ingredients, including ingots, you can create the item. Experiment with different combinations of ingots to discover new recipes and create powerful items. Step 4 Upgrading with Ingots Ingots can also be used to upgrade existing items. If you have a weapon or a piece of armor that you’re particularly fond of, you can enhance its stats by using ingots. Simply select the item you want to upgrade and choose the upgrade option. If you have the required ingots, you can increase the item’s effectiveness and make it even more formidable. Step 5 Selling Ingots If you find yourself with an abundance of ingots and don’t have any immediate use for them, you can always sell them for a tidy profit. Many merchants in the game world will be interested in buying ingots, so don’t hesitate to offload your surplus. Just be sure to negotiate a fair price – after all, you don’t want to be shortchanged. And there you have it – a comprehensive guide on how to use ingots in Baldur’s Gate 3. Now go forth, adventurer, and make the most of these valuable resources. Happy crafting!

В этой статье игроки узнают, как использовать слитки в Baldur's Gate 3, а также как их получить.

«Болдурское Врата 3 Как завершить мастерский оружейный изделие» In this game guide, we will walk you through the steps on how to finish the masterwork weapon in Baldur’s Gate 3. So, get your hammer ready and let’s dive into the world of blacksmithing! Step 1 Gather the Materials To start creating the masterwork weapon, you’ll need to gather some special materials. These can include rare ores, enchanted gems, and maybe even a dragon’s scale if you’re feeling adventurous. Make sure to explore different areas and complete quests to find these precious resources. Step 2 Find a Skilled Blacksmith Now that you have all the materials, it’s time to find a skilled blacksmith who can turn them into a masterpiece. Look for the best blacksmiths in the game, as they will have the knowledge and expertise to create the weapon of your dreams. Don’t settle for anything less! Step 3 Complete the Blacksmith’s Challenges Once you’ve found a blacksmith, they may not be willing to create the masterwork weapon right away. They might give you a series of challenges to prove your worthiness. These challenges can range from slaying powerful monsters to solving intricate puzzles. Show them what you’re made of! Step 4 Assist the Blacksmith During the weapon creation process, the blacksmith may need your assistance. They might ask you to gather additional materials or help them with some tasks. Be a good assistant and lend a hand whenever needed. After all, teamwork makes the dream work! Step 5 Enjoy Your Masterpiece After all the hard work and dedication, your masterwork weapon is finally complete. Take a moment to admire its beauty and appreciate the effort that went into creating it. Now, it’s time to equip your new weapon and show it off to the world. Let the enemies tremble in fear! Remember, creating a masterwork weapon is not an easy task. It requires patience, perseverance, and a little bit of luck. But once you hold that weapon in your hands, all the hard work will be worth it. Good luck, adventurer, and may your masterwork weapon bring you glory on your journey through Baldur’s Gate 3!

Вот как получить анти-магическое оружие ближнего боя рано в Baldur's Gate 3.

Гарри Поттер Что такое Сквиб? In this article, we will explore the mysterious and often misunderstood world of Squibs in the Harry Potter universe. So grab your wands and let’s dive into this magical topic! First things first, what exactly is a Squib? Well, in the wizarding world, a Squib is a person who is born into a magical family but does not possess any magical abilities themselves. It’s like being born into a family of talented musicians but never being able to carry a tune. Poor Squibs, they really got the short end of the wand. Now, you might be wondering, how is it possible for someone to be born into a magical family and not have any magical abilities? Well, it’s a bit of a mystery, really. Some say it’s just a matter of genetics, while others believe it’s a result of magical bloodlines mixing with non-magical ones. Whatever the reason, it’s definitely a bummer for the Squibs. But don’t feel too sorry for them, because Squibs still have their place in the wizarding world. They may not be able to perform spells, but they can still contribute in other ways. For example, they can work in non-magical jobs within the wizarding community, such as shopkeepers or caretakers. They can also be valuable sources of information, as they have firsthand knowledge of both the magical and non-magical worlds. It’s also worth noting that Squibs can still interact with magical objects. They may not be able to use a wand, but they can still handle enchanted items and potions. So, even though they can’t perform magic themselves, they can still be involved in magical adventures in their own unique way. In conclusion, Squibs may not have magical powers, but they still have an important role to play in the wizarding world. So next time you come across a Squib in your adventures, be sure to give them a little extra respect. After all, they may not be able to cast spells, but they can still be pretty magical in their own right.

Что говорит Гарри Поттер о Сквибах?

Долина сказочных огней Диснея – Как собирать уголь In this guide, we will show you how to efficiently farm coal in Disney Dreamlight Valley. Coal is a valuable resource used for crafting and fueling various machines in the game. So, let’s get started with some coal mining tips! 1. Equip yourself with a sturdy pickaxe Coal deposits can be found deep within the valley, so make sure you have a strong pickaxe to mine them. Don’t be that adventurer who tries to mine coal with a toothpick! 2. Explore the mines The most common place to find coal in Dreamlight Valley is inside the mines. These dark and eerie tunnels are filled with valuable resources, including coal. However, be prepared to encounter some pesky monsters along the way. Remember, they’re just jealous of your mining skills! 3. Keep an eye out for coal veins While exploring the mines, keep an eye out for coal veins. These are black, shiny rocks that contain coal. Simply mine them with your trusty pickaxe, and you’ll be rewarded with a nice chunk of coal. Don’t forget to do a victory dance after each successful mining operation! 4. Time for some nighttime mining Coal veins are more abundant during the night in Dreamlight Valley. So, if you’re a night owl or just prefer the darkness, head to the mines after sunset for some extra coal farming. Just be sure to bring a good torch to light your way. We don’t want you mistaking a coal vein for a sleeping monster! 5. Upgrade your tools As you progress in the game, make sure to upgrade your pickaxe. A stronger pickaxe will allow you to mine coal faster and more efficiently. Plus, it will make you look like a total pro in front of other players. Who doesn’t want that? 6. Complete quests and challenges Dreamlight Valley is full of quests and challenges that reward you with valuable resources, including coal. So, make sure to complete them whenever possible. Not only will you get your hands on some coal, but you’ll also earn some extra experience points and bragging rights. 7. Trade with other players If all else fails, you can always trade with other players. There might be some generous souls out there willing to exchange their coal for something you have. Just remember, a fair trade is always the best trade. Nobody likes a greedy trader! And there you have it, my fellow miners! Follow these tips, and you’ll be swimming in coal in no time. Happy mining in Disney Dreamlight Valley!

Уголь является одним из самых важных ресурсов в Долине Диснея Dreamlight, особенно если игроки хотят много готовить с...

Disney Dreamlight Valley Как получить кирпичи In this guide, we will show you how to obtain bricks in Disney Dreamlight Valley. Bricks are an essential resource in the game, used for constructing various buildings and decorations. So, let’s get started on our brick-hunting adventure! 1. Complete Quests One of the easiest ways to get bricks is by completing quests. Keep an eye out for quests that offer brick rewards and prioritize them. Not only will you earn bricks, but you’ll also progress in the game’s storyline. 2. Explore the Valley Don’t be afraid to venture into new areas of the valley. Sometimes, you’ll stumble upon hidden brick caches or find characters who will reward you with bricks for helping them. So, put on your explorer hat and start searching! 3. Trade with Friends If you have friends who also play Disney Dreamlight Valley, consider trading bricks with them. You can send each other gifts containing bricks, helping each other out while also strengthening your friendship. Remember, gaming is always more fun with friends! 4. Participate in Events Keep an eye on the game’s events and participate in them. Events often offer special rewards, including bricks. So, make sure to set aside some time to join in on the fun and reap those sweet brick rewards. 5. Visit the Market Occasionally, you’ll find bricks available for purchase in the in-game market. If you’re in a hurry or simply want to stock up on bricks, this can be a quick and convenient option. Just make sure to keep an eye on your in-game currency and spend wisely. Remember, patience is key when it comes to obtaining bricks in Disney Dreamlight Valley. Keep playing, exploring, and completing quests, and soon enough, your brick collection will grow. Happy brick hunting, and enjoy your magical adventure in Disney Dreamlight Valley!

Кирпичи - один из самых основных материалов для создания в Долине Мечты Диснея, но игроки могут оказаться в ситуации,...

Долина Мечты Диснея – Как получить какао-бобы In the game Disney Dreamlight Valley, one of the most sought-after items is cocoa beans. These magical beans are not only delicious but also have various uses in crafting and cooking. In this guide, we will show you how to easily obtain cocoa beans and make the most out of them in your magical adventures. 1. Explore the Enchanted Forest Cocoa beans can be found by exploring the Enchanted Forest in Disney Dreamlight Valley. This mystical forest is filled with hidden treasures, and cocoa beans are one of them. Keep an eye out for sparkling spots or interact with various objects to uncover these precious beans. 2. Trade with the Chocolate Fairy In the heart of Dreamlight Valley, you will find the Chocolate Fairy. She is known for her love of all things chocolate and can provide you with cocoa beans in exchange for certain items or completing quests. Make sure to visit her regularly and see if she has any cocoa beans up for trade. 3. Grow Your Own Cocoa Trees If you have a green thumb, why not try growing your own cocoa trees? In Disney Dreamlight Valley, you have the ability to plant and nurture various plants, including cocoa trees. Find the necessary seeds or saplings, plant them in a suitable spot, and take good care of them. Before you know it, you’ll have your own cocoa beans ready for harvest. 4. Participate in Events and Mini-games Disney Dreamlight Valley often hosts special events and mini-games that reward players with exclusive items, including cocoa beans. Keep an eye out for these events and make sure to participate. Not only will you have a chance to win cocoa beans, but you’ll also have a great time playing and interacting with other players. 5. Trade with Other Players If all else fails, you can always try trading with other players. Disney Dreamlight Valley has a vibrant and friendly community, and many players are willing to trade their surplus cocoa beans for other items or resources. Visit the marketplace or socialize with other players to find potential trading partners. Remember, cocoa beans are a valuable resource in Disney Dreamlight Valley, so make sure to use them wisely. Whether you’re using them to craft magical potions or baking delicious treats, cocoa beans will surely enhance your magical adventures in the game. Good luck and happy bean hunting!

Какао-бобы используются во многих рецептах приготовления пищи в Дисней Дримлайт Вэлли, так как это единственный спосо...

Дэйв Дайвер Где найти трубчатый коралл In this exciting underwater adventure game, Dave The Diver, one of the rare and valuable resources you can find is tube coral. But where exactly can you find this elusive coral? Fear not, fellow divers, for I have the inside scoop on the best locations to discover tube coral. 1. The Deep Abyss Prepare yourself for a deep dive into the unknown as you venture into the depths of the ocean. Tube coral can often be found in the darkest corners of the deep abyss, where the pressure is high and the rewards are even higher. Just be sure to equip yourself with a sturdy diving suit and a reliable source of light, as the depths can be treacherous. 2. Coral Reefs While tube coral can be found in various locations, one of the most common places to stumble upon it is within coral reefs. These vibrant underwater ecosystems are teeming with life, and tube coral is no exception. Swim through the colorful reefs, keeping an eye out for the telltale signs of tube coral. It often grows in clusters, forming beautiful underwater gardens that are worth exploring. 3. Underwater Caves For the more adventurous divers, exploring underwater caves can yield great rewards. Tube coral has been known to thrive in these secluded and mysterious caverns. However, be warned that navigating through caves can be challenging, and you might encounter dangerous creatures along the way. But isn’t the thrill of the hunt part of the excitement? 4. Shipwrecks If you’re looking for a more unique and adrenaline-pumping experience, dive into the depths where shipwrecks lie. Among the remnants of sunken vessels, you may stumble upon hidden treasures, including tube coral. Exploring these wreckage sites can be both awe-inspiring and rewarding, but be cautious of any lurking dangers that may still haunt these watery graves. Remember, fellow divers, finding tube coral requires patience, keen observation skills, and a sense of adventure. So, strap on your diving gear, prepare your underwater exploration tools, and get ready to dive into the world of Dave The Diver in search of the elusive tube coral. Happy diving!

Вот как вы можете легко найти три трубчатых коралла, необходимых для Мимы в игре Dave The Diver.

Как получить 3D-принтер в Sons of The Forest In this guide, we will show you how to obtain the coveted 3D Printer in the thrilling game Sons of The Forest. This handy little device will revolutionize your survival experience by allowing you to craft advanced tools and items. So, grab your axe and let’s get printing! Step 1 Explore, Explore, Explore To find the 3D Printer, you’ll need to venture out into the forest and explore different areas. Keep an eye out for caves, abandoned structures, and other interesting locations. The printer won’t just come to you, you have to go out there and find it! Step 2 Gather Resources While you’re out exploring, make sure to gather resources like logs, sticks, and rocks. These will come in handy later when you need to construct the printer. Don’t forget to keep an eye out for any special items or blueprints that might be hidden in the world. They could be the key to unlocking the printer’s blueprint! Step 3 Find the Blueprint Once you’ve gathered enough resources, it’s time to find the blueprint for the 3D Printer. This can be a bit tricky, as it’s usually hidden in a hard-to-reach location. Look for clues, solve puzzles, and be prepared for a little bit of trial and error. Remember, the reward is worth it! Step 4 Construct the Printer Now that you have the blueprint, head back to your base or a safe location and start constructing the 3D Printer. Make sure you have all the necessary resources and follow the blueprint’s instructions carefully. Don’t rush this step, as any mistakes could result in a faulty printer or even worse, a catastrophic explosion! Step 5 Enjoy the Benefits Congratulations! You’ve successfully obtained the 3D Printer in Sons of The Forest. Now you can start printing all sorts of useful items and tools to aid you in your survival journey. Need a better weapon? Print it! Need some armor? Print it! Just remember to keep an eye on your resources and use the printer wisely. And there you have it – a step-by-step guide on how to get the 3D Printer in Sons of The Forest. Now go forth, brave explorer, and embrace the power of advanced crafting! Happy printing!

Узнайте, как получить 3D-принтер в Sons of the Forest, а также другие полезные мелочи.