
Действуйте быстро и получите игру A Way Out для Xbox One всего за $5.99
«A Way Out» сейчас доступна со скидкой всего $5.99 на ограниченное время, так что стоит обратить внимание тем, кто ищ...

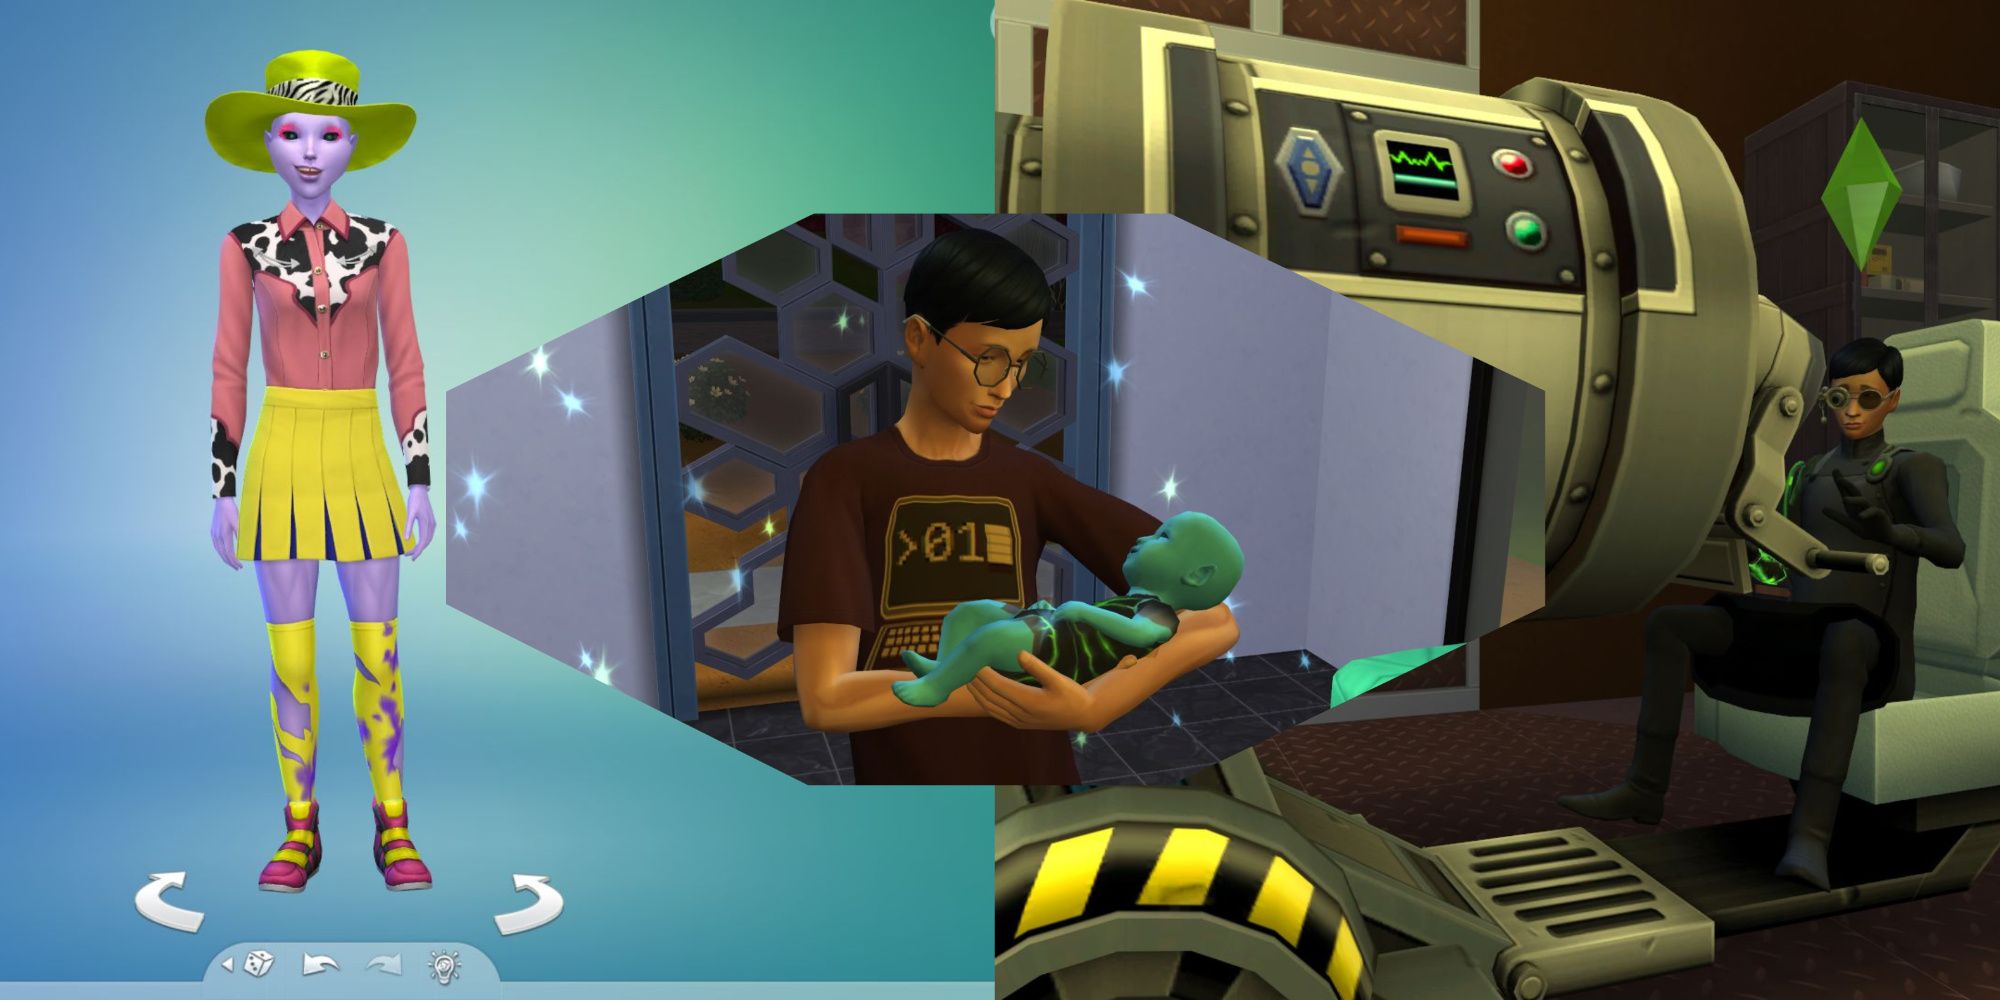
As an experienced gamer, I am always excited to share my knowledge and tips about games. Today, I bring you a hilarious yet informative guide on how to build a pool in the popular game, The Sims 4. So, grab your virtual toolkit and let’s dive into the
Научитесь создавать идеальный уголок у бассейна.


- Звездные войны Лучшие союзники Асоки
- Ёшида отвечает игроку Final Fantasy 14, который охотится за достижениями
- Обсидиан взяли интервью о их грядущей ролевой игре от первого лица, Avowed.
- Зрительная версия Выживший вампир кажется подтверждена с 10 новыми персонажами и 300 курицами – GameTopic
- Все лучшие места для поиска собачки
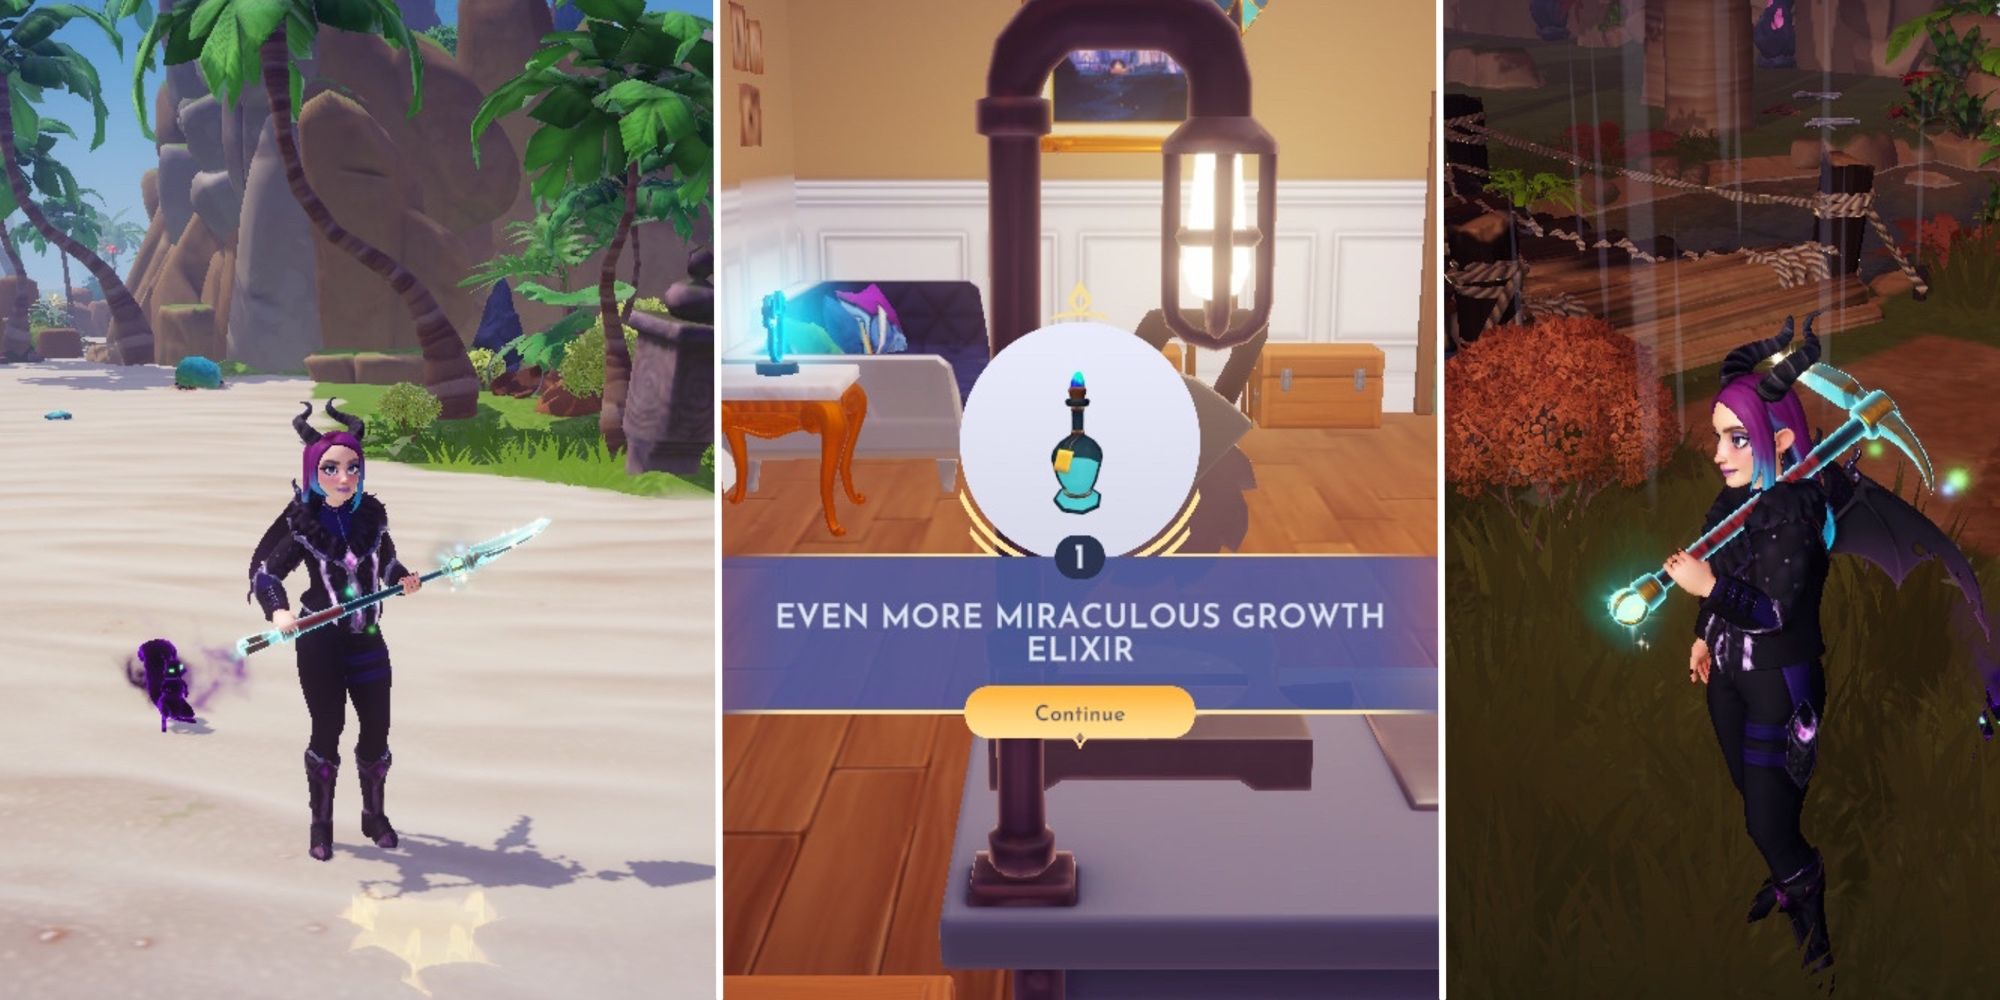
- Балдурс Гейт 3 Полное руководство и прохождение
- Ожидание Diablo 5 не будет таким долгим, как Diablo 4, говорит президент Blizzard
- Star Wars Jedi Survivor находится в ранней стадии разработки для PS4 и Xbox One – GameTopic
- Xbox Game Pass объявляет новые добавления в ноябре, начиная с Jusant, доступного уже сегодня
- Как изображение Дома Сорокиного Клыка в Hogwarts Legacy соответствует фильмам
- 🎮 Лоуренс Салливан снимает иск против разработчиков GTA 6, но все еще требует роли озвучки 🎭
- Сюжетные обновления в утечке Honkai Star Rail 2.1
- Соляр Аш Как найти все сломанные кэши Брошенной столицы Voidrunner
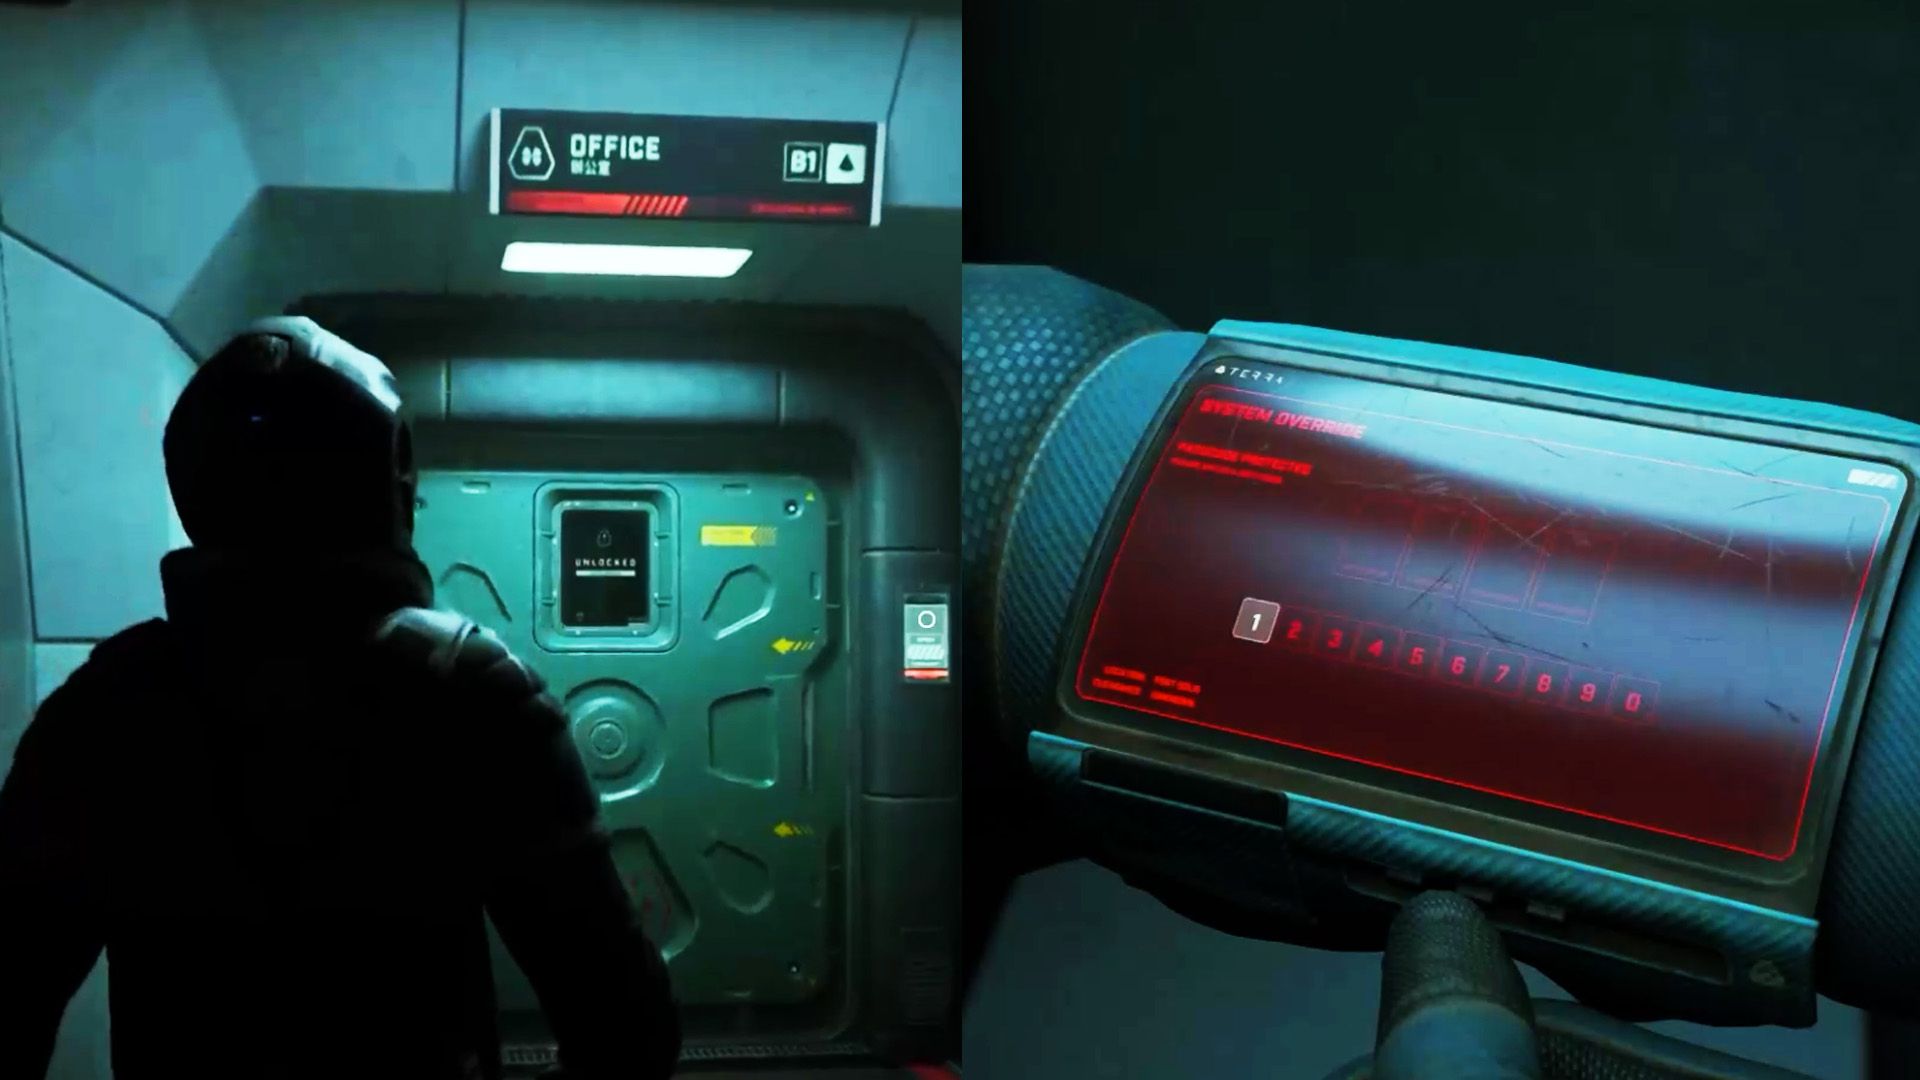
- Предзаказы на System Shock теперь доступны для PS5 и Xbox Series X.
- «🍬 Волшебное завершение Уонка»